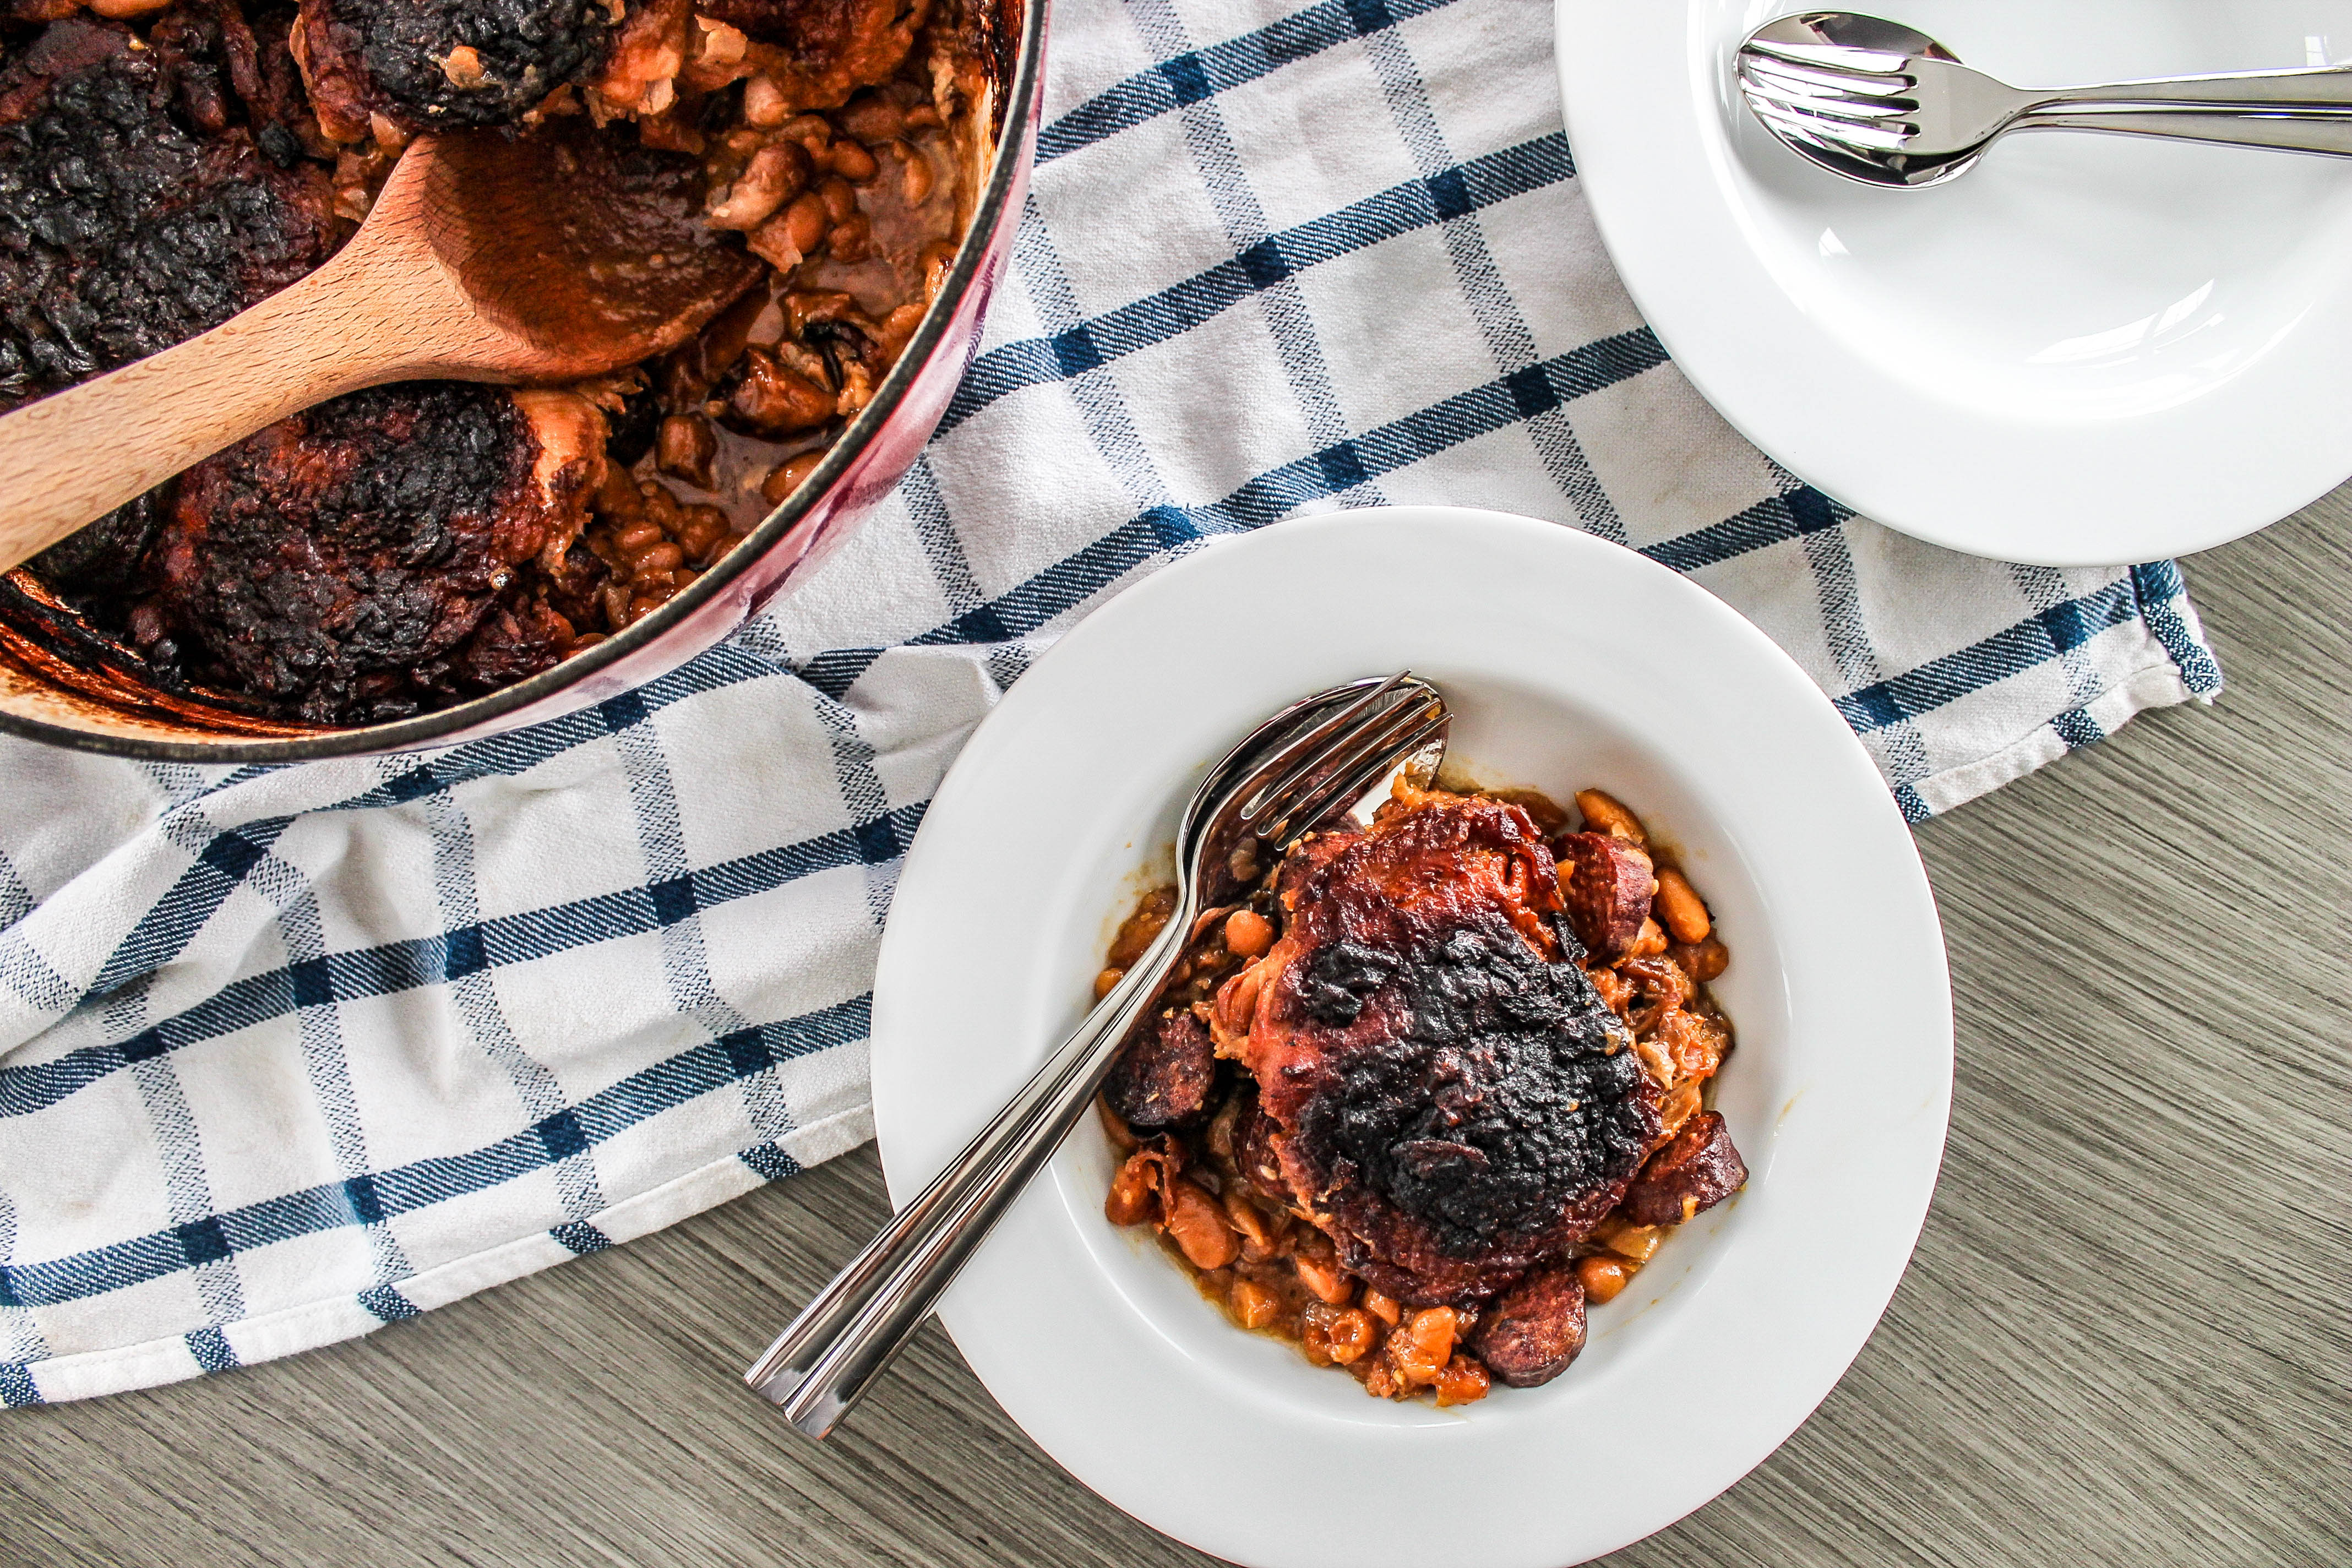
 Even though it is March, we appear to be getting snow each day now. In the very near future spring will arrive (fingers crossed!), but, sometimes, we just need a little comfort to get us through these cold, blustery days. One thing that comforts us all is food. It may not be the same types of snacks and dishes, but we all have our favorites. One dish that is near the top of our comfort food list: cassoulet. Cassoulet is a rich, slow-cooked dish from the Languedoc region of France that consists of white beans, preserved meats (usually a mix of sausage, duck confit and even mutton), and salt pork. The unctuous, meaty flavor epitomizes winter comfort food.
 A few winters ago we featured a vegan version of cassoulet – Mushroom Cassoulet to be exact. After eating a truly transcendent cassoulet from Bistrot la Minette in Philadelphia, Kyle knew he just had to recreate a meaty version at home.
 Cassoulet really originated as a mode to use whatever preserved meats one had on hand. Today duck confit and mutton are not exactly the most prevalent leftovers in one’s refrigerator or freezer. Chicken is a more accessible leftover, so Kyle chose to create his cassoulet around this particular product. A quick Google search yielded an article from Serious Eats detailing both how to make cassoulet at home and why you should make it with chicken.
 The Serious Eats method for the cassoulet featured the most straightforward preparation for building a flavorful stew. They sear the chicken and sausage first to build up a base of flavor in the dish, sweating some of the aromatics in the meat drippings, then adding the remaining ingredients before slowly baking it in the oven. This allows the broth to gradually cook down, breaking down the chicken until it is super tender while forming a thick, charred crust of flavor along the top of the dish.
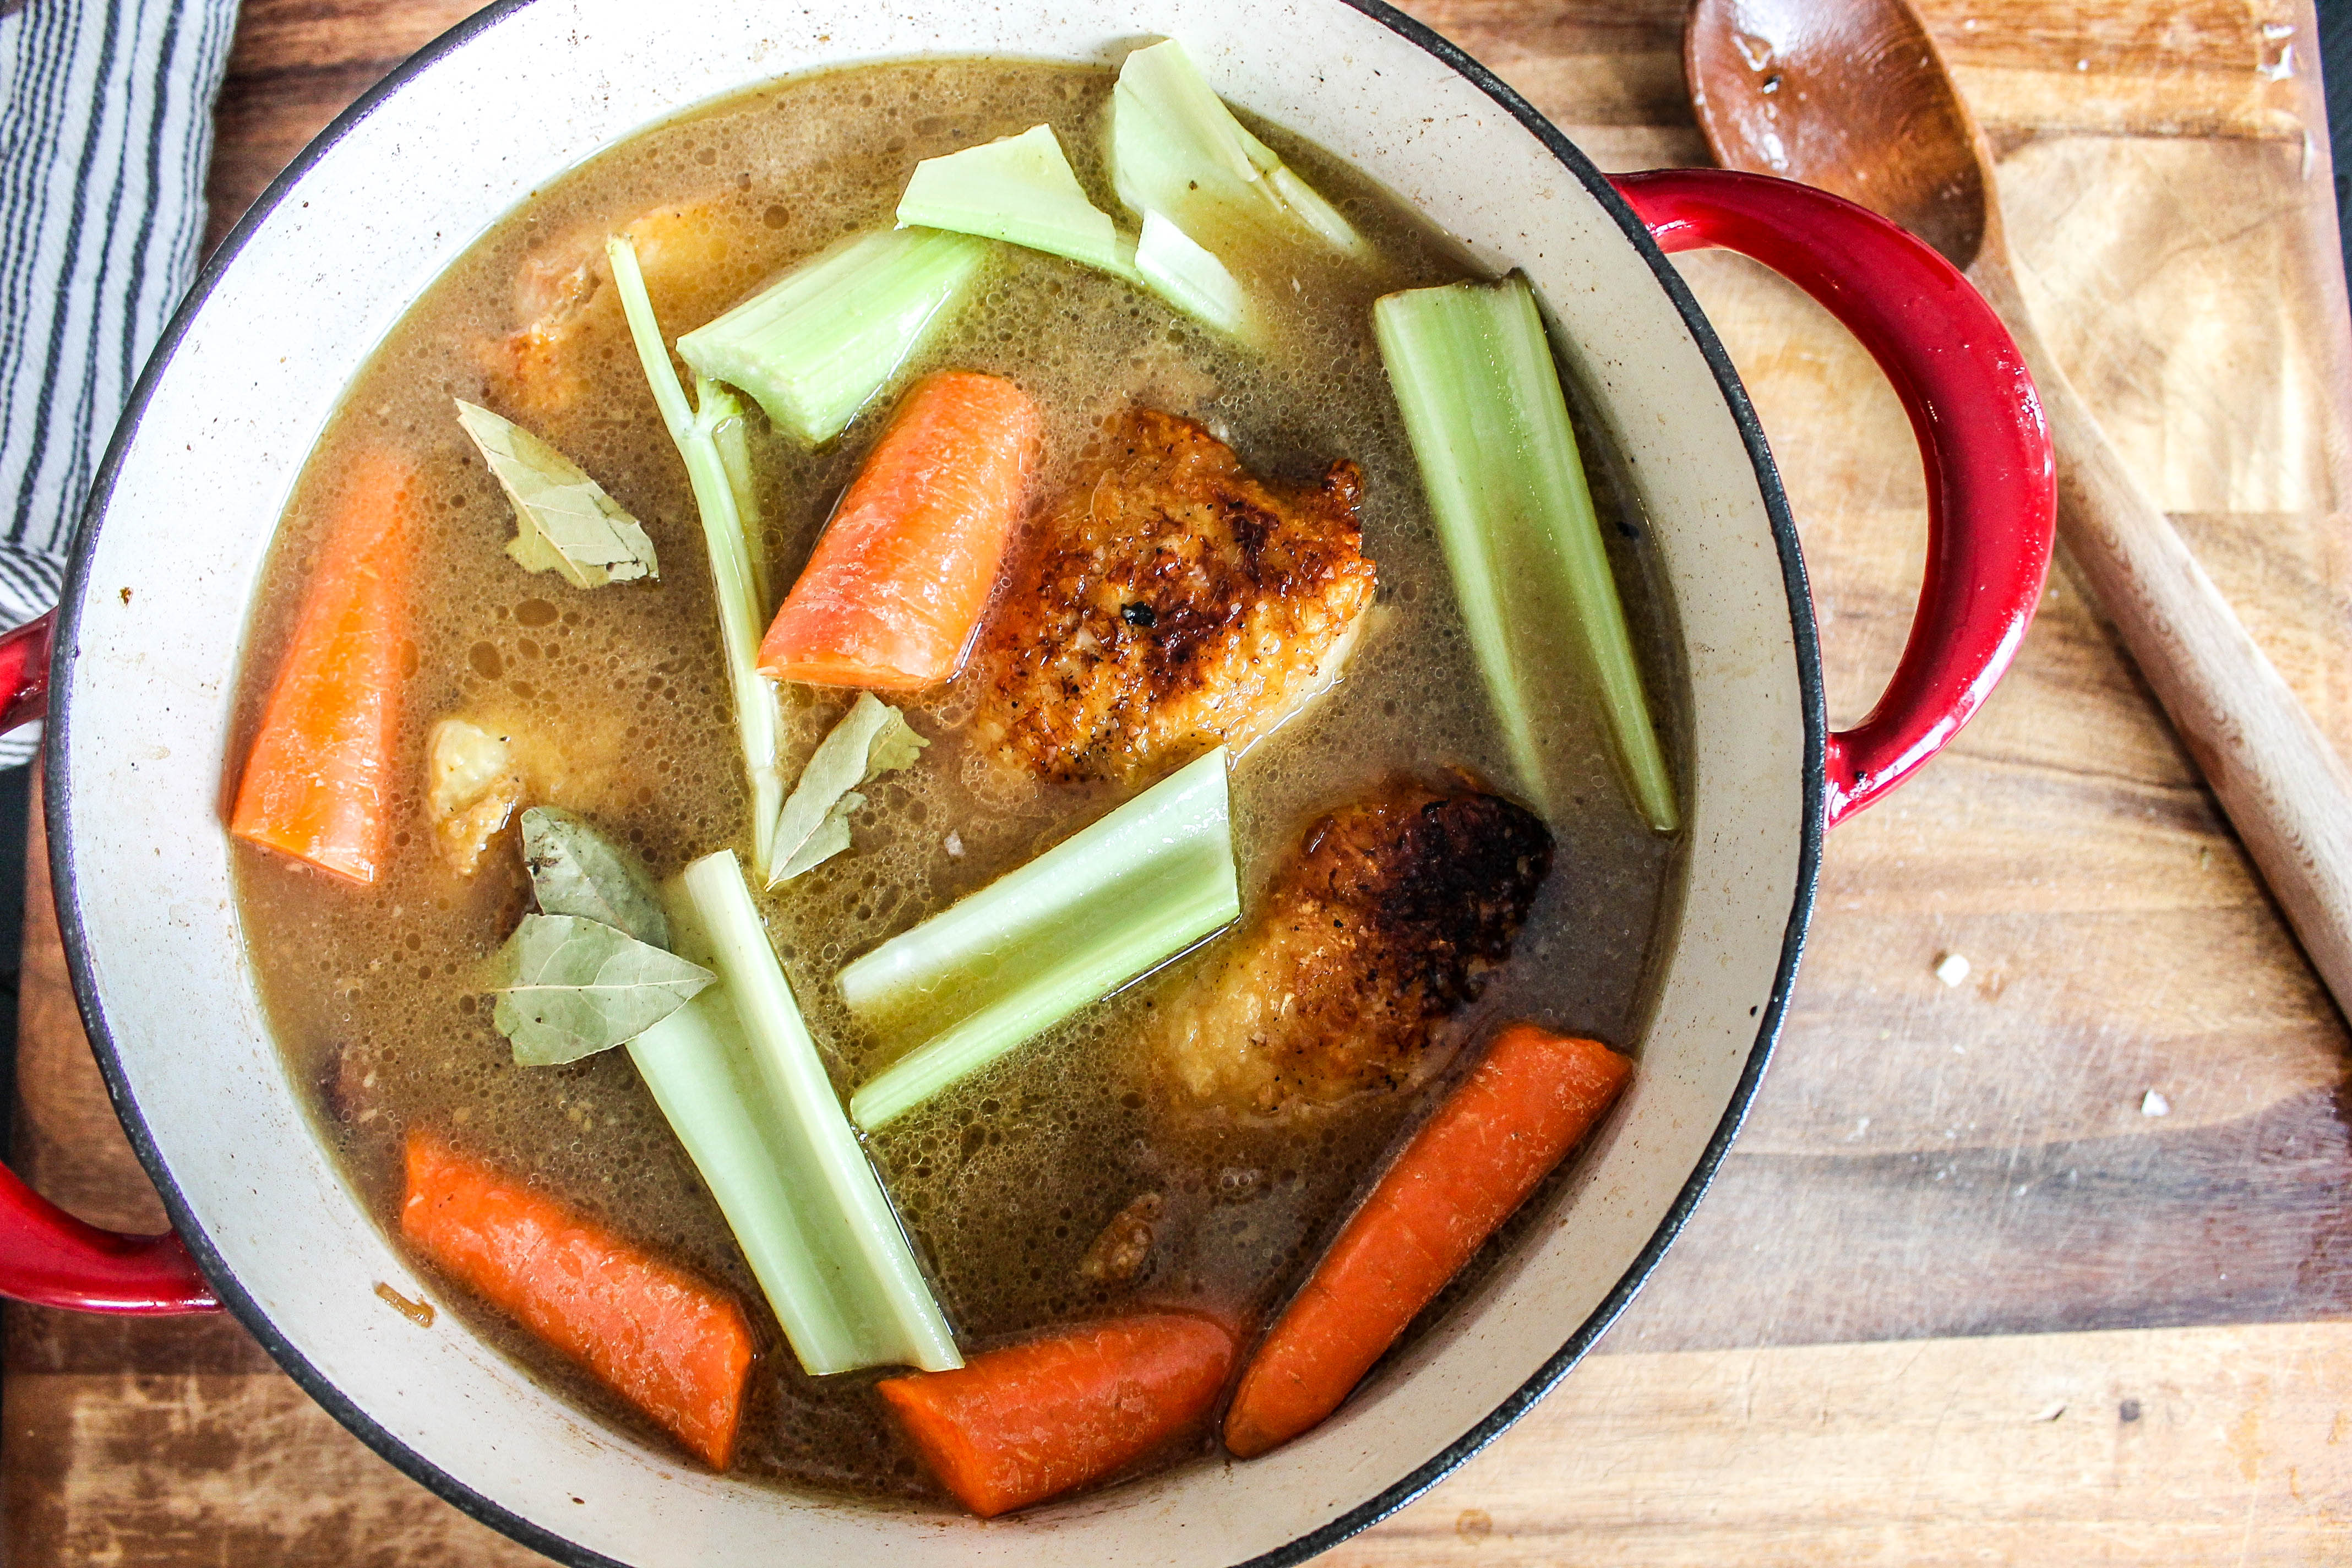
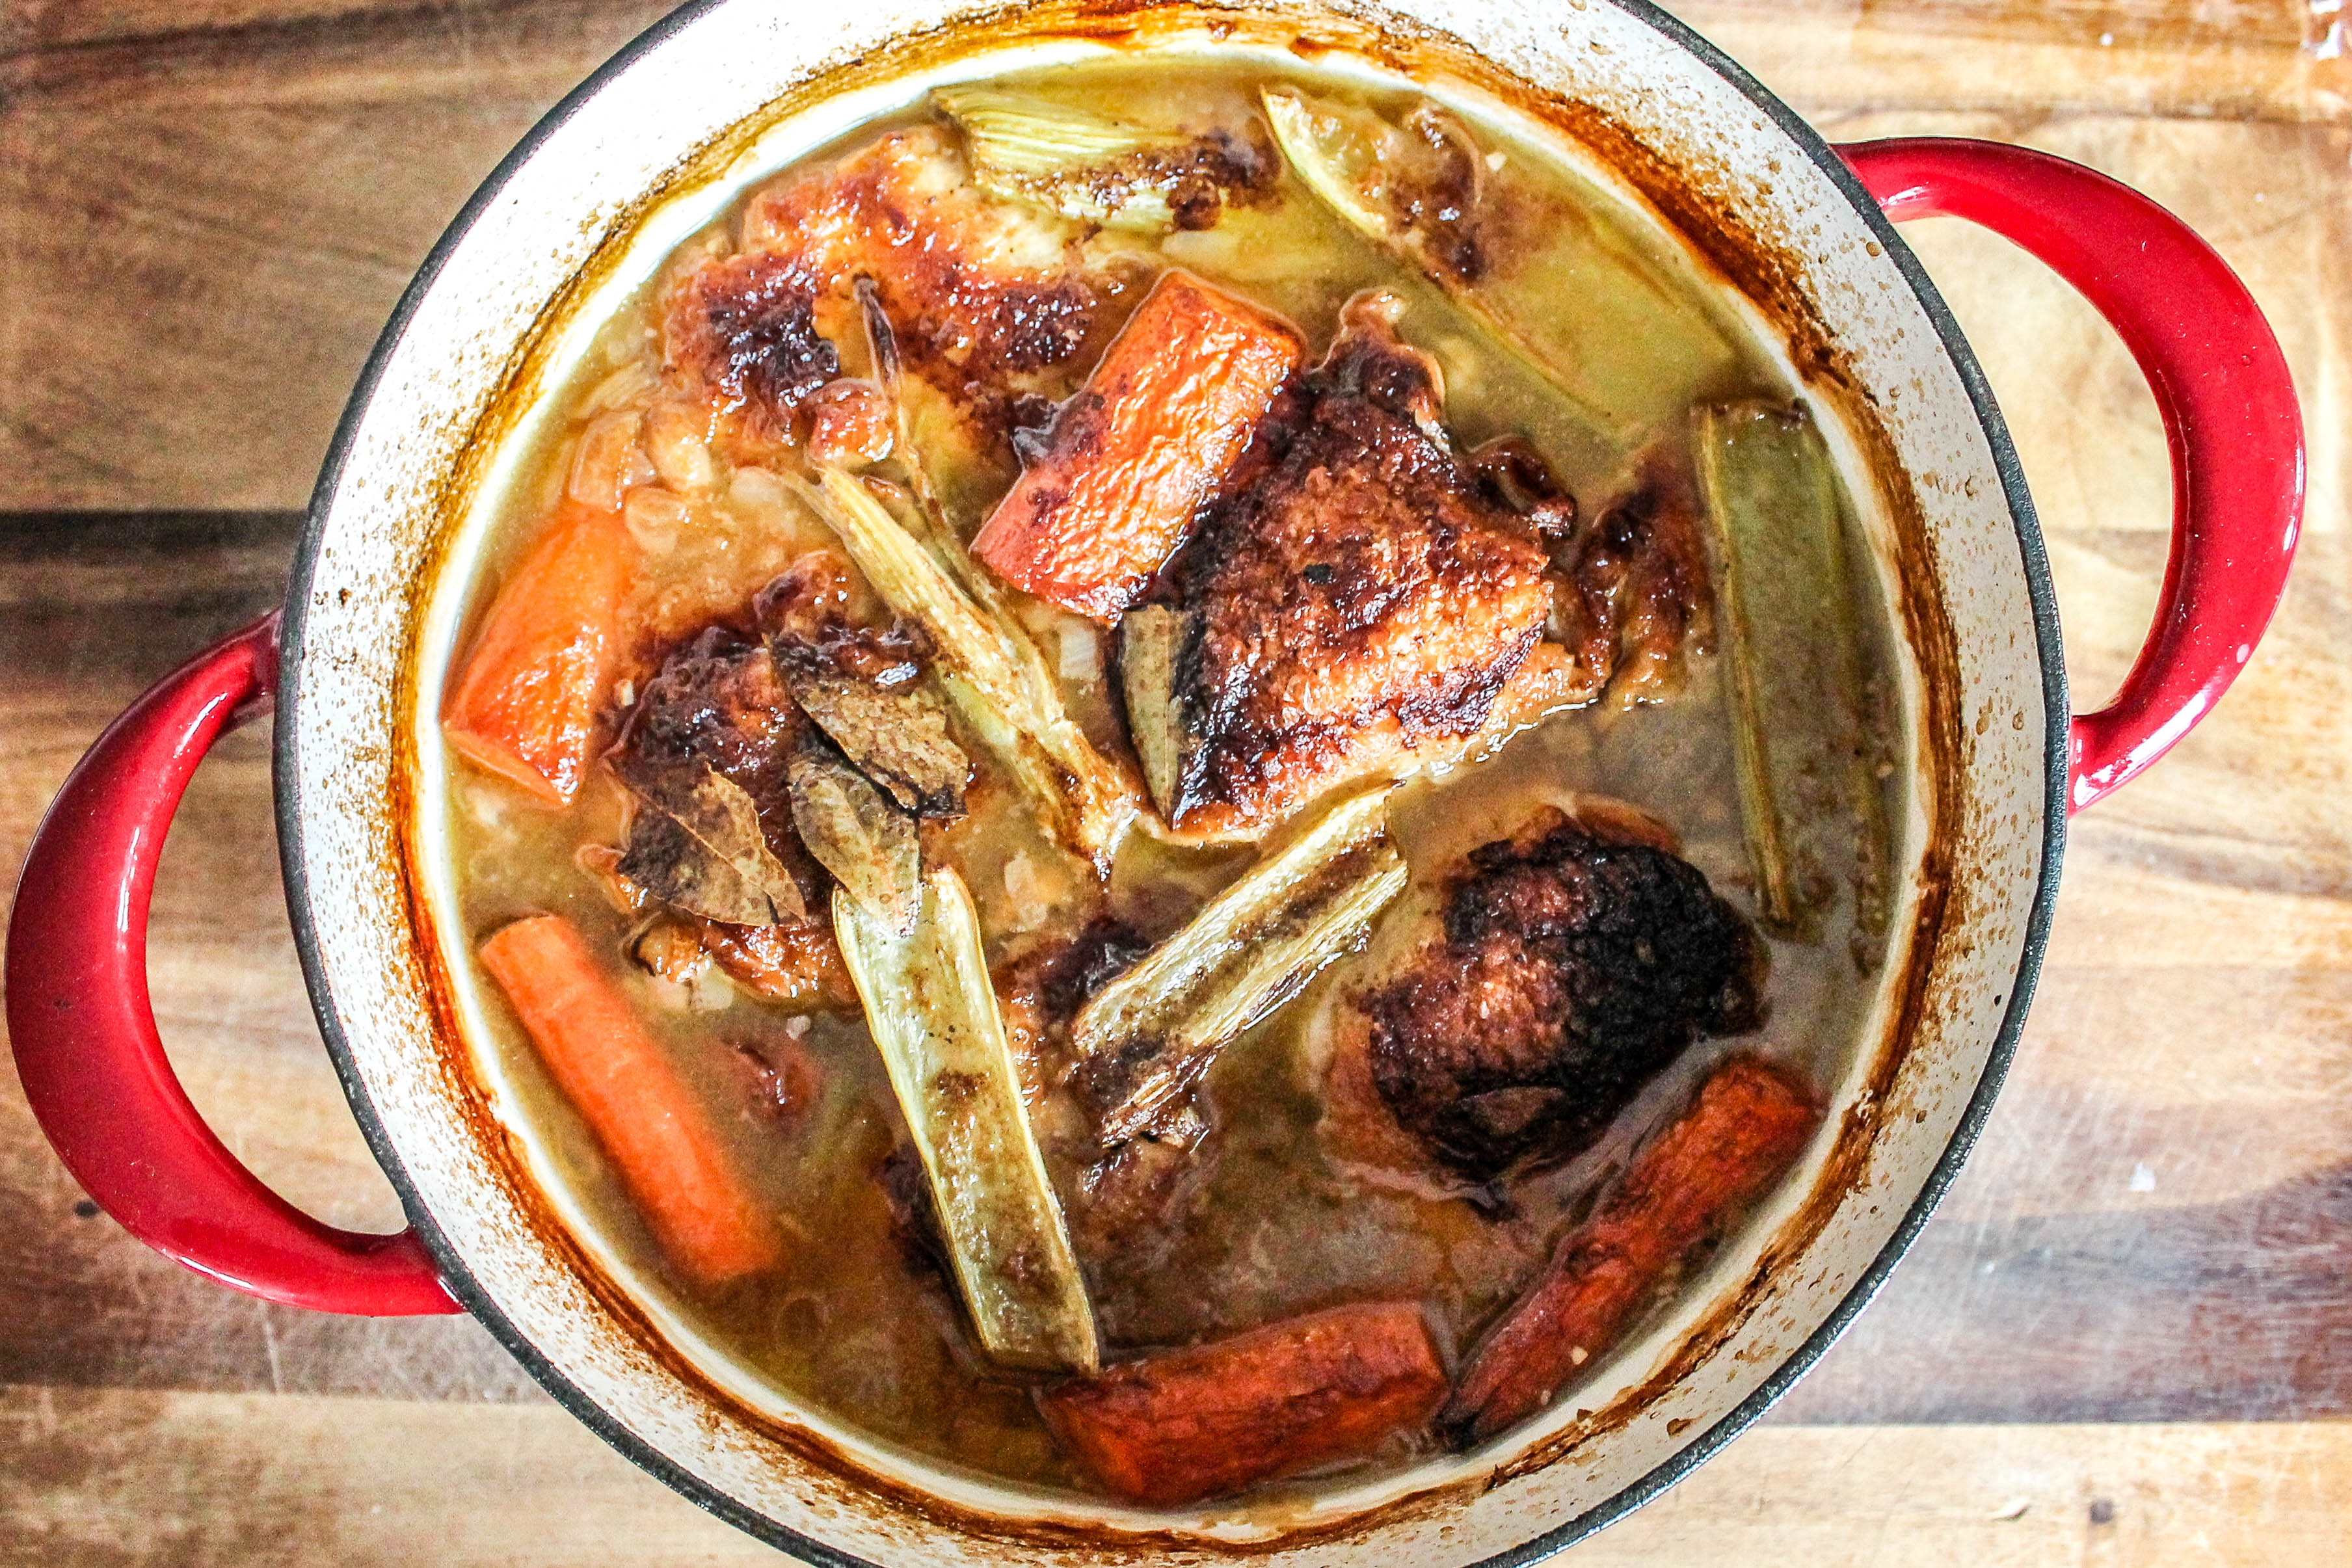 There were a few brilliant techniques that elevated the cassoulet to new heights. J. Kenji Lopez, from Serious Eats, kept most of the aromatics (celery, carrots and onions) whole and plucked them from the stew after the first hour of braising. This infused the entire dish with their flavor without leaving copious bits of vegetables throughout the finished dish, allowing the focus to be on the braised meats and beans.
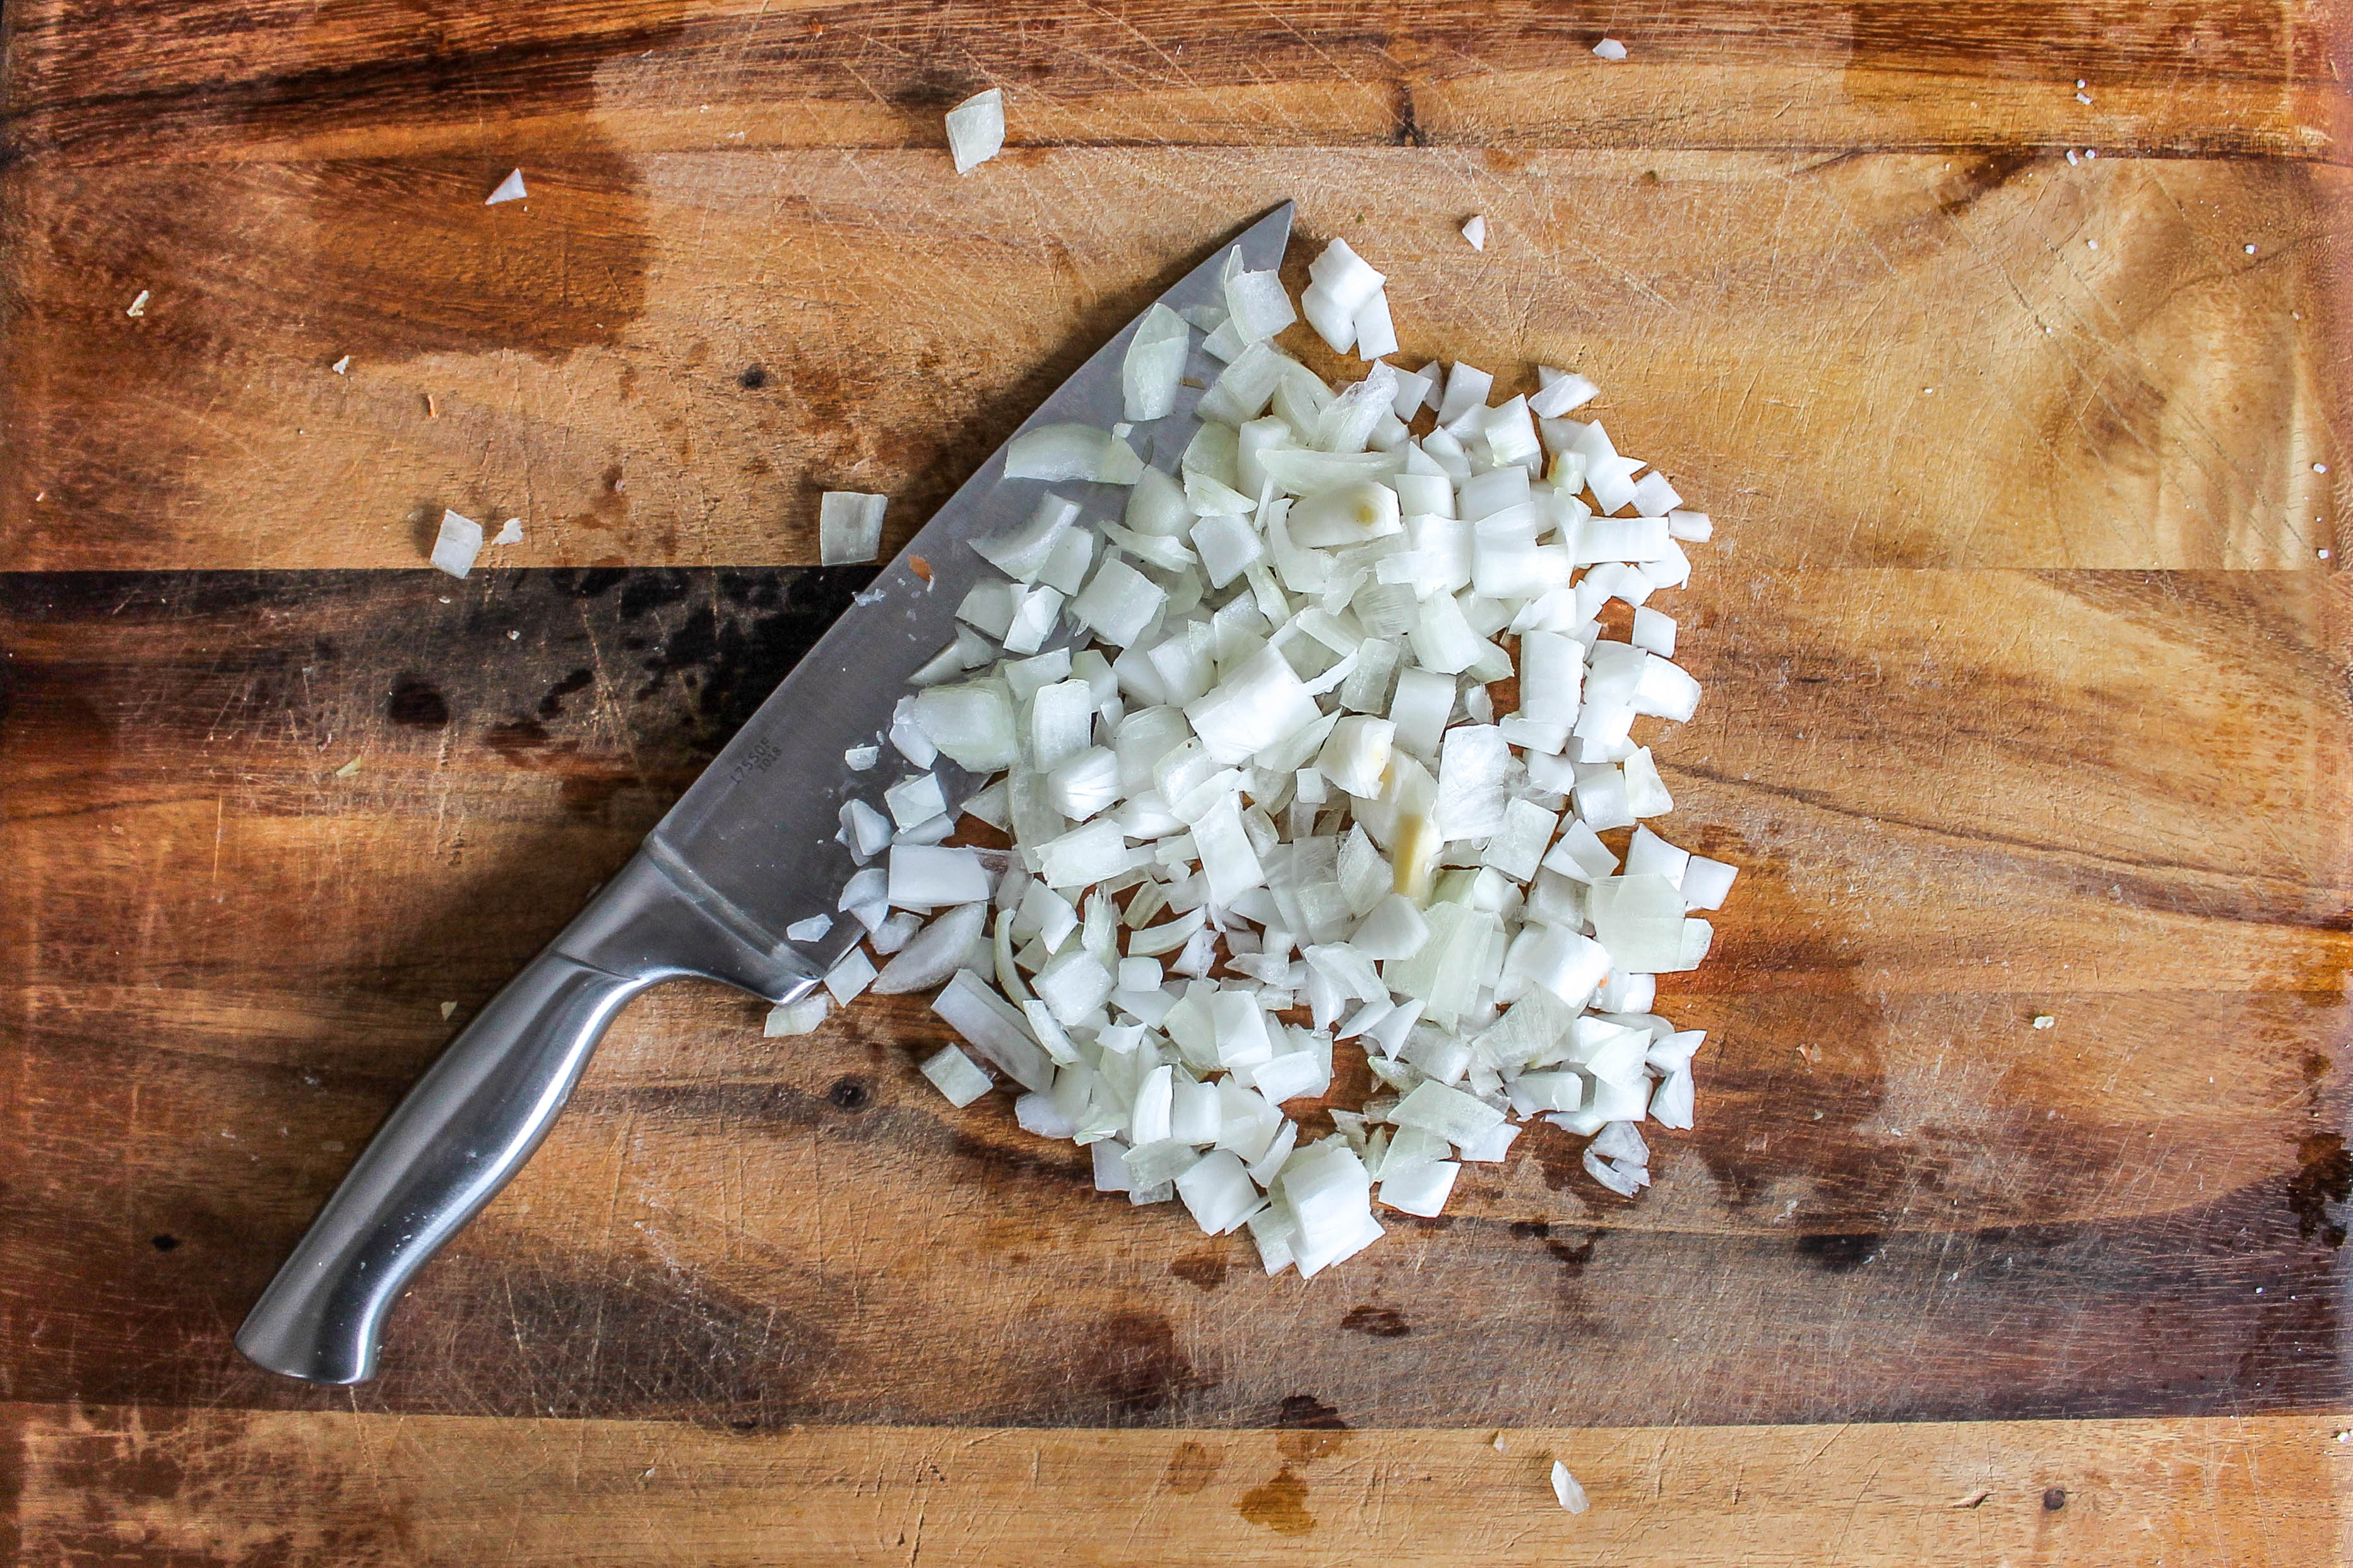
Side Bar A: Kyle minced the garlic and sweated it out with the onion.
Side Bar B: Also, if you are using store bought chicken stock, the Serious Eats article informs you to mix it with a few packets of gelatin to achieve the rich, gelatinous sauce that always is present in a good cassoulet.
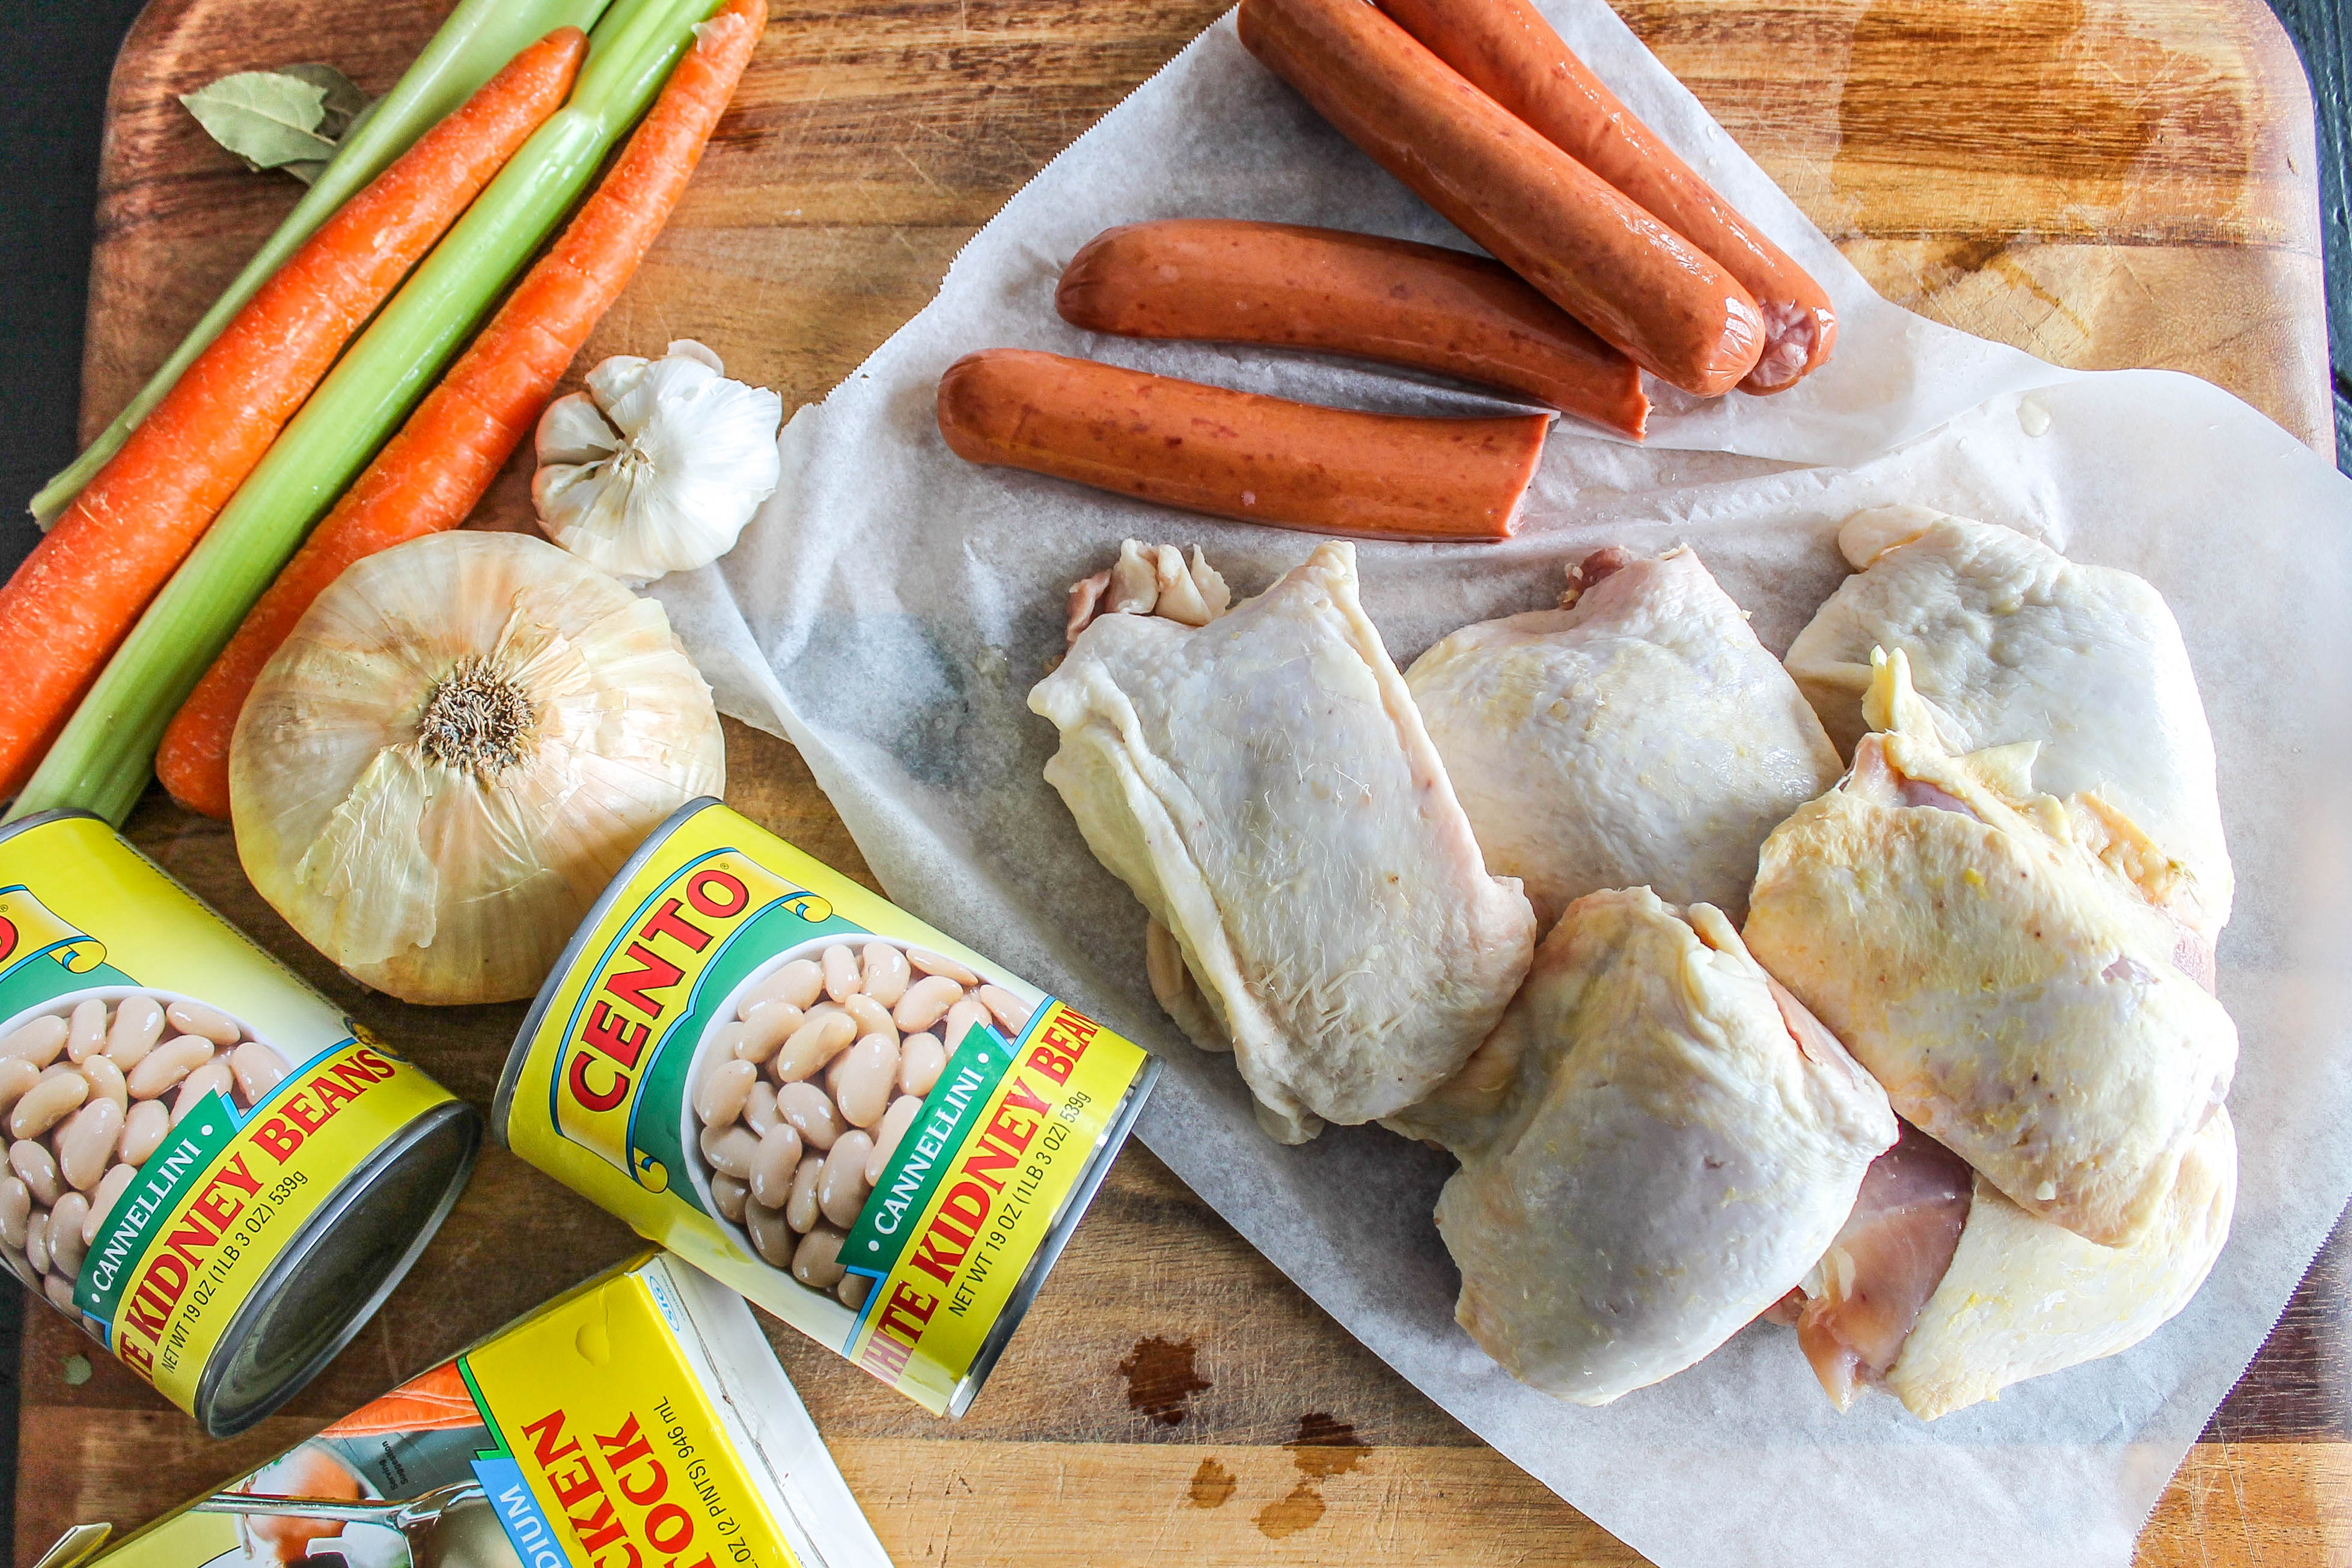
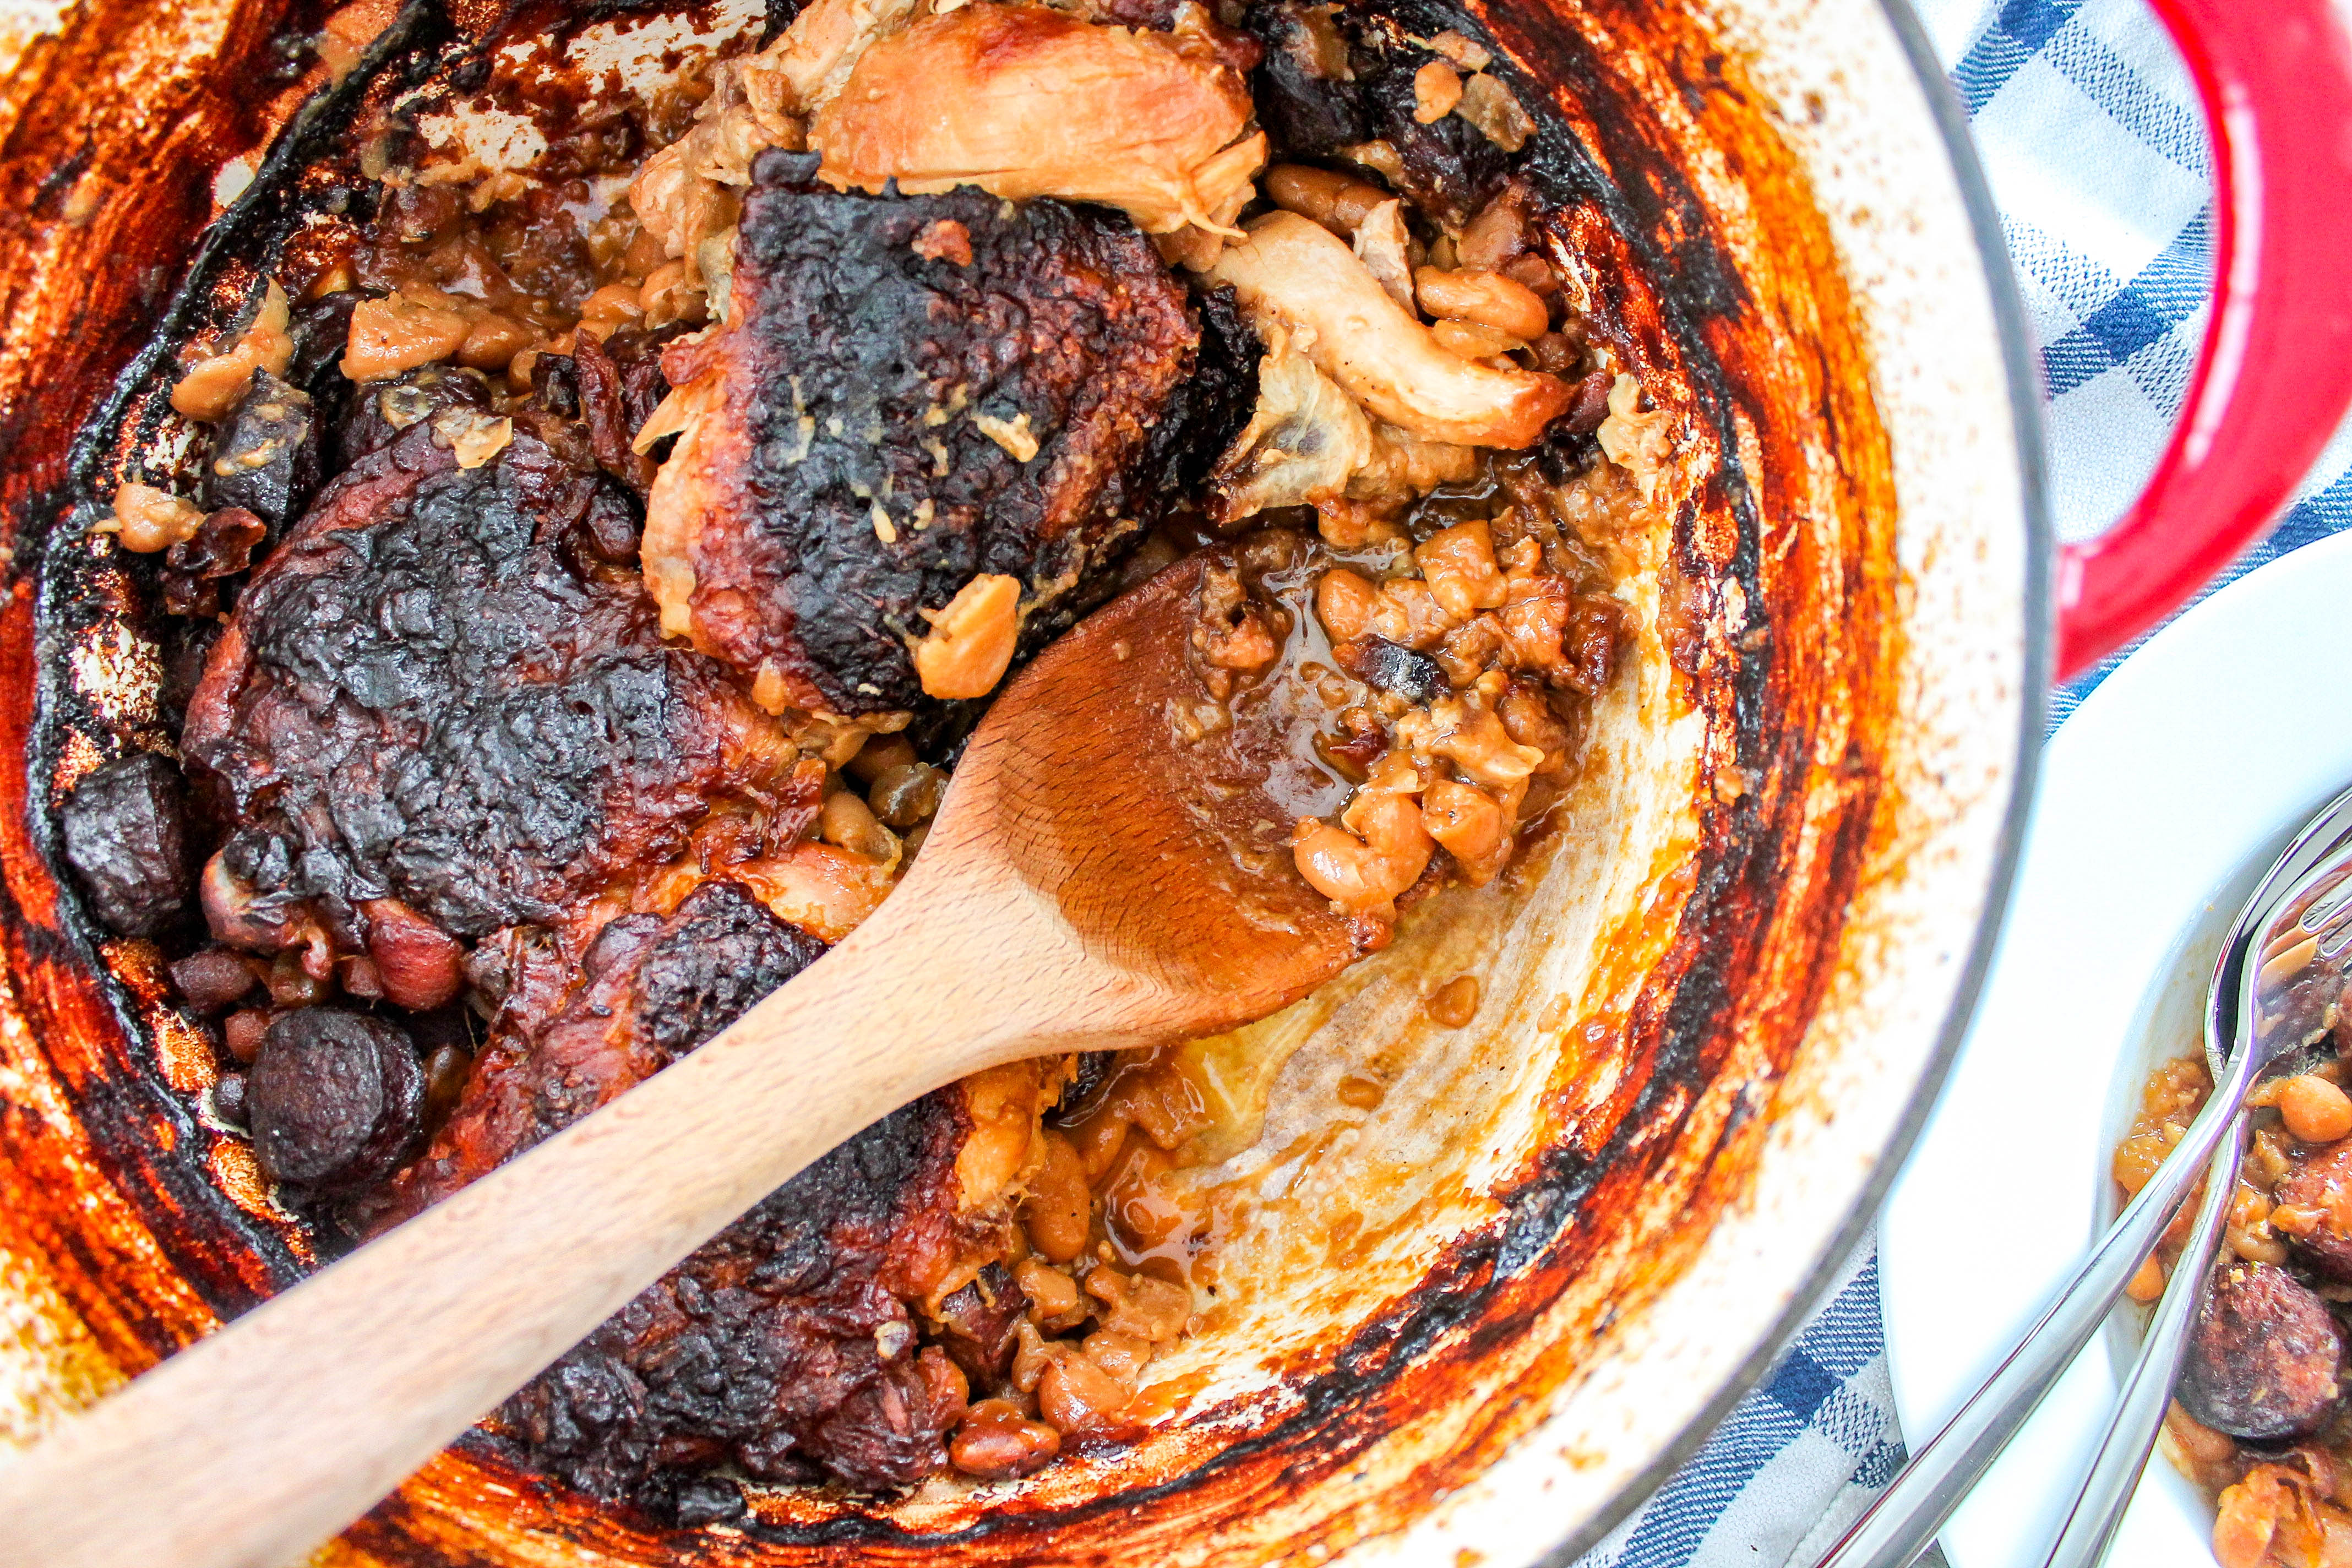 The Serious Eats recipe was used as a general outline for our version, however, Kyle diverged from in their dish in a few significant ways. He used canned beans instead of dried, mainly because he did not want to wait for the dried beans to have to soak overnight. The beans were not drained; instead, he dumped the whole content of the cans, liquid and all, right into the pot. The starchy liquid from the beans helped to thicken and enrich the sauce. Kyle also omitted the bacon/salt pork completely from the dish (le gasp!). Now we certainly know some readers out there would ostracize us for eliminating it from any recipe. However, using the smoked sausage and canned beans add all the salty flavors needed – trust us! In addition, by omitting the salt pork, we now have a pork-free, poultry-only version of cassoulet – it is satisfying, yet rich. It is superb, but slightly less extravagant.
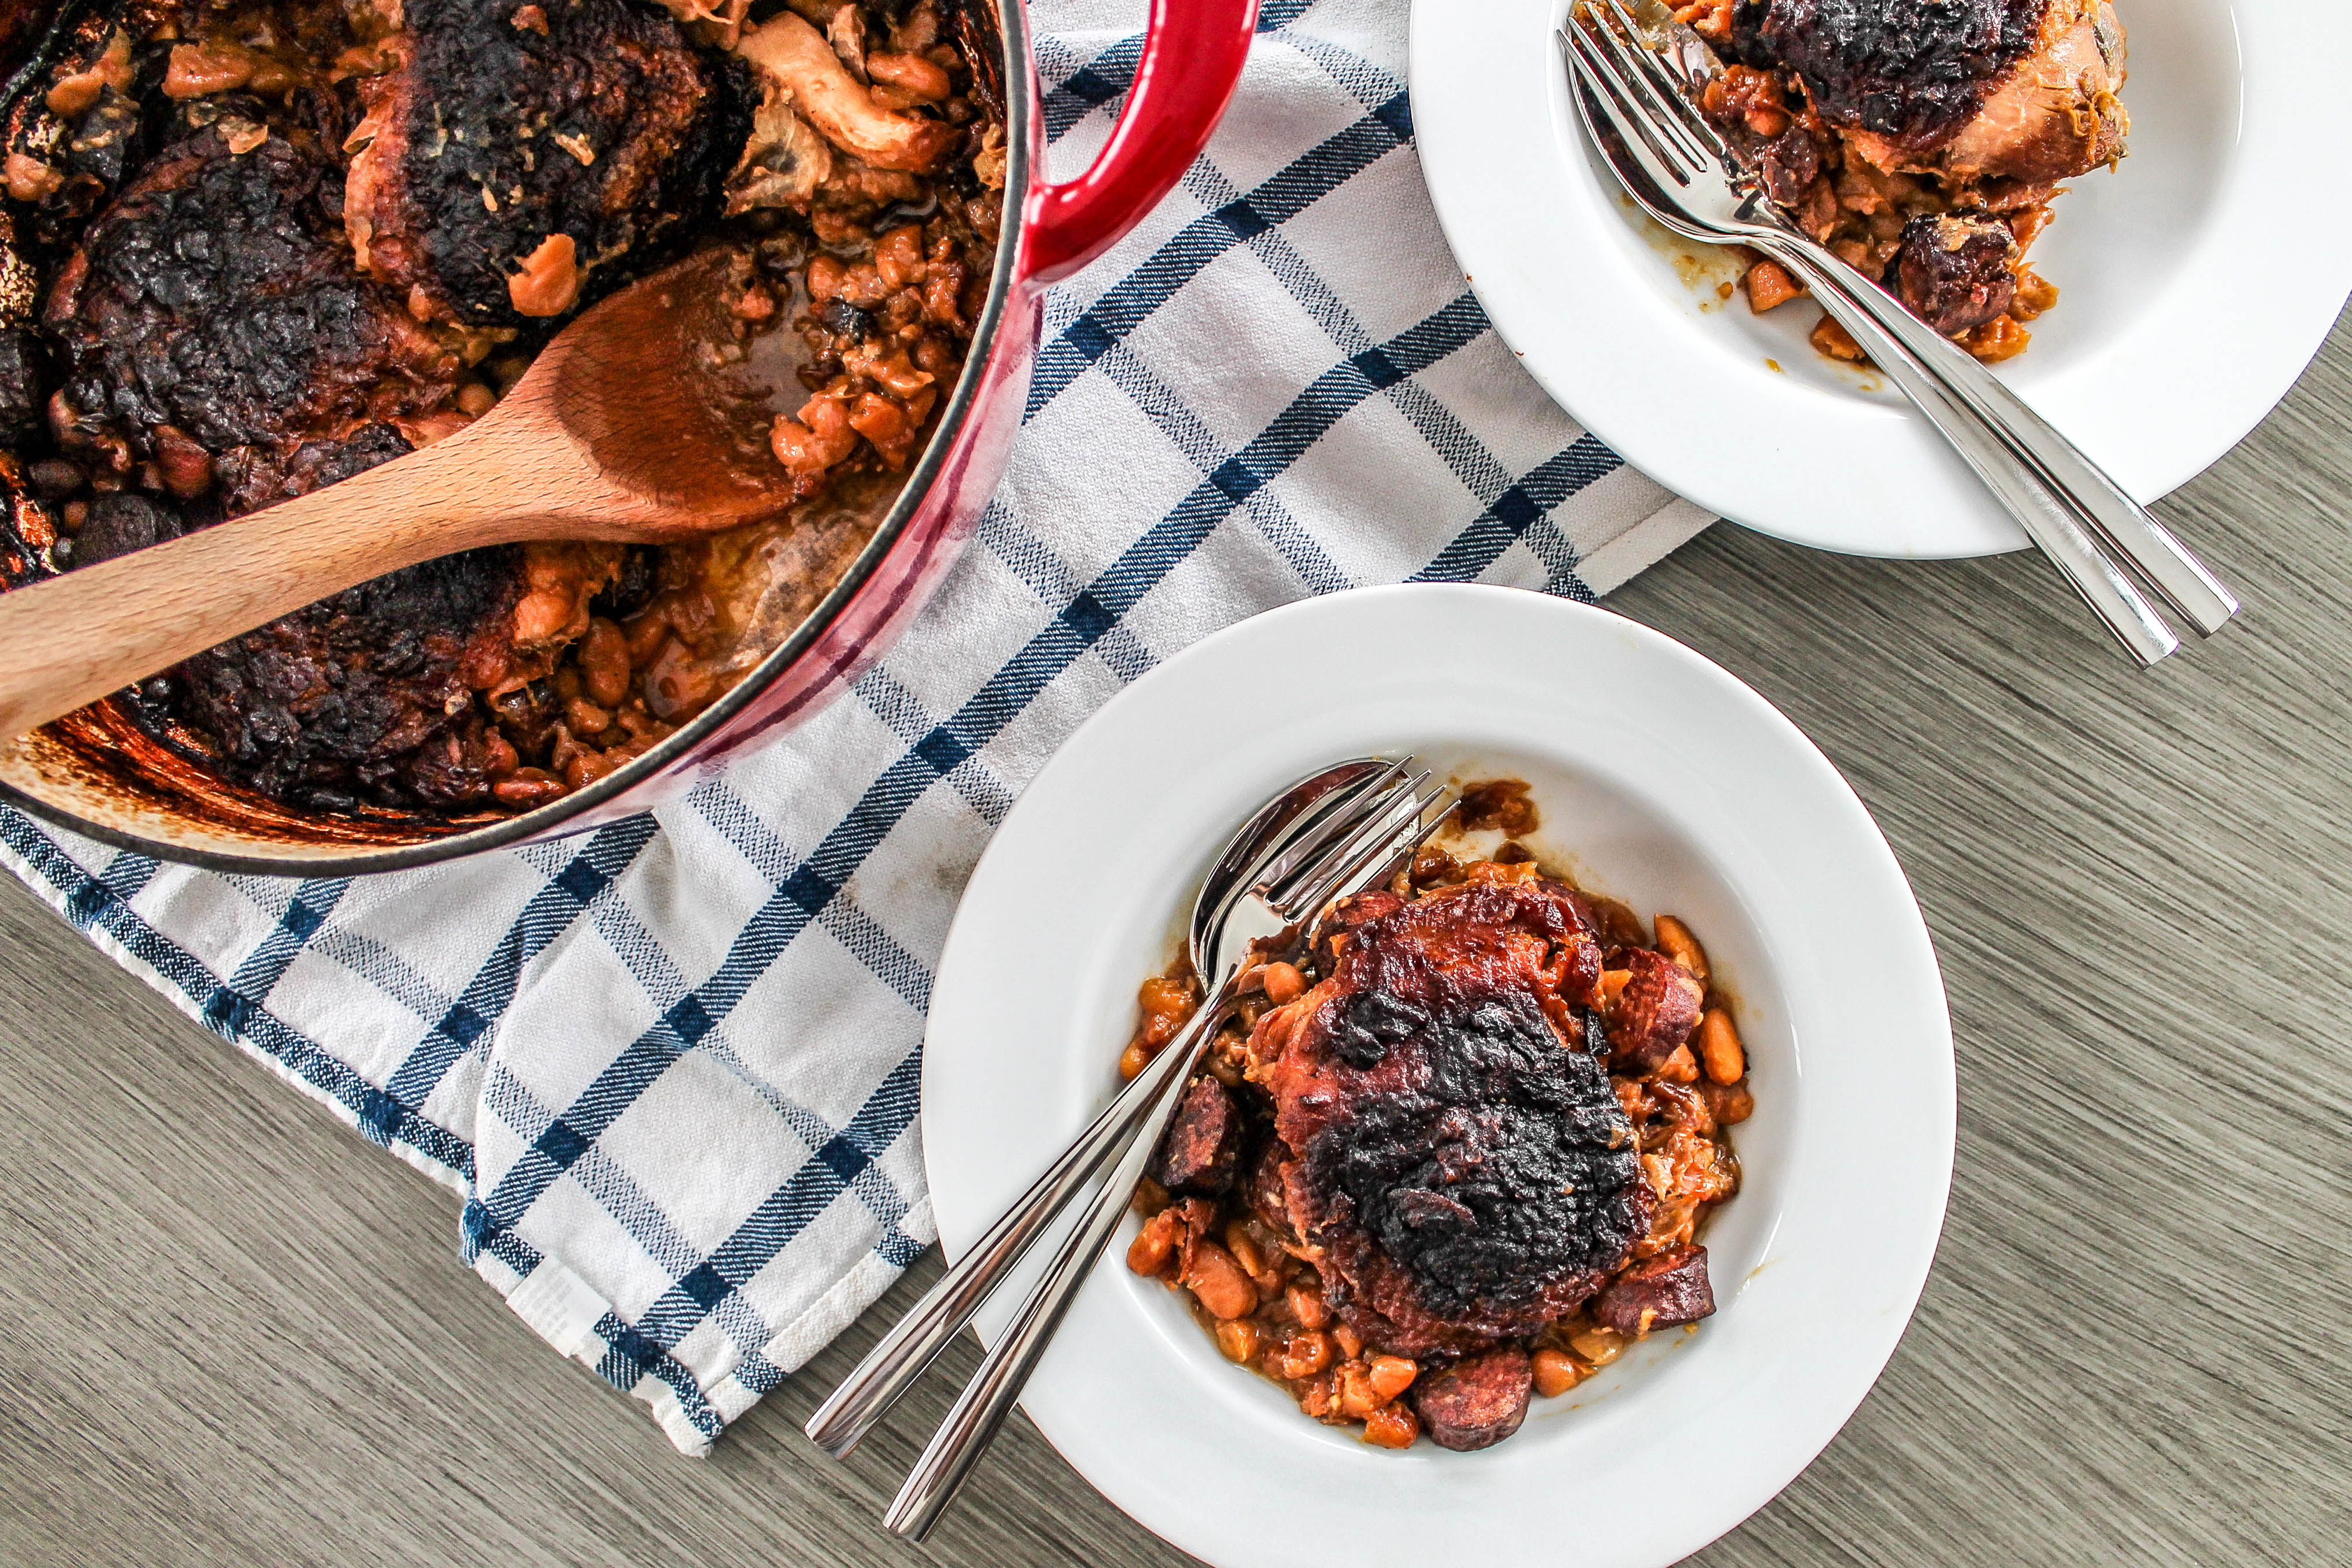
This dish is naturally gluten free and a great make-ahead entrée. After bubbling in the oven for a few hours, your cassoulet comes out of the oven, rich in flavor, and ready to satisfy your dinnertime comfort food cravings as you wait for the winter season to melt into spring.
Adapted from Serious Eats.
- Kosher salt
- 1 quart homemade chicken stock OR 1 quart store-bought low-sodium chicken stock plus 3 packets (3/4 ounces) unflavored gelatin
- 3 tablespoons olive oil or duck fat (if you’re feeling fancy)
- 6 to 8 pieces of chicken thighs, or 4 whole chicken leg quarters
- Freshly ground black pepper
- 1 pound chicken sausage (2 to 4 links depending on size), sliced into 1-inch piece
- 1 large onion, finely diced (about 1 cup)
- 4 cloves garlic, finely minced
- 2 pounds canned cannellini beans (preferably low sodium), with their liquid
- 2 carrots, unpeeled, cut into 3-inch sections
- 2 stalks celery, cut into 3-inch sections
- 3 bay leaves
- 2 tablespoons white wine vinegar
- Adjust oven rack to lower middle position and preheat oven to 300°F. If using store-bought stock, place stock in a large liquid measuring cup and sprinkle gelatin over the top. Set aside.
- Heat olive oil or duck fat(if using) in a large Dutch oven over medium-high heat until shimmering. Season chicken pieces with salt and pepper and place skin side-down in pan (work in batches if necessary). Cook without moving until well browned, 6 to 8 minutes. Flip chicken pieces and continue cooking until lightly browned on second side, about 3 minutes longer. Transfer to large bowl.
- Add sausages and cook, turning occasionally, until well-browned on both sides. Transfer to bowl with chicken.
- Add onions and garlic to pot and cook, stirring and scraping up browned bits from the bottom of the pot. Cook until onions are translucent but not browned, about 4 minutes. Add beans, carrot, celery, bay leaves, vinegar, and stock. Bring to a simmer over high heat. Reduce to low, Add meats to pot and stir to incorporate, making sure that the chicken pieces end up on top of the beans with the skin facing upwards. Beans should be almost submerged. Transfer to oven and cook, uncovered, until a thin crust forms on top, about 2 hours, adding more water by pouring it carefully down the side of the pot as necessary to keep beans mostly covered.
- Break crust with a spoon and shake pot gently to redistribute. Using tongs, remove carrots, celery, and bay leaves and discard. Return to oven and continue cooking, stopping to break and shake the crust every 30 minutes until you reach the 4½ hour mark. Return to oven and continue cooking undisturbed until the crust is deep brown and thick, about 5 to 6 hours total. Serve immediately.


Leave a Reply