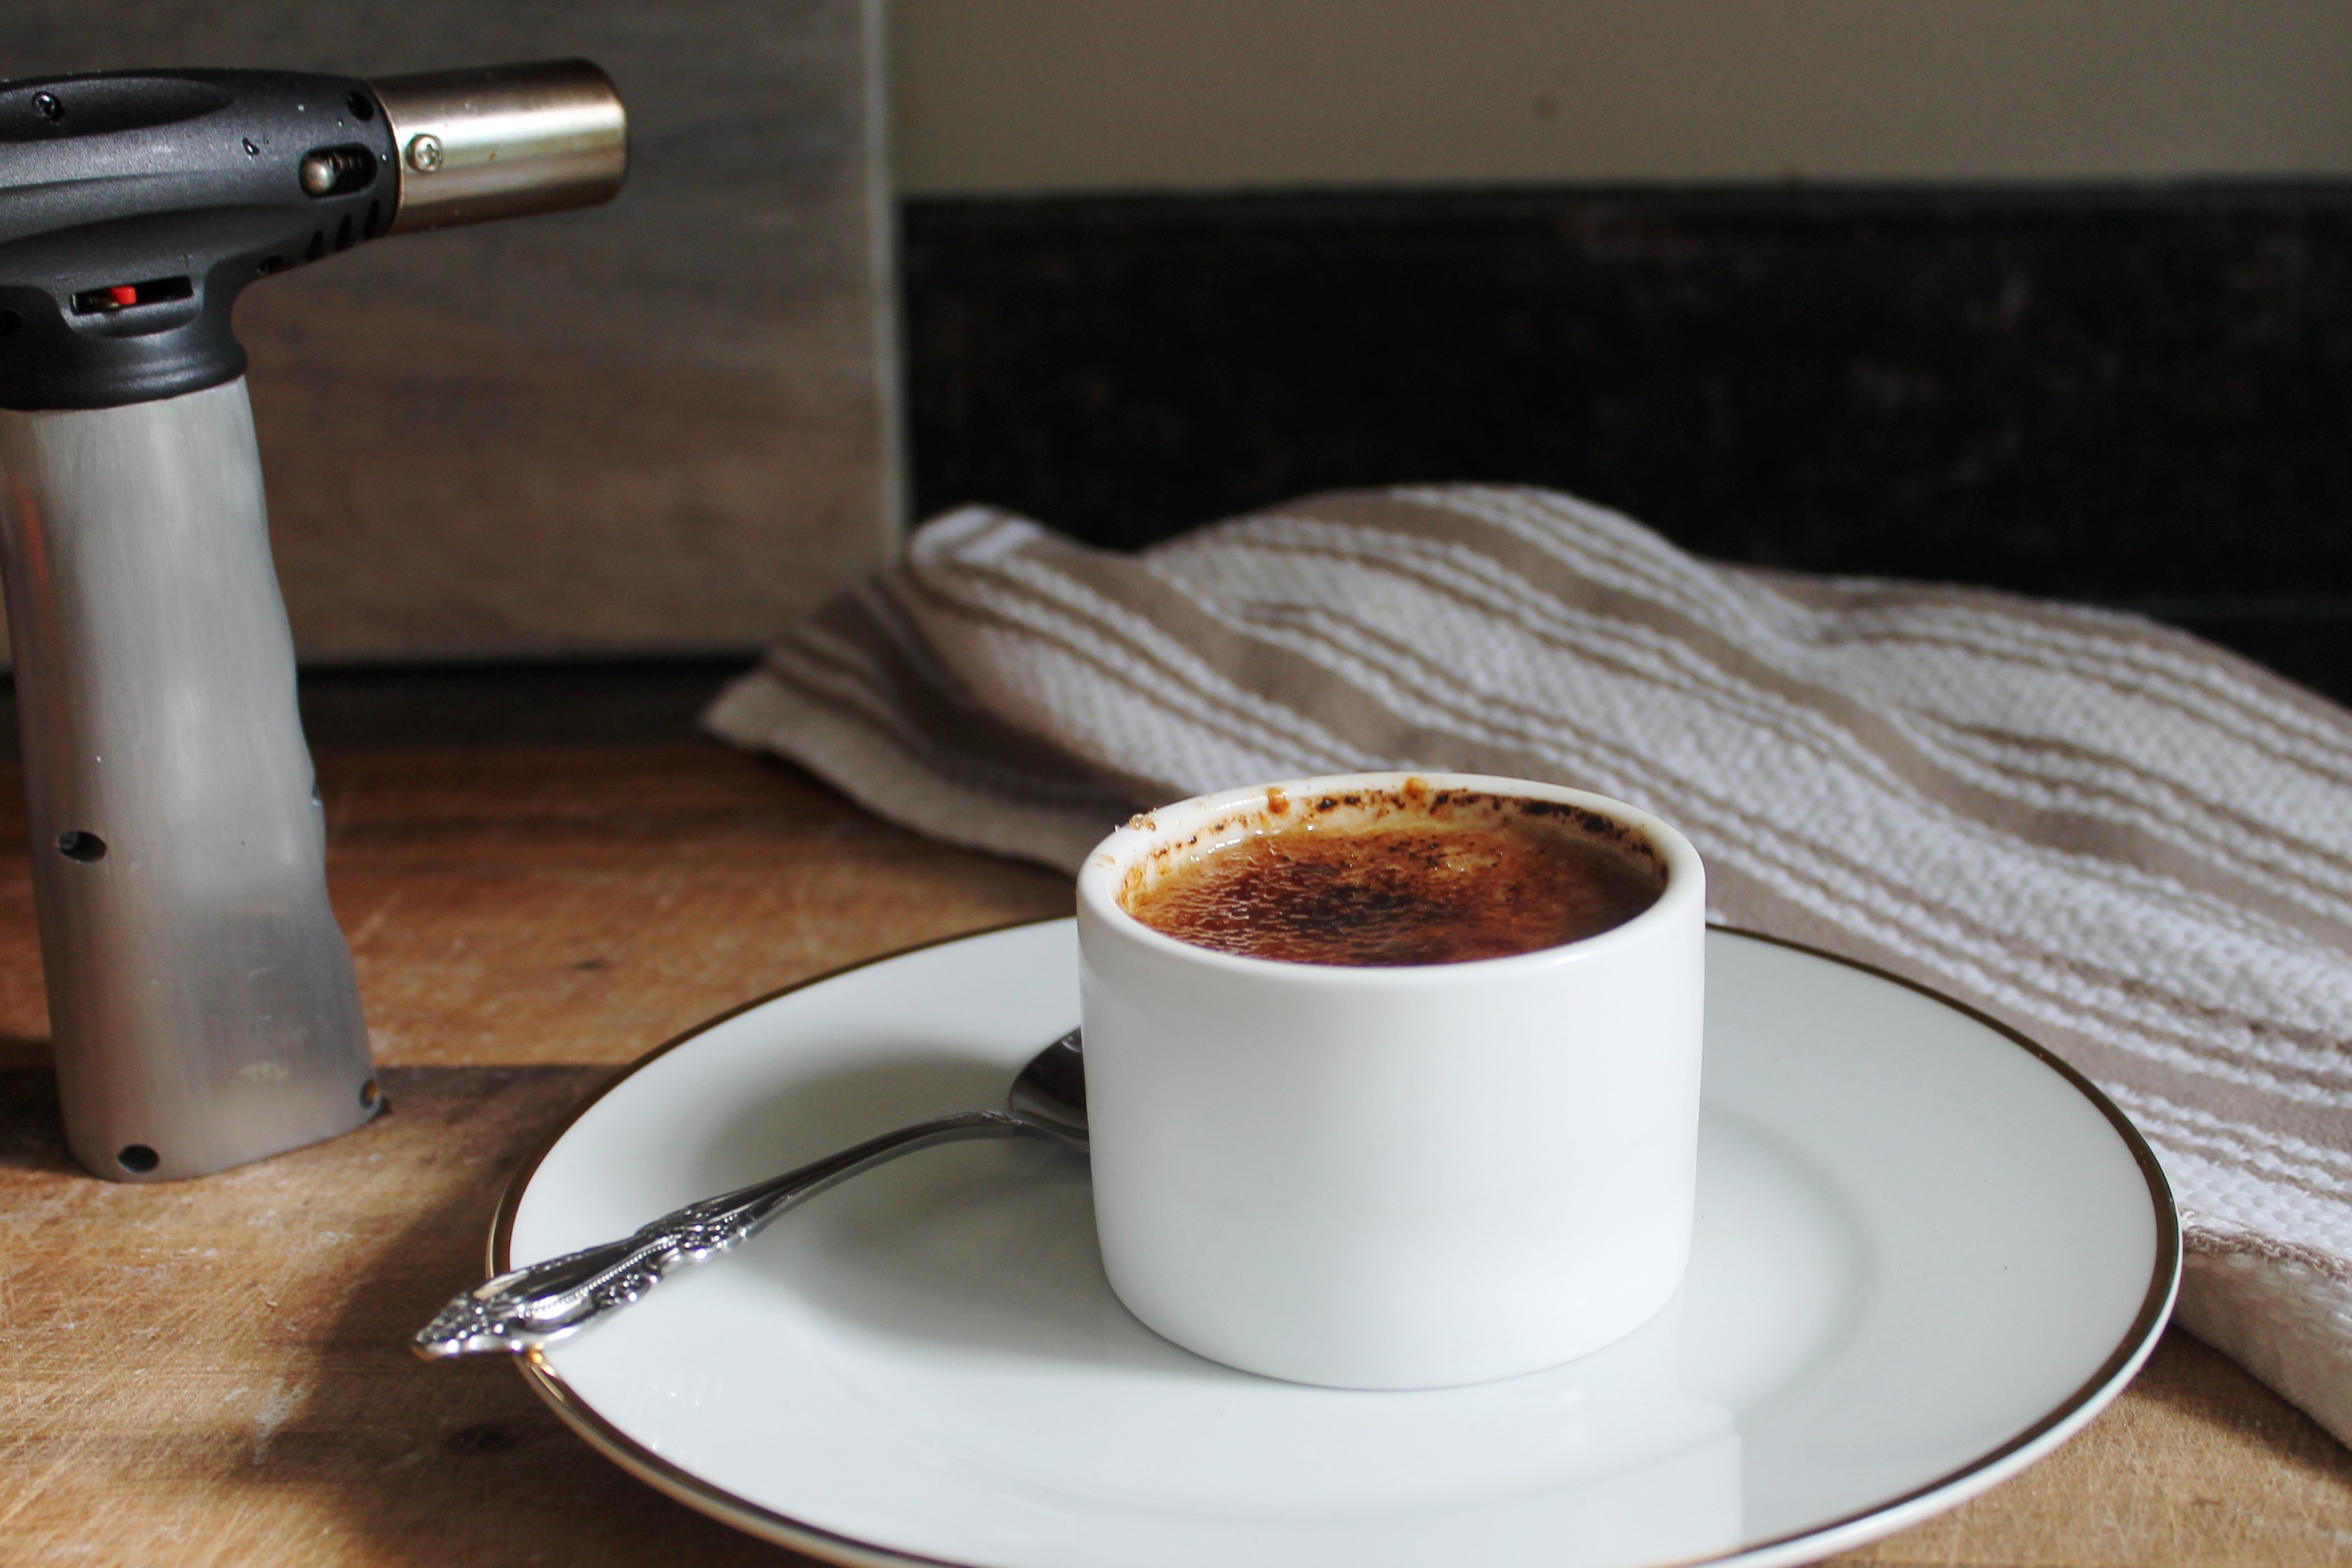
 Kyle has been keen on the idea of adding cookie butter to a classic crème brulée for a while now. It didn’t hurt that we already have a gluten free version of that addictive spread in the archives. (If you don’t have issues with gluten, Biscoff cookie spread or Trader Joe’s cookie butter will do just fine.) He became even more obsessed with the idea after reading about Cook’s Illustrated’s efforts to circumvent the scalding of the cream and subsequent tempering of the eggs that are part of the traditional preparation technique for the custard. These steps, when done properly, impart the necessary richness to the custard that allows it to set as is cooks. The downside is that they take a lot of practice and attention. If anything goes awry—which it usually does in many a home cook’s early attempts—it can put said cooks off of the idea of making this popular restaurant dessert in the comfort of their own kitchen. Not unlike the folks at CI, we think that’s a shame.
 A common challenge is that “scalding” can very quickly become “scorching,” making the custard bitter and giving it a grainy texture, which any dessert devotee will tell you is a disappointment tantamount to heartbreak. Even the geniuses at Cook’s Illustrated weren’t able to eliminate the scalding step altogether, because that heat is essential to the classic preparation for infusing the flavor of the vanilla beans into the custard. They did only heat half of the cream used in their recipe, which extracted the necessary flavor from the vanilla pods. The rest of the cream was whisked in cold, cooling the mixture and at least eliminating the need to temper the eggs. It’s a functional and fairly genius compromise, but there is still the risk of scorching. Booo.
 Enter the idea of adding cookie butter to the mix. Aside from the enticing array of holiday-evoking flavors that it brings to the mix (ginger, cinnamon, clove and brown sugar—a.k.a. Yum!), it basically eliminates the need for any vanilla, so you can kiss the scalding/tempering step good-bye altogether. Feel free to take a victory lap while the custards are in the fridge.
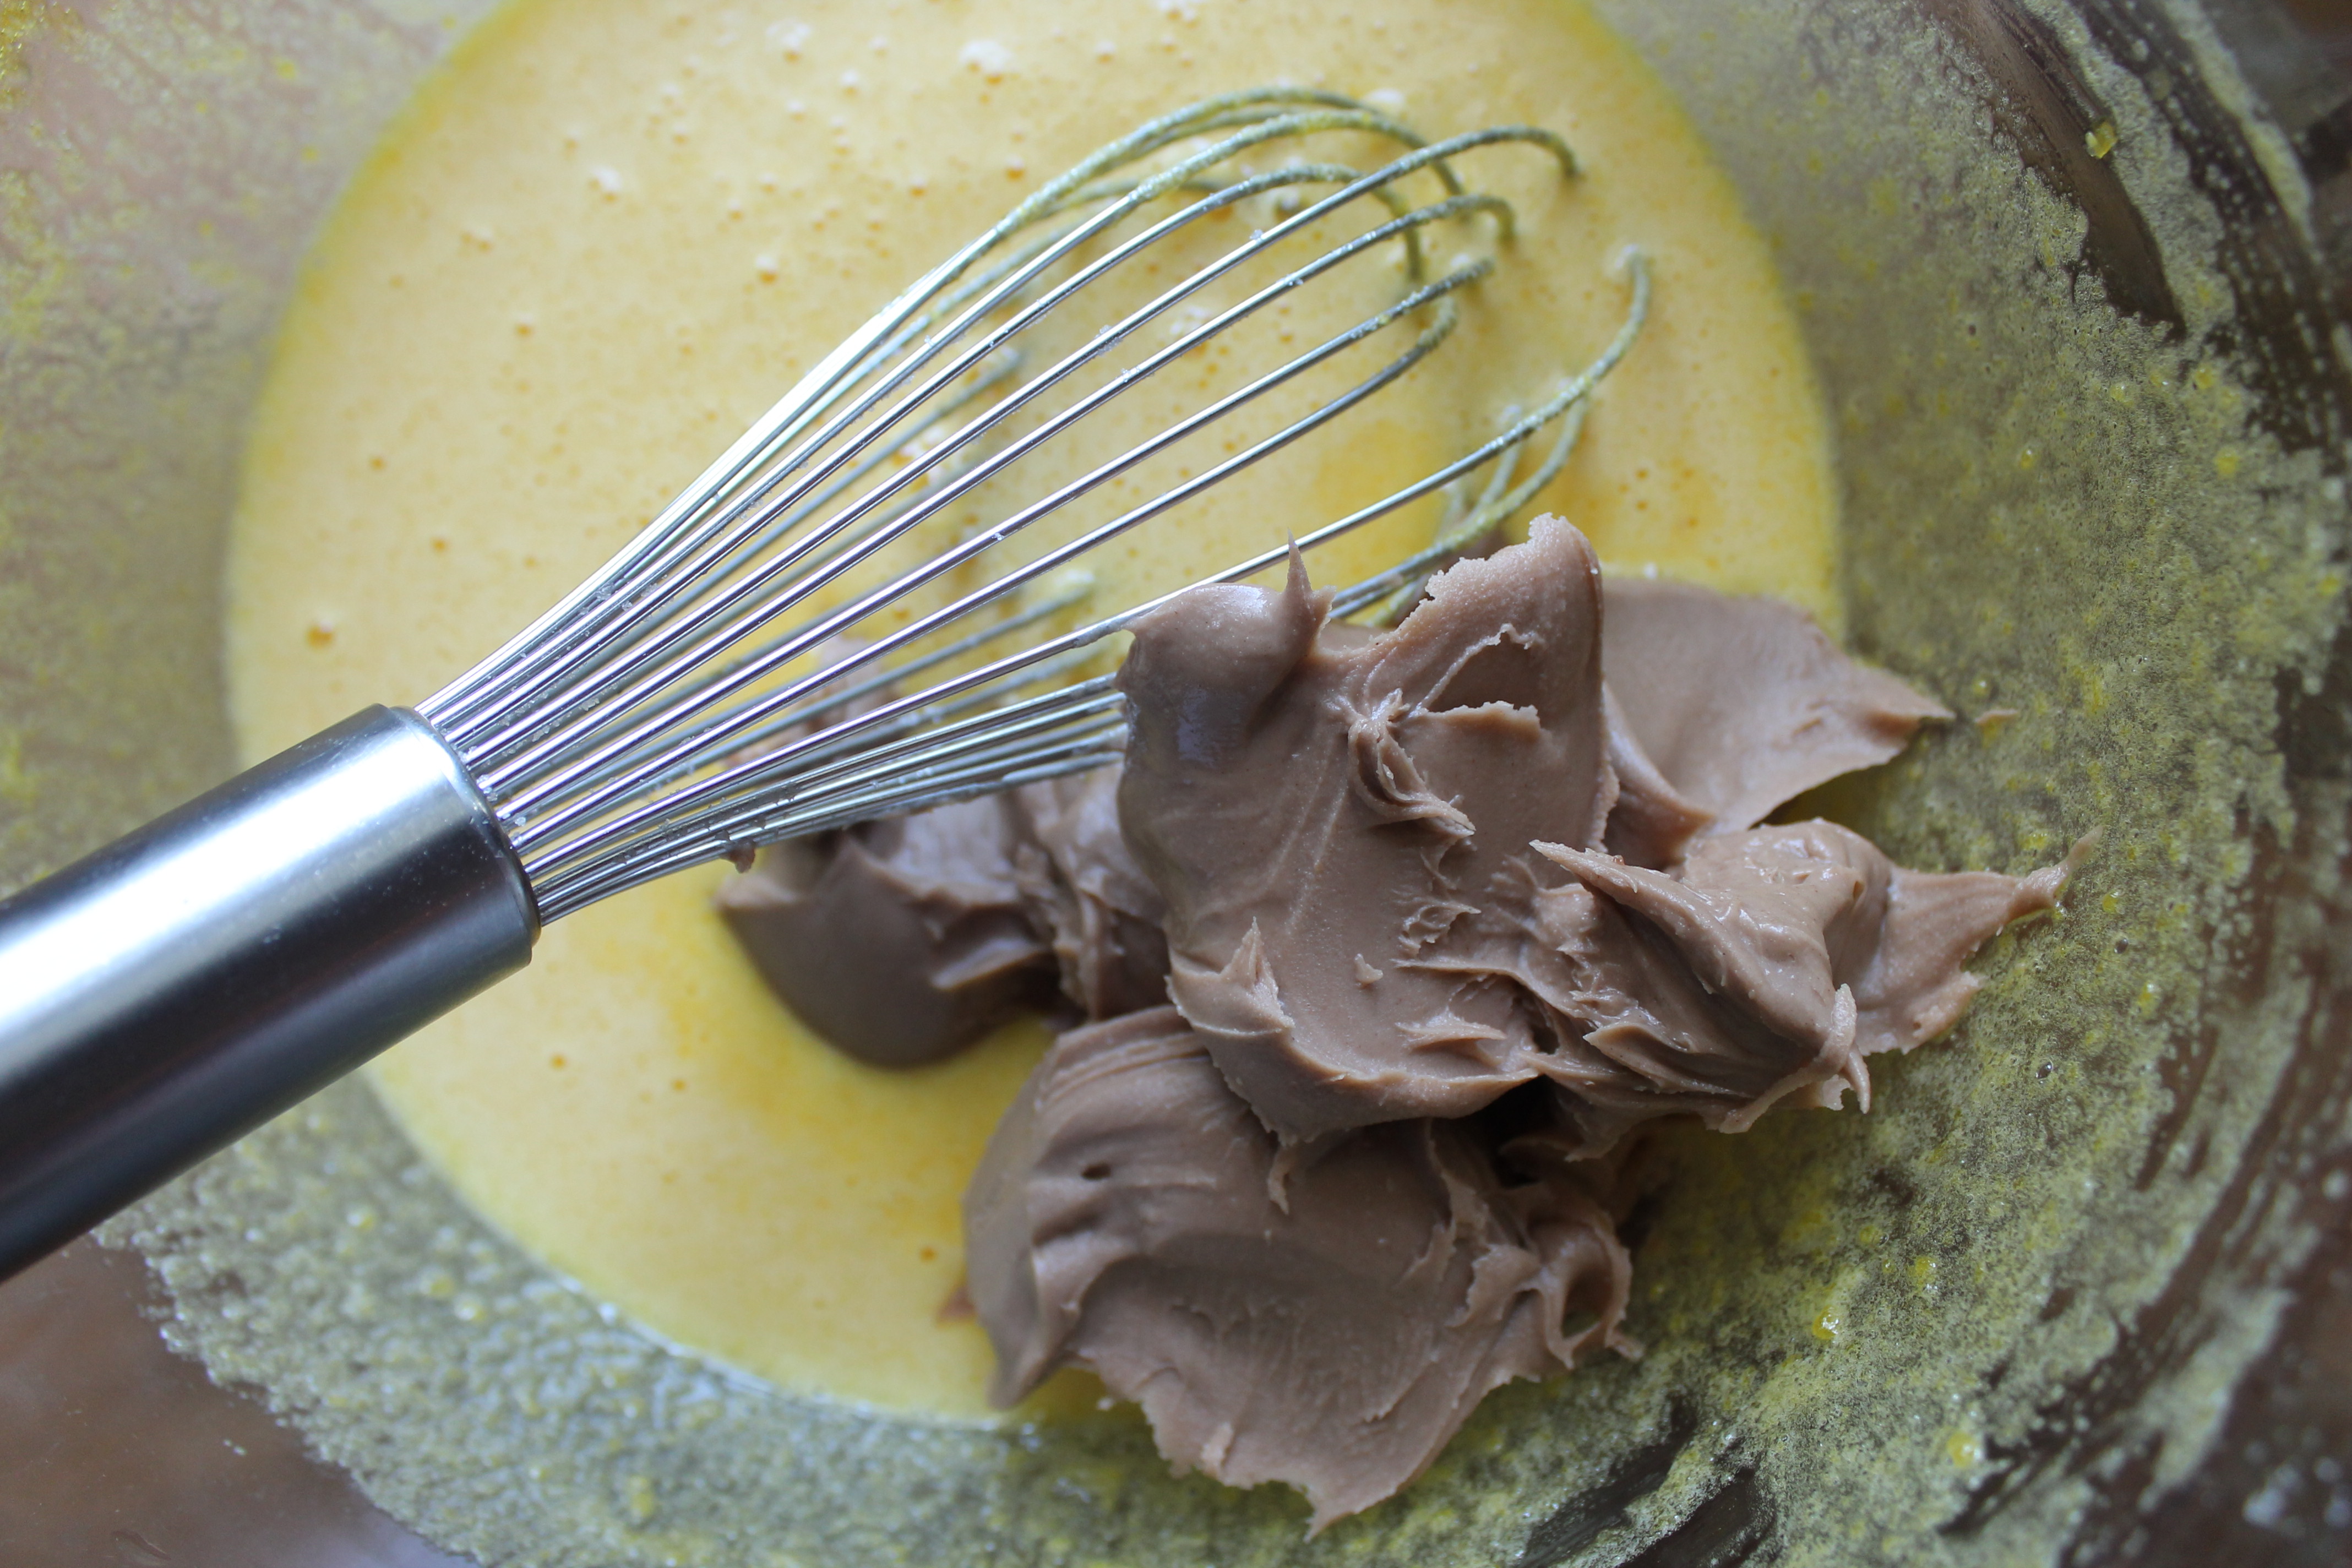 Actually, get used to those laps, because the bad(ish) news is that this makes crème brulée ridiculously, dangerously easy to make. We keep finding ourselves in need of an Aloha-type word that can mean “You’re welcome” and “We’re sorry” at the same time.
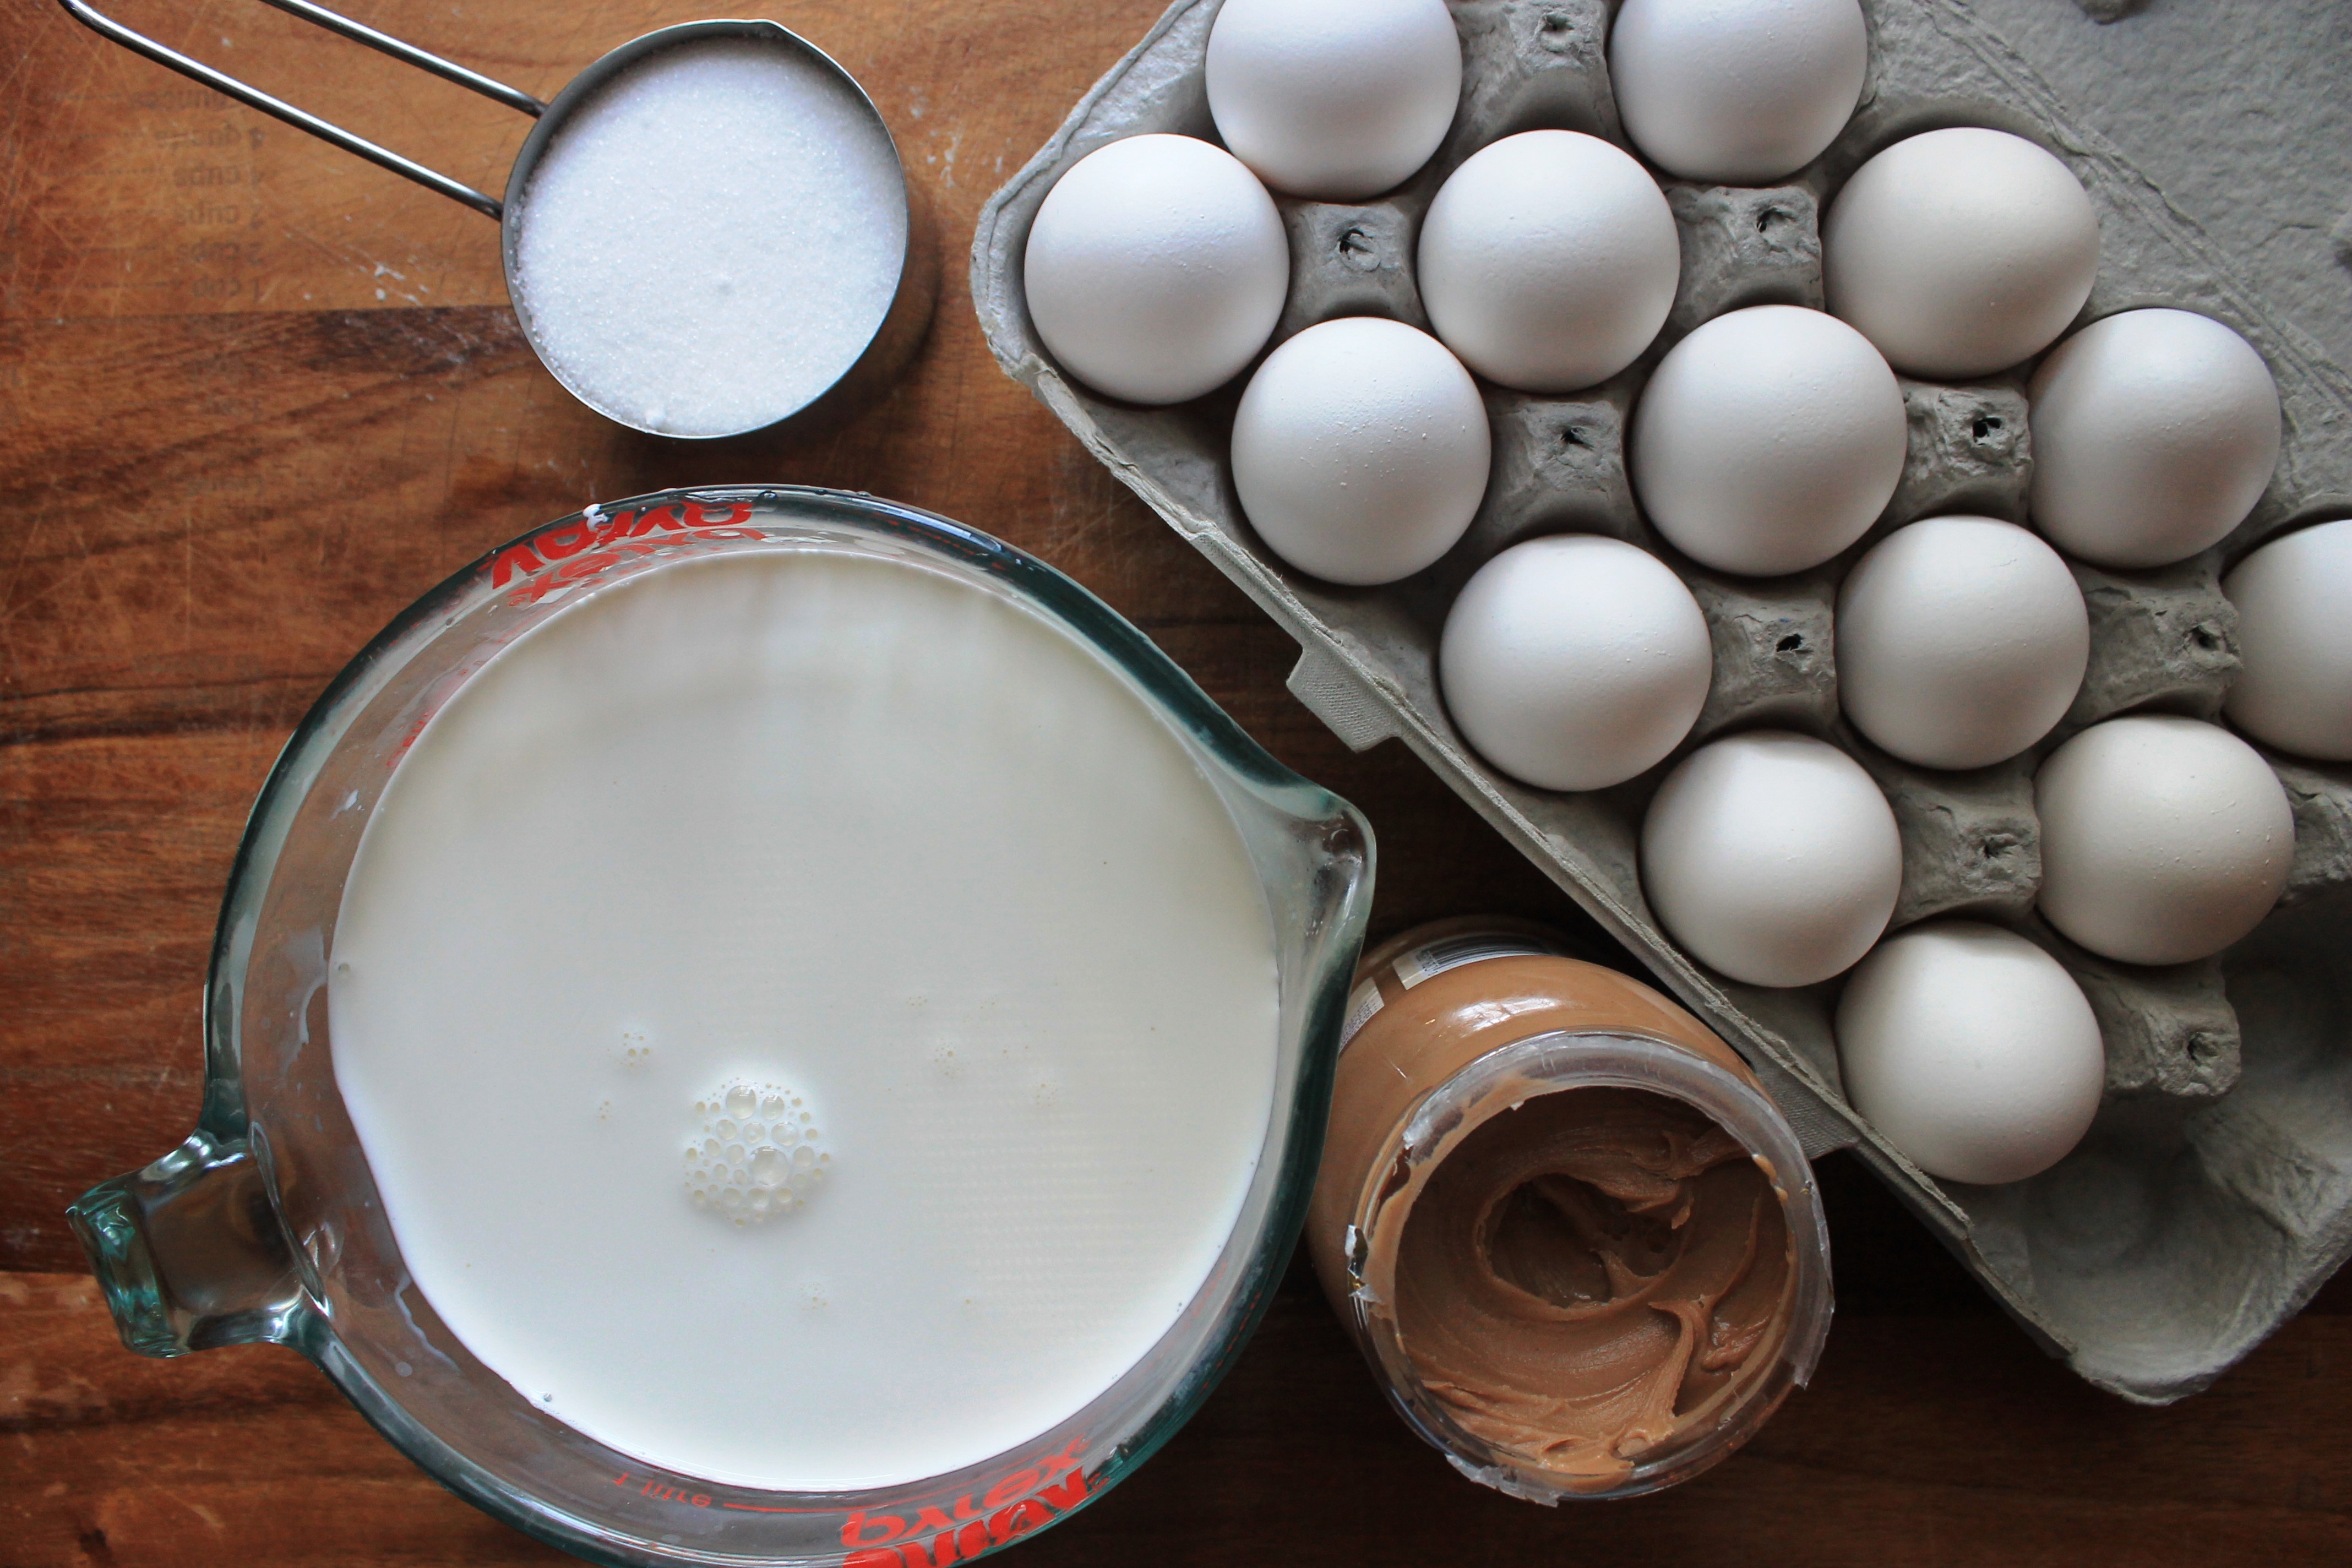
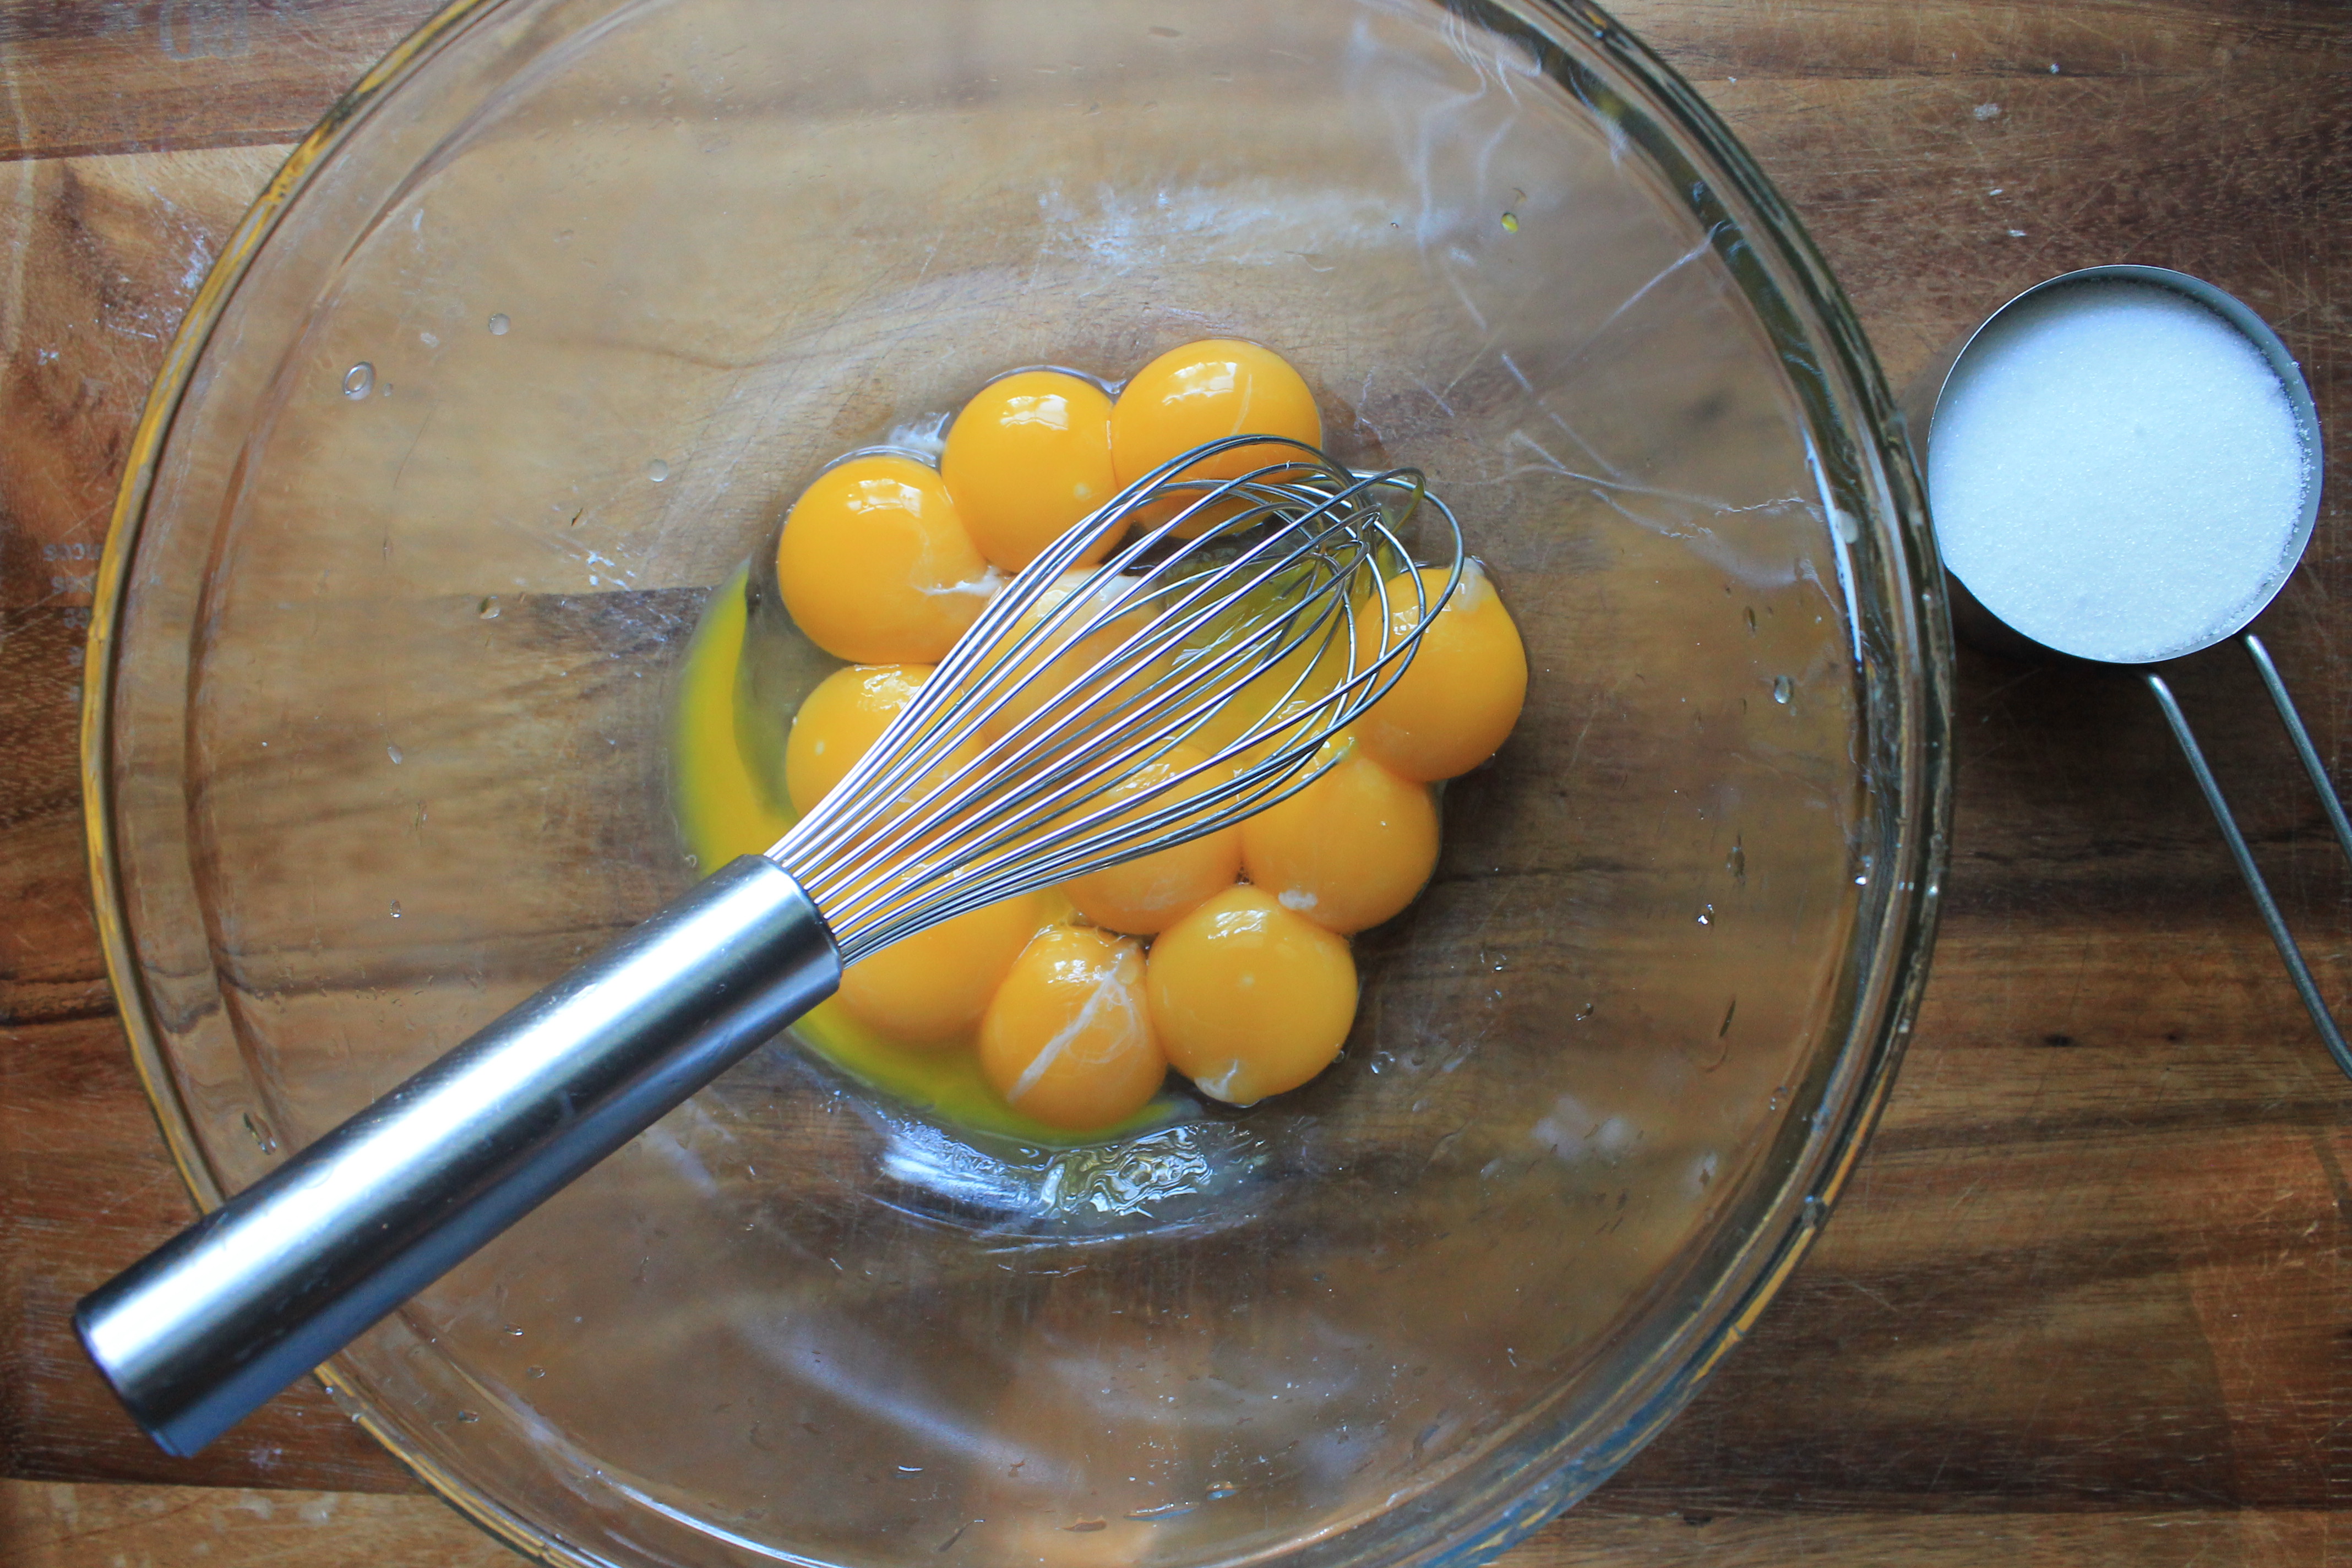
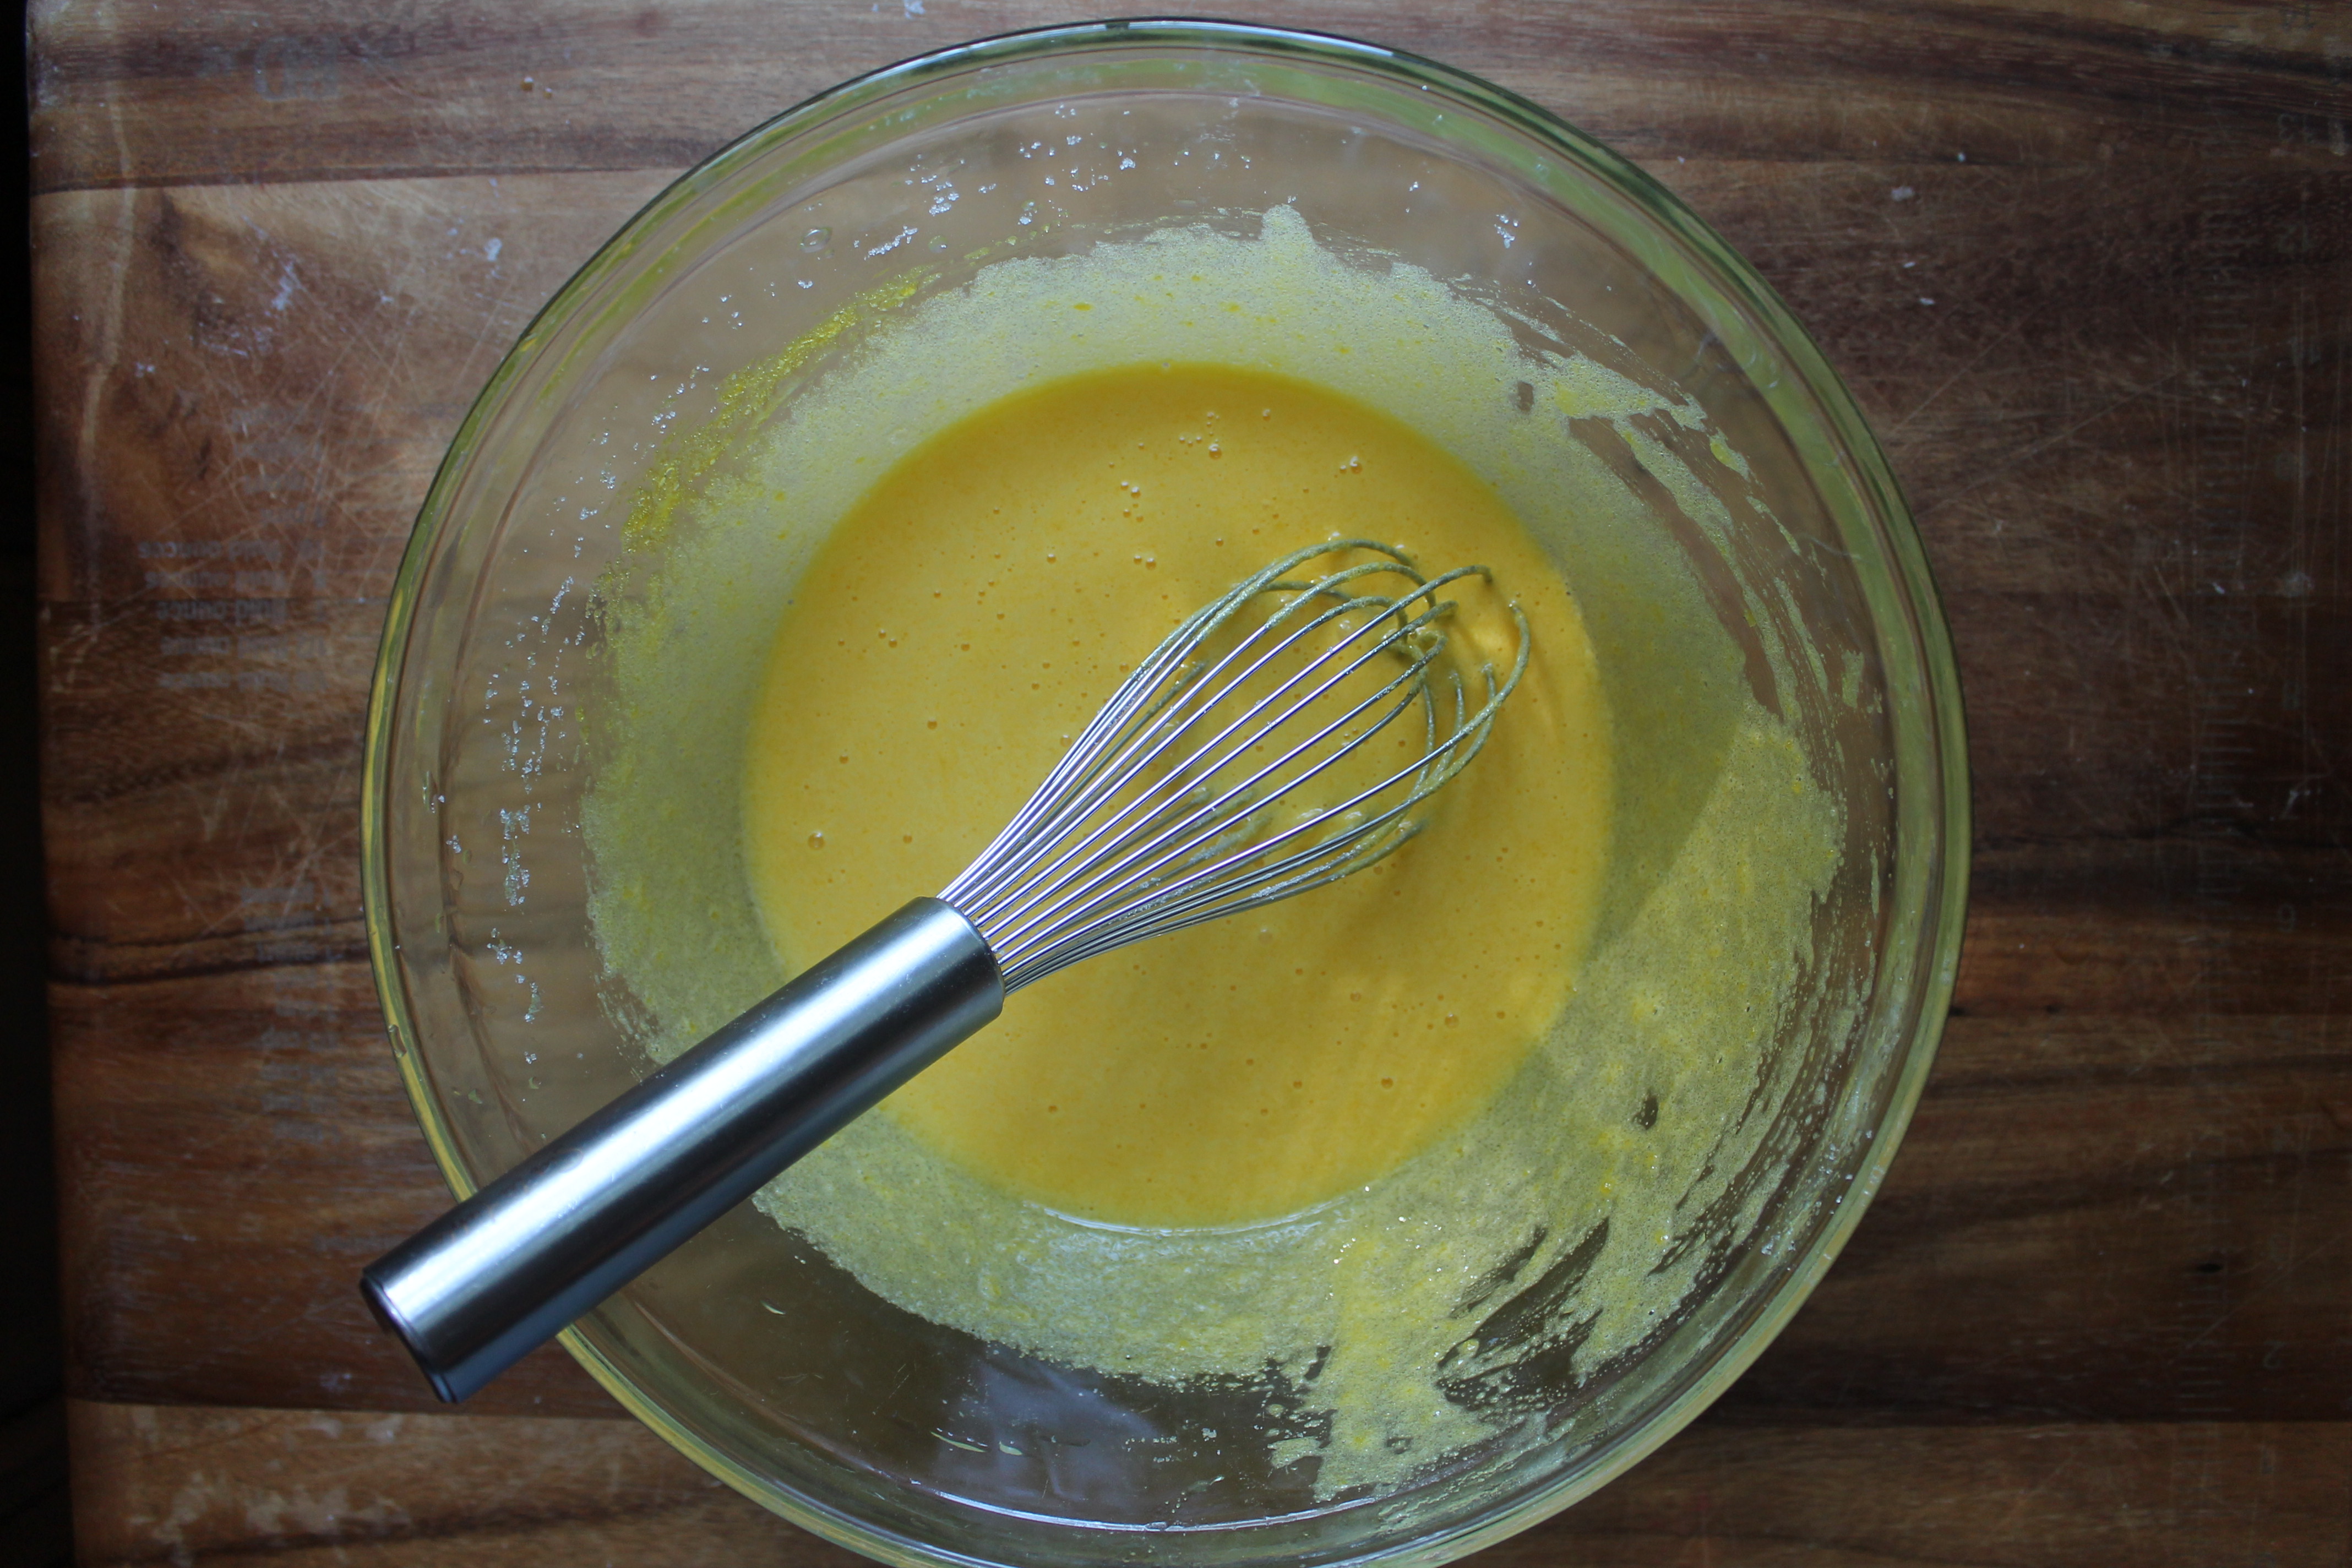
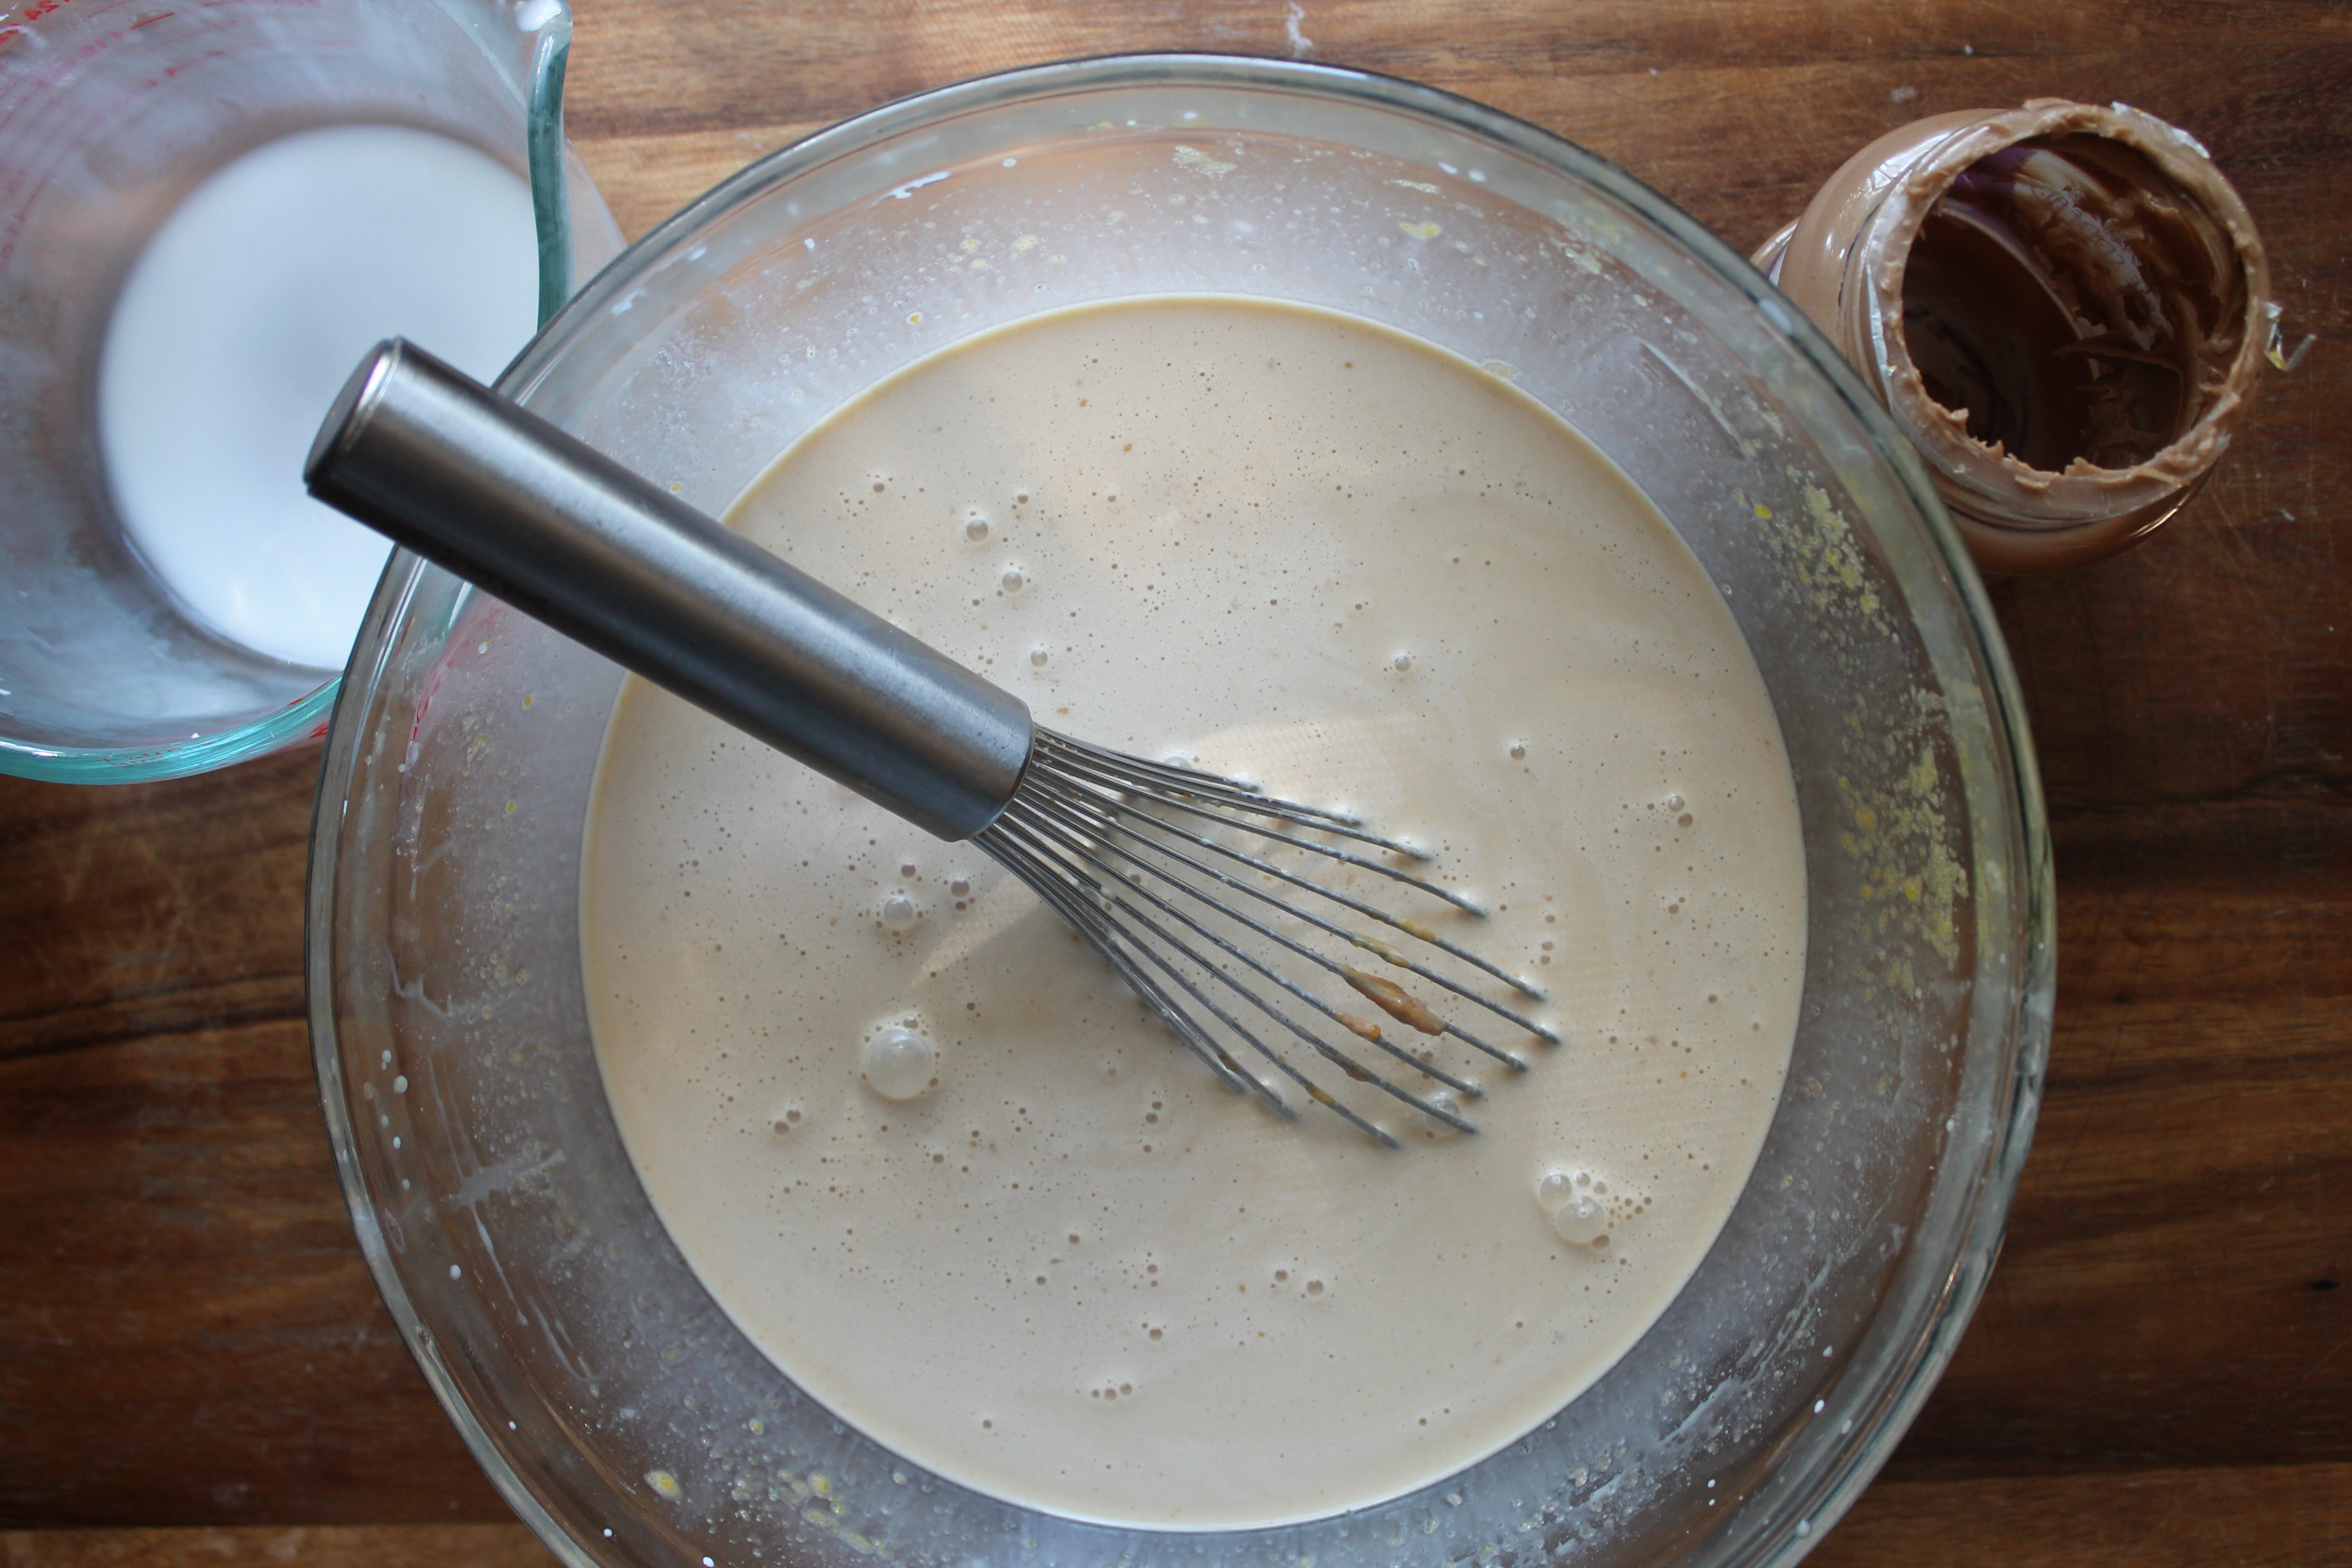
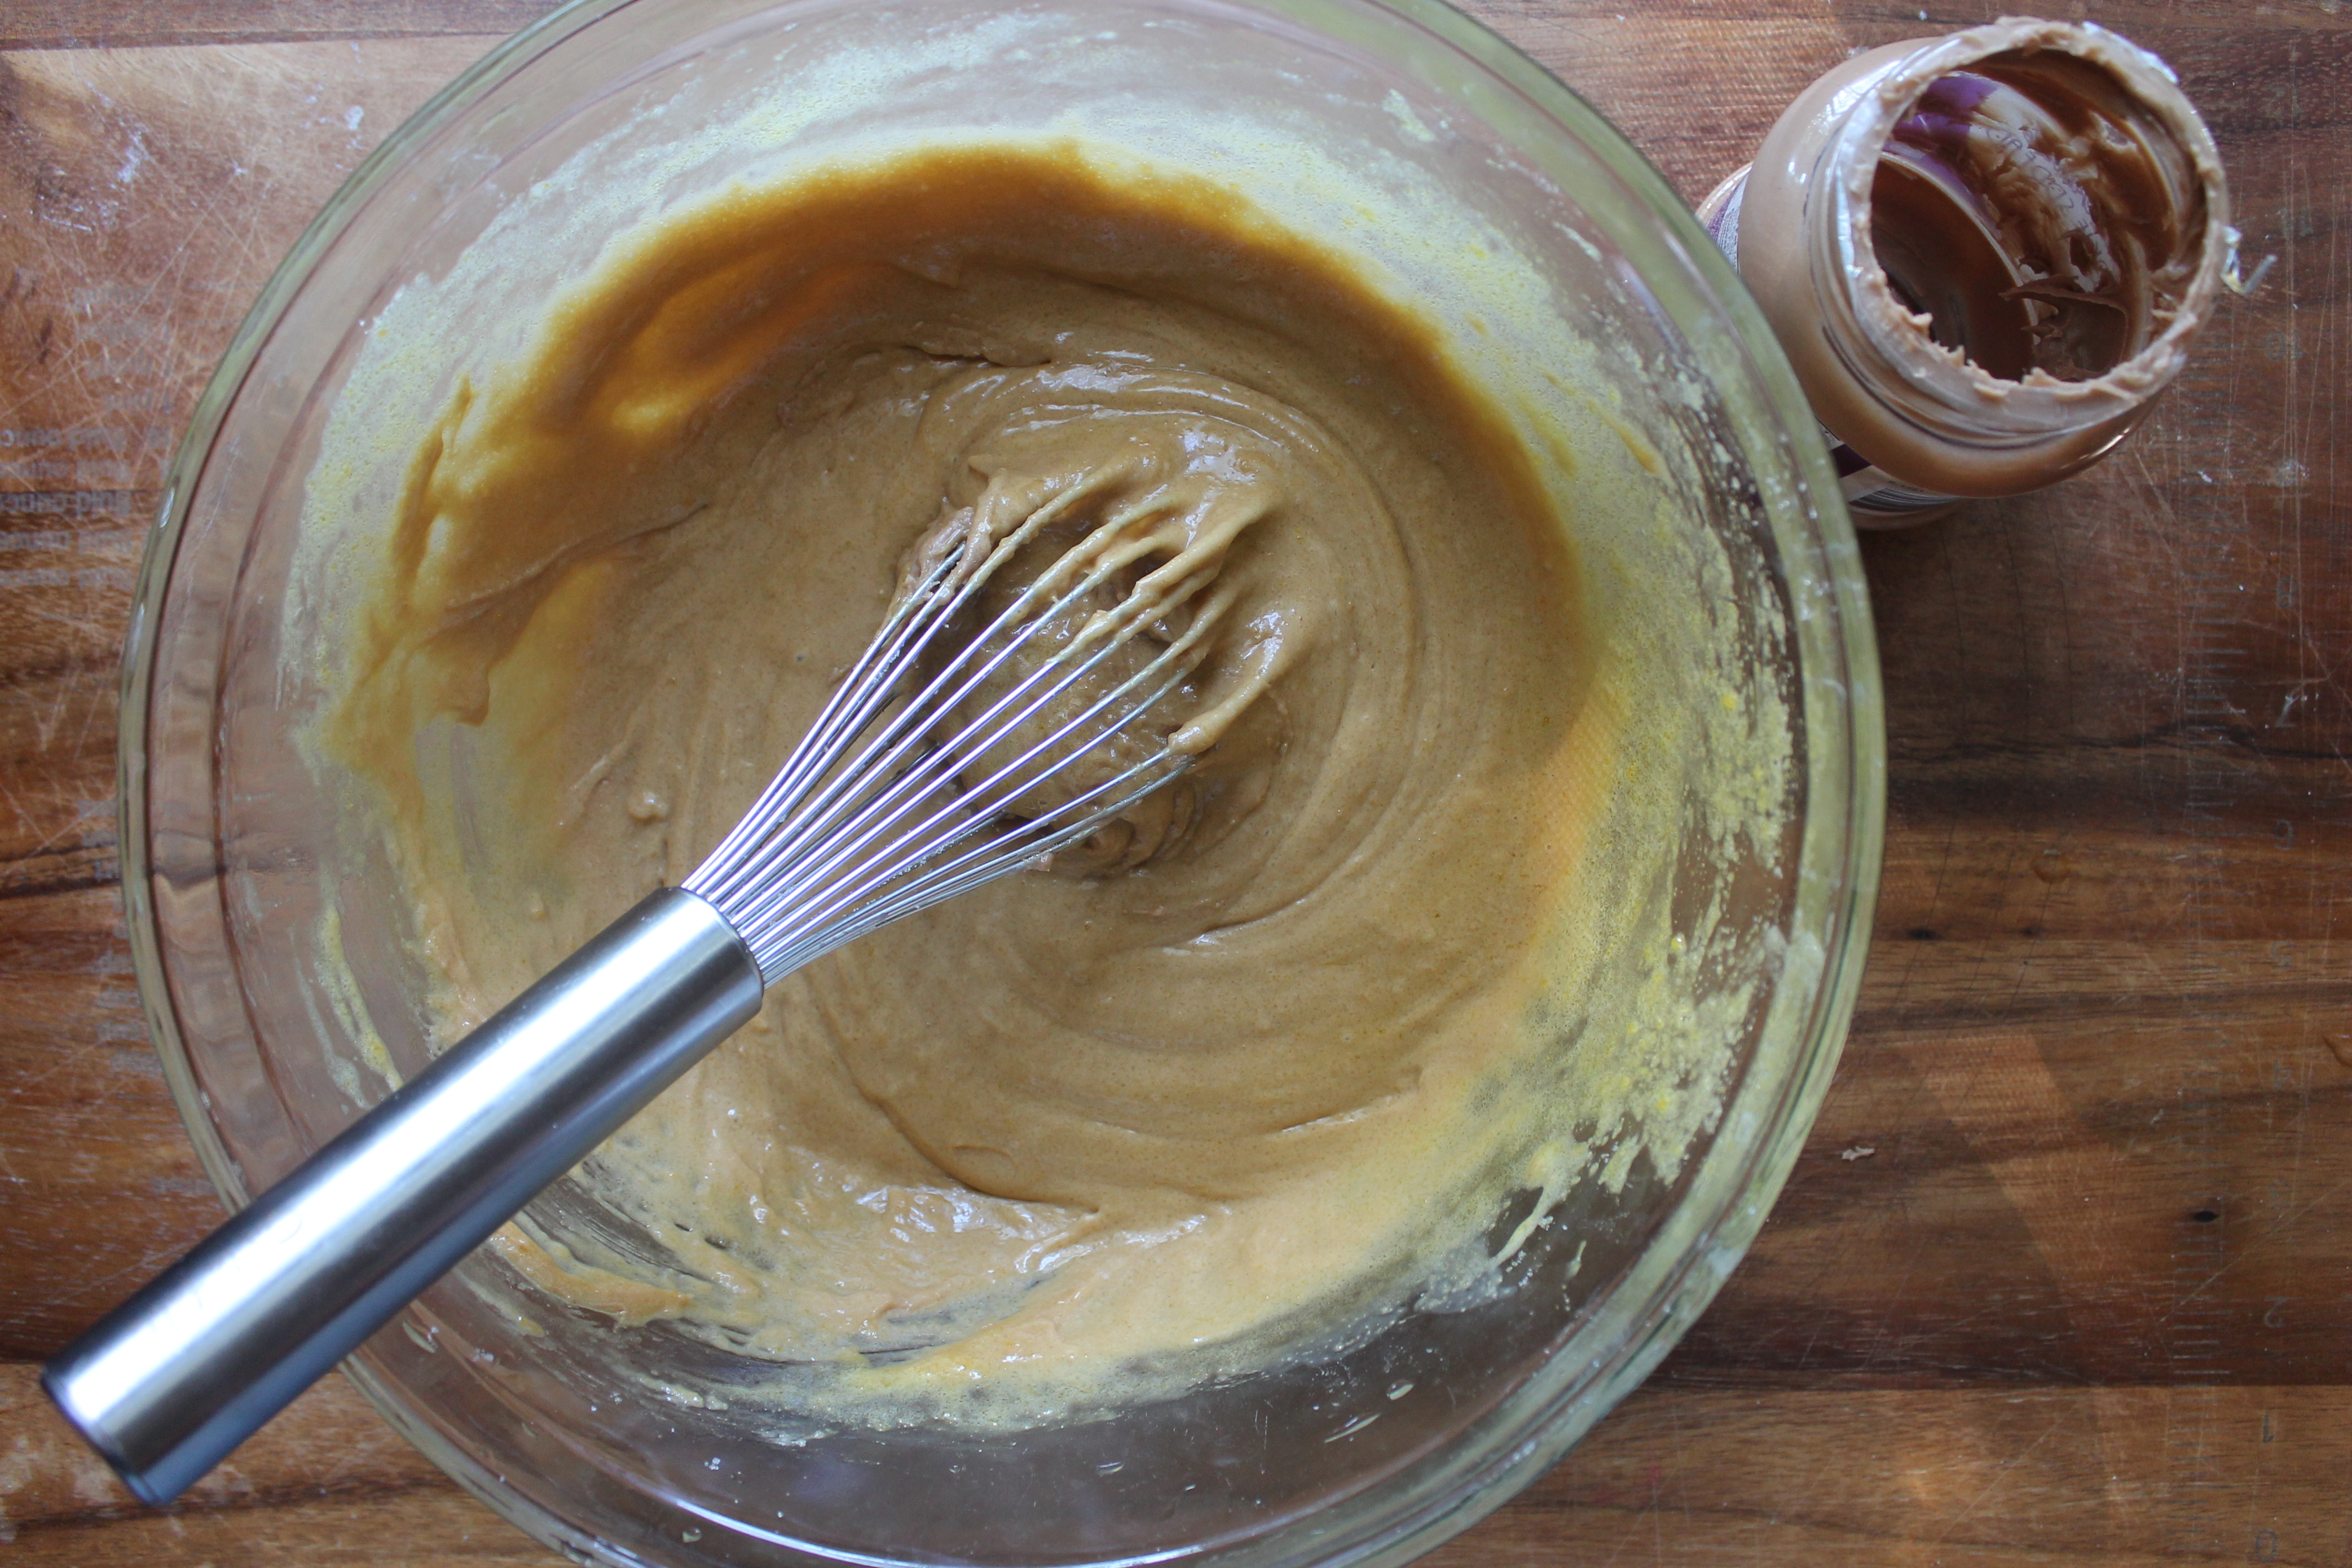 This technique simply calls for whisking together the egg yolks and sugar, adding in the cookie butter (room temperature is easiest), then incorporating the cold dairy. Did we mention that this recipe is dangerously simple?
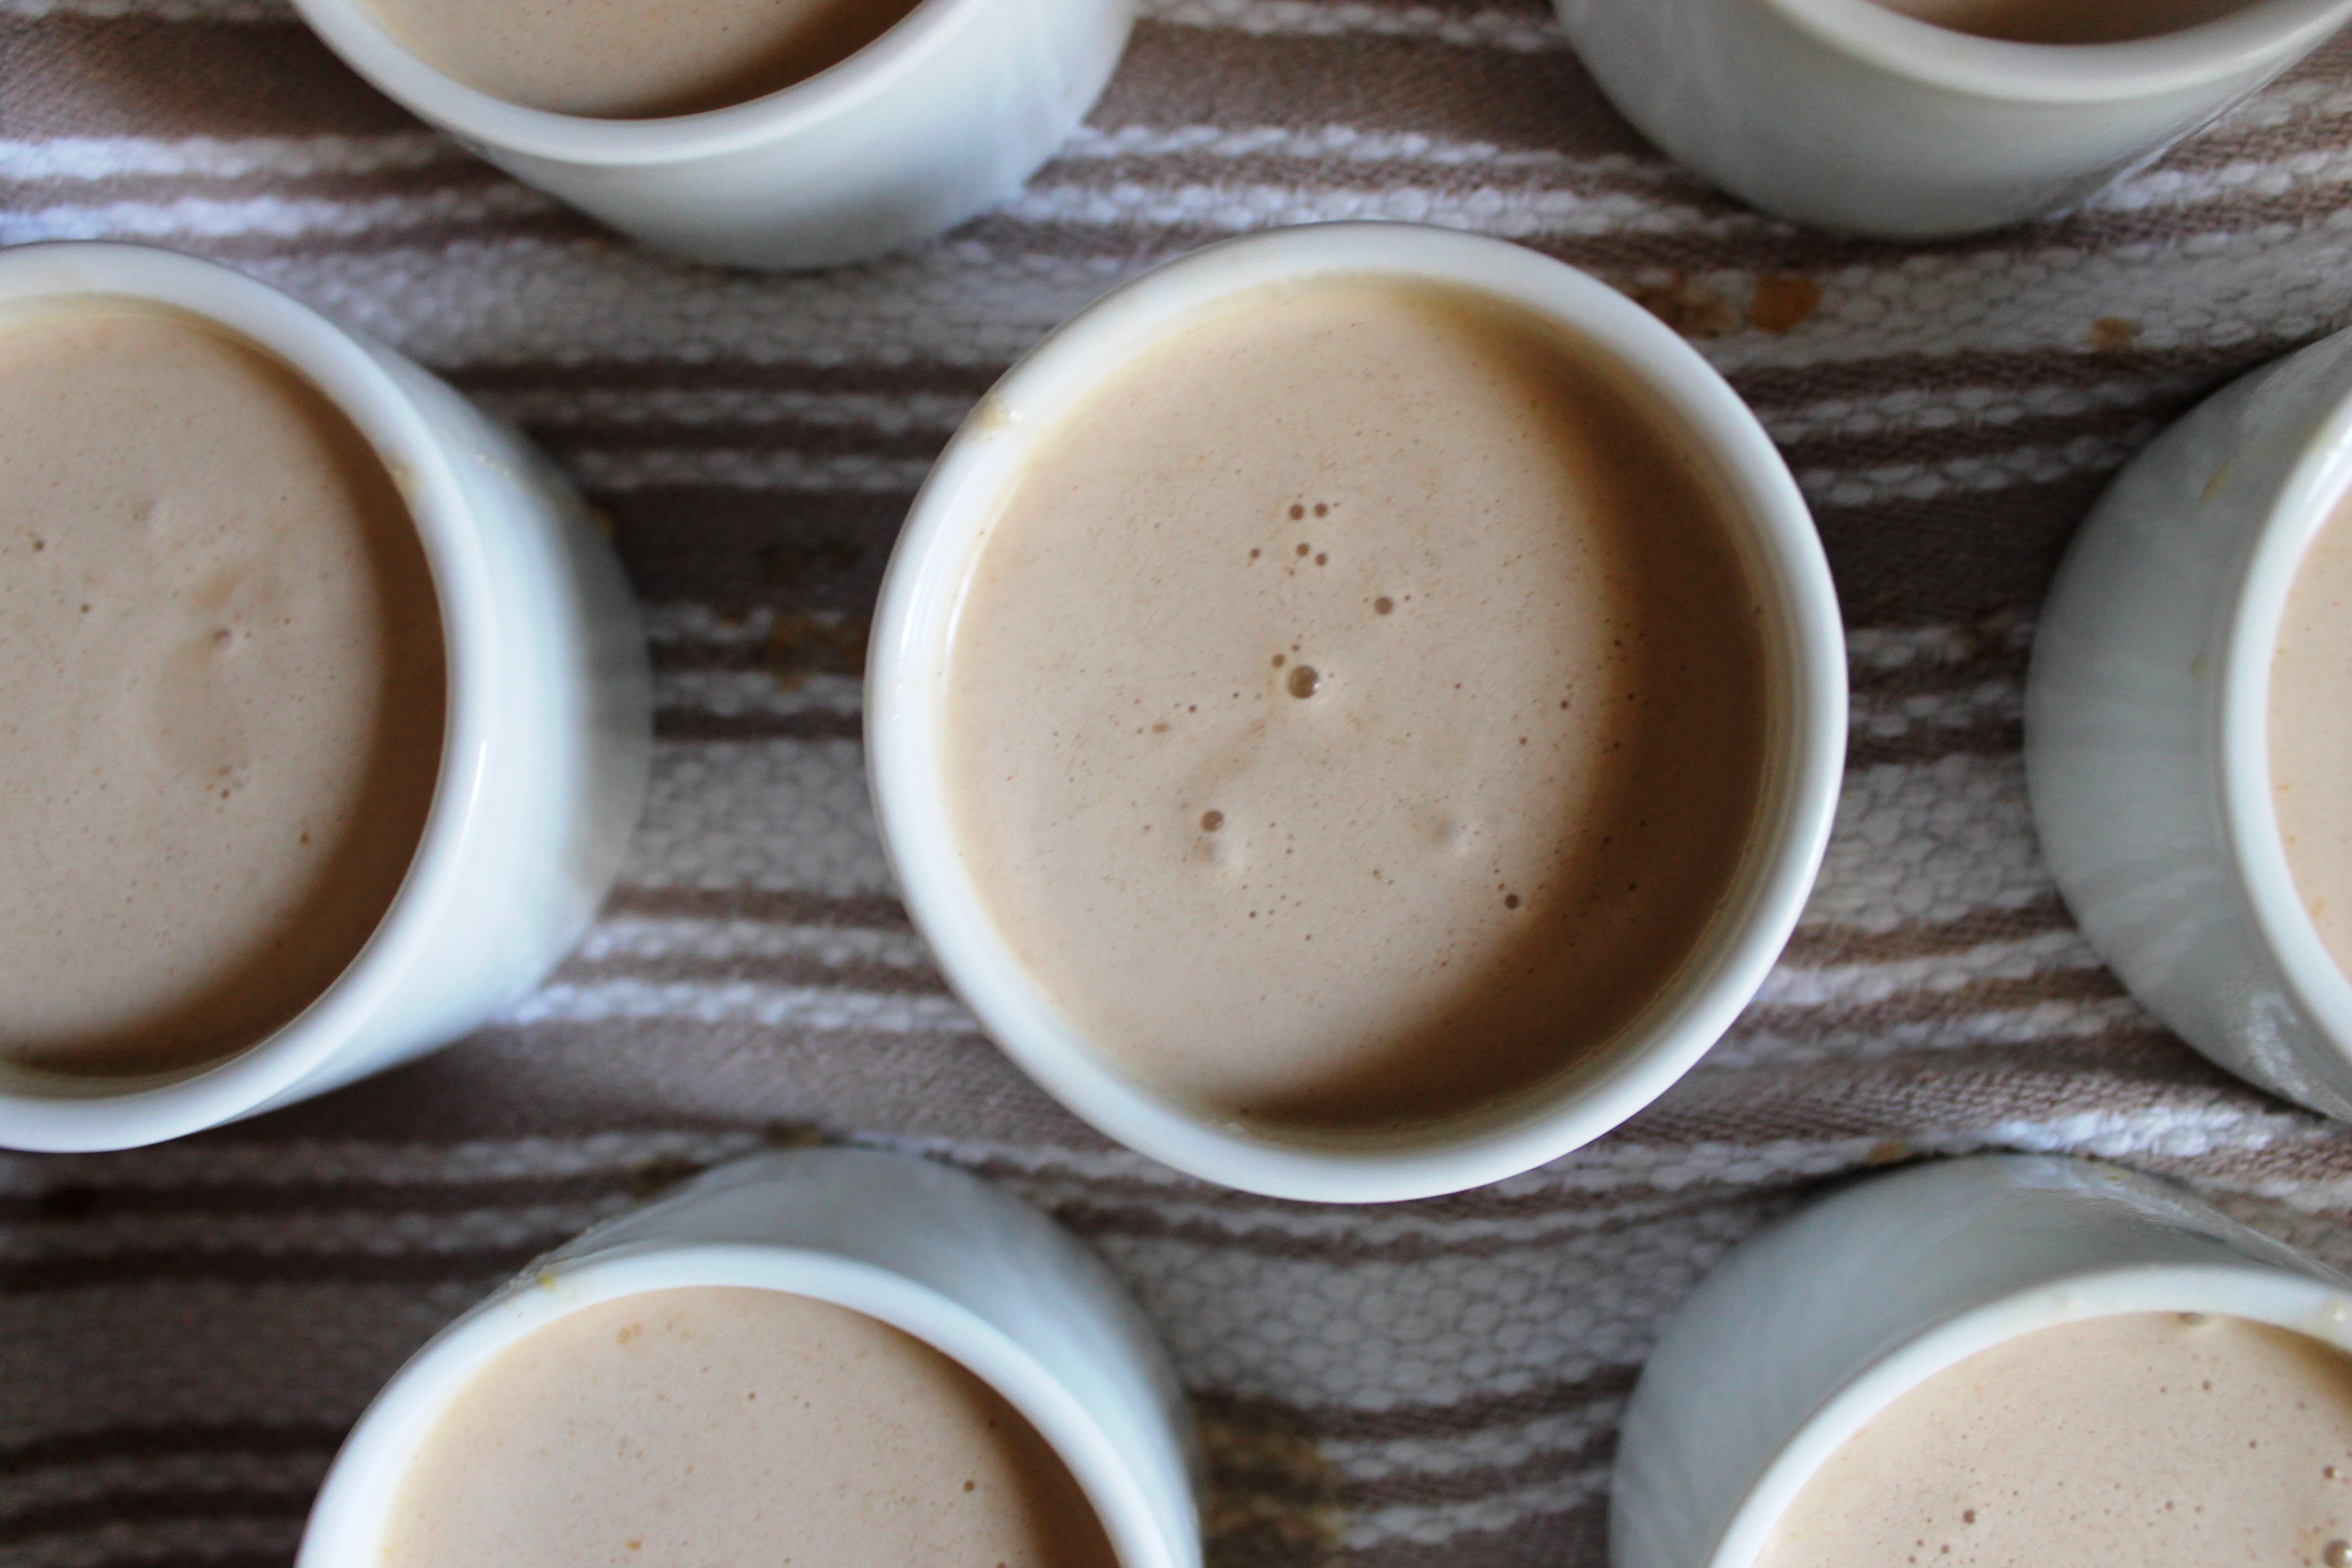
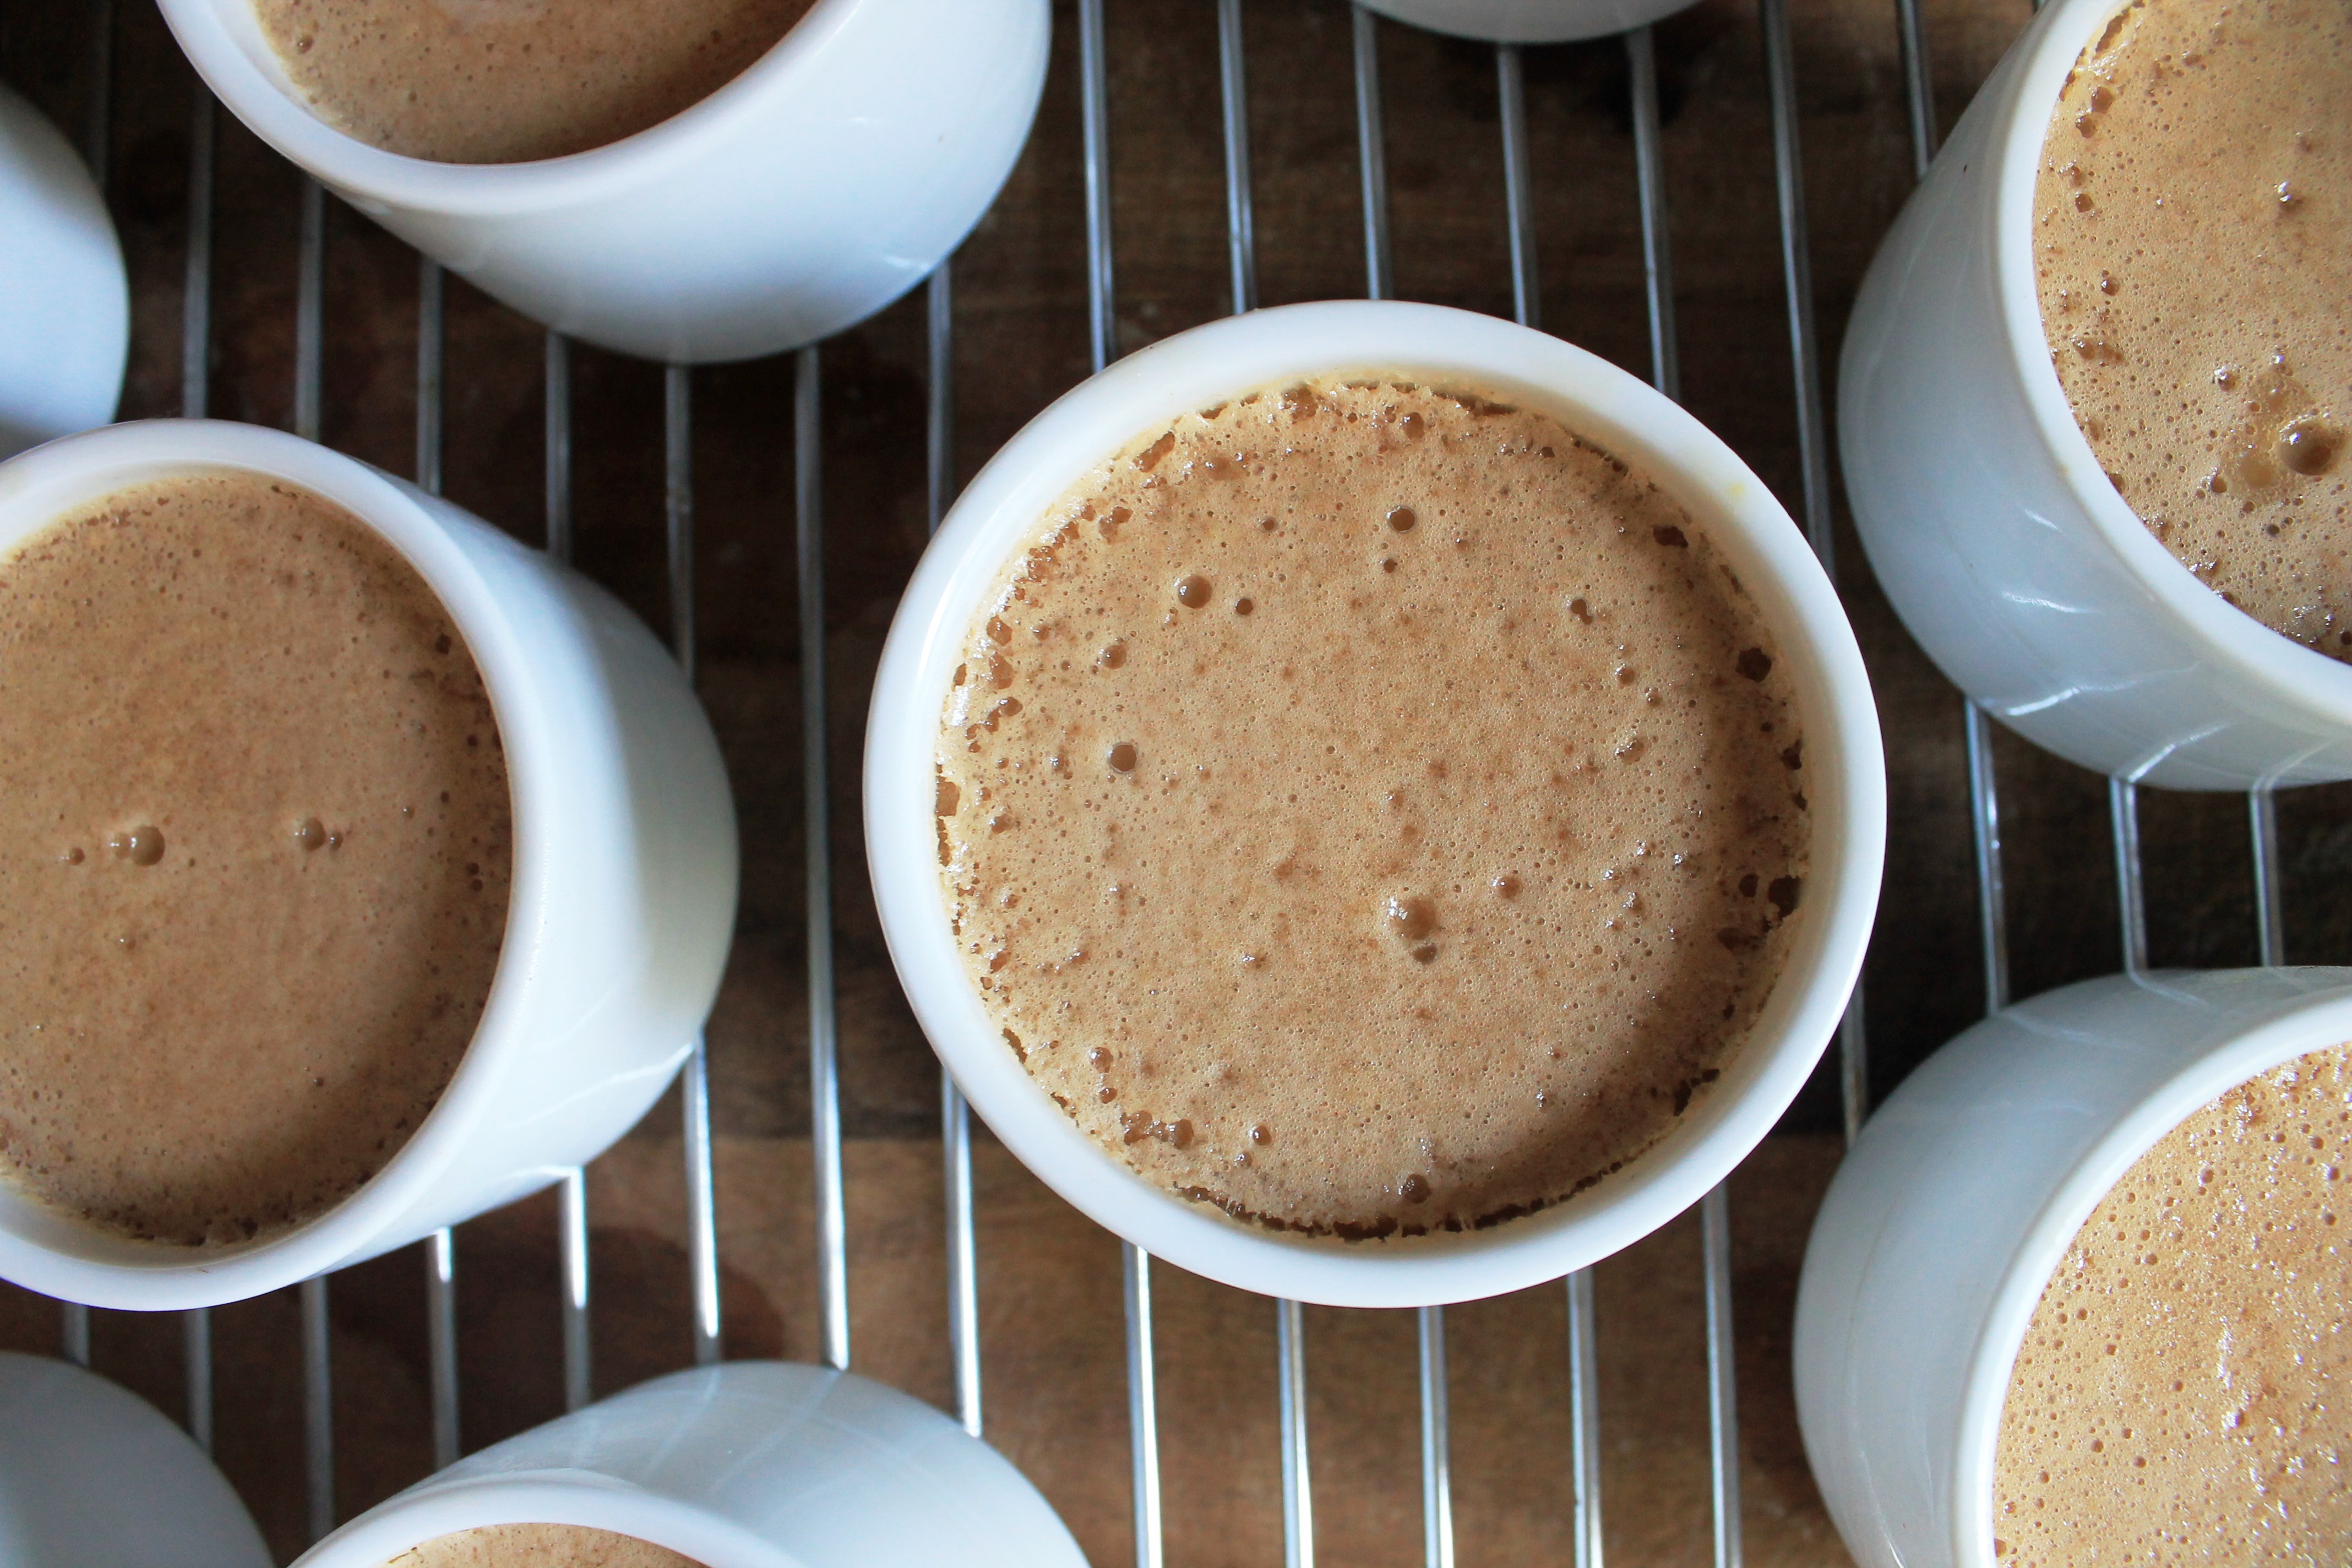
 Divide the custard evenly into ramekins (this recipe yields about 12 4-5 ounce servings) and bake using a simple bain marie technique. Once the custards are cooked, let them come to room temperature on a cooling rack for a couple of hours, then cover them with cling wrap and refrigerate them for at least 4 hours. Once they’re completely chilled, the real fun begins…
 For as much as we love that luscious, silky custard, the real superstar of this dessert is that burnt sugar, caramelized, crunchy top layer. Seriously, there is nothing more satisfying the end of a wonderful meal than cracking open this elegant, coveted dessert with the edge of a lucky spoon.
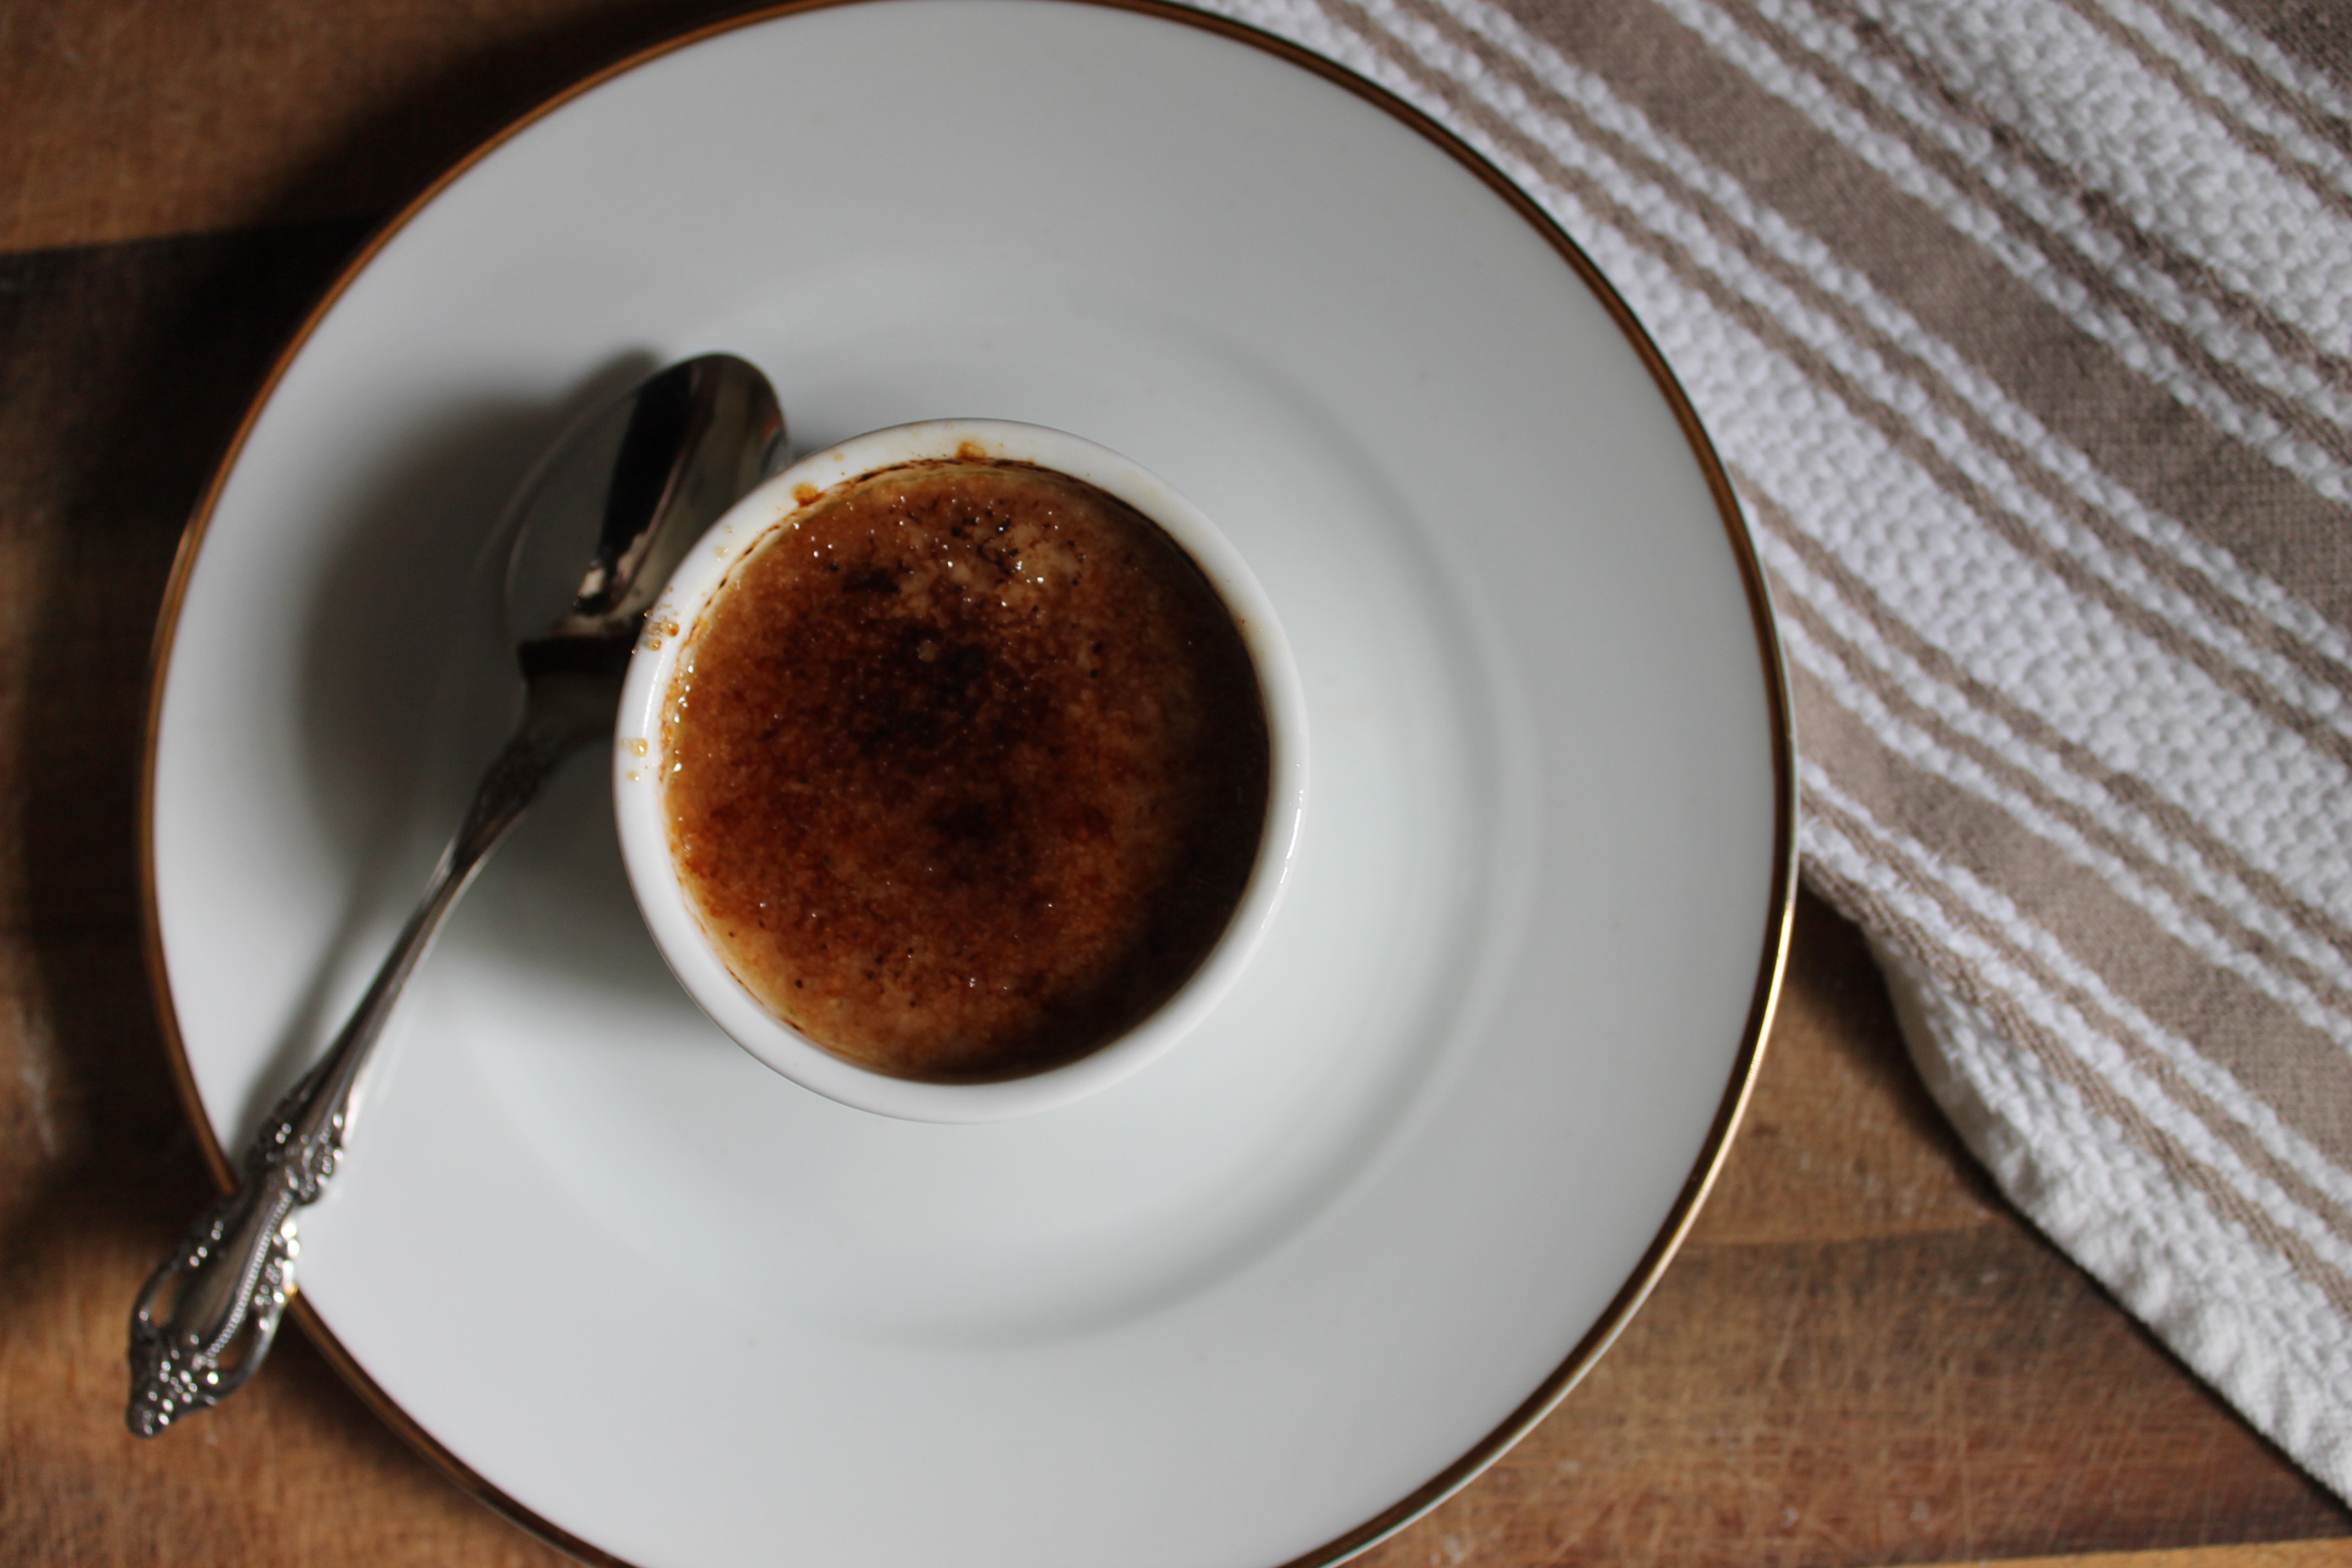
 The easiest way to achieve that crust is with a handheld kitchen torch. Honestly, if you haven’t run out to buy one by now, we don’t know what to do with you. Aside from putting crème brulée literally at you fingertips, you’ll be amazed at how many uses you find for this wondrous tool. Just in case we haven’t managed to convince you to make the investment, you can achieve similar—but not nearly so gleefully satisfying and entertaining—results under the broiler in your oven.
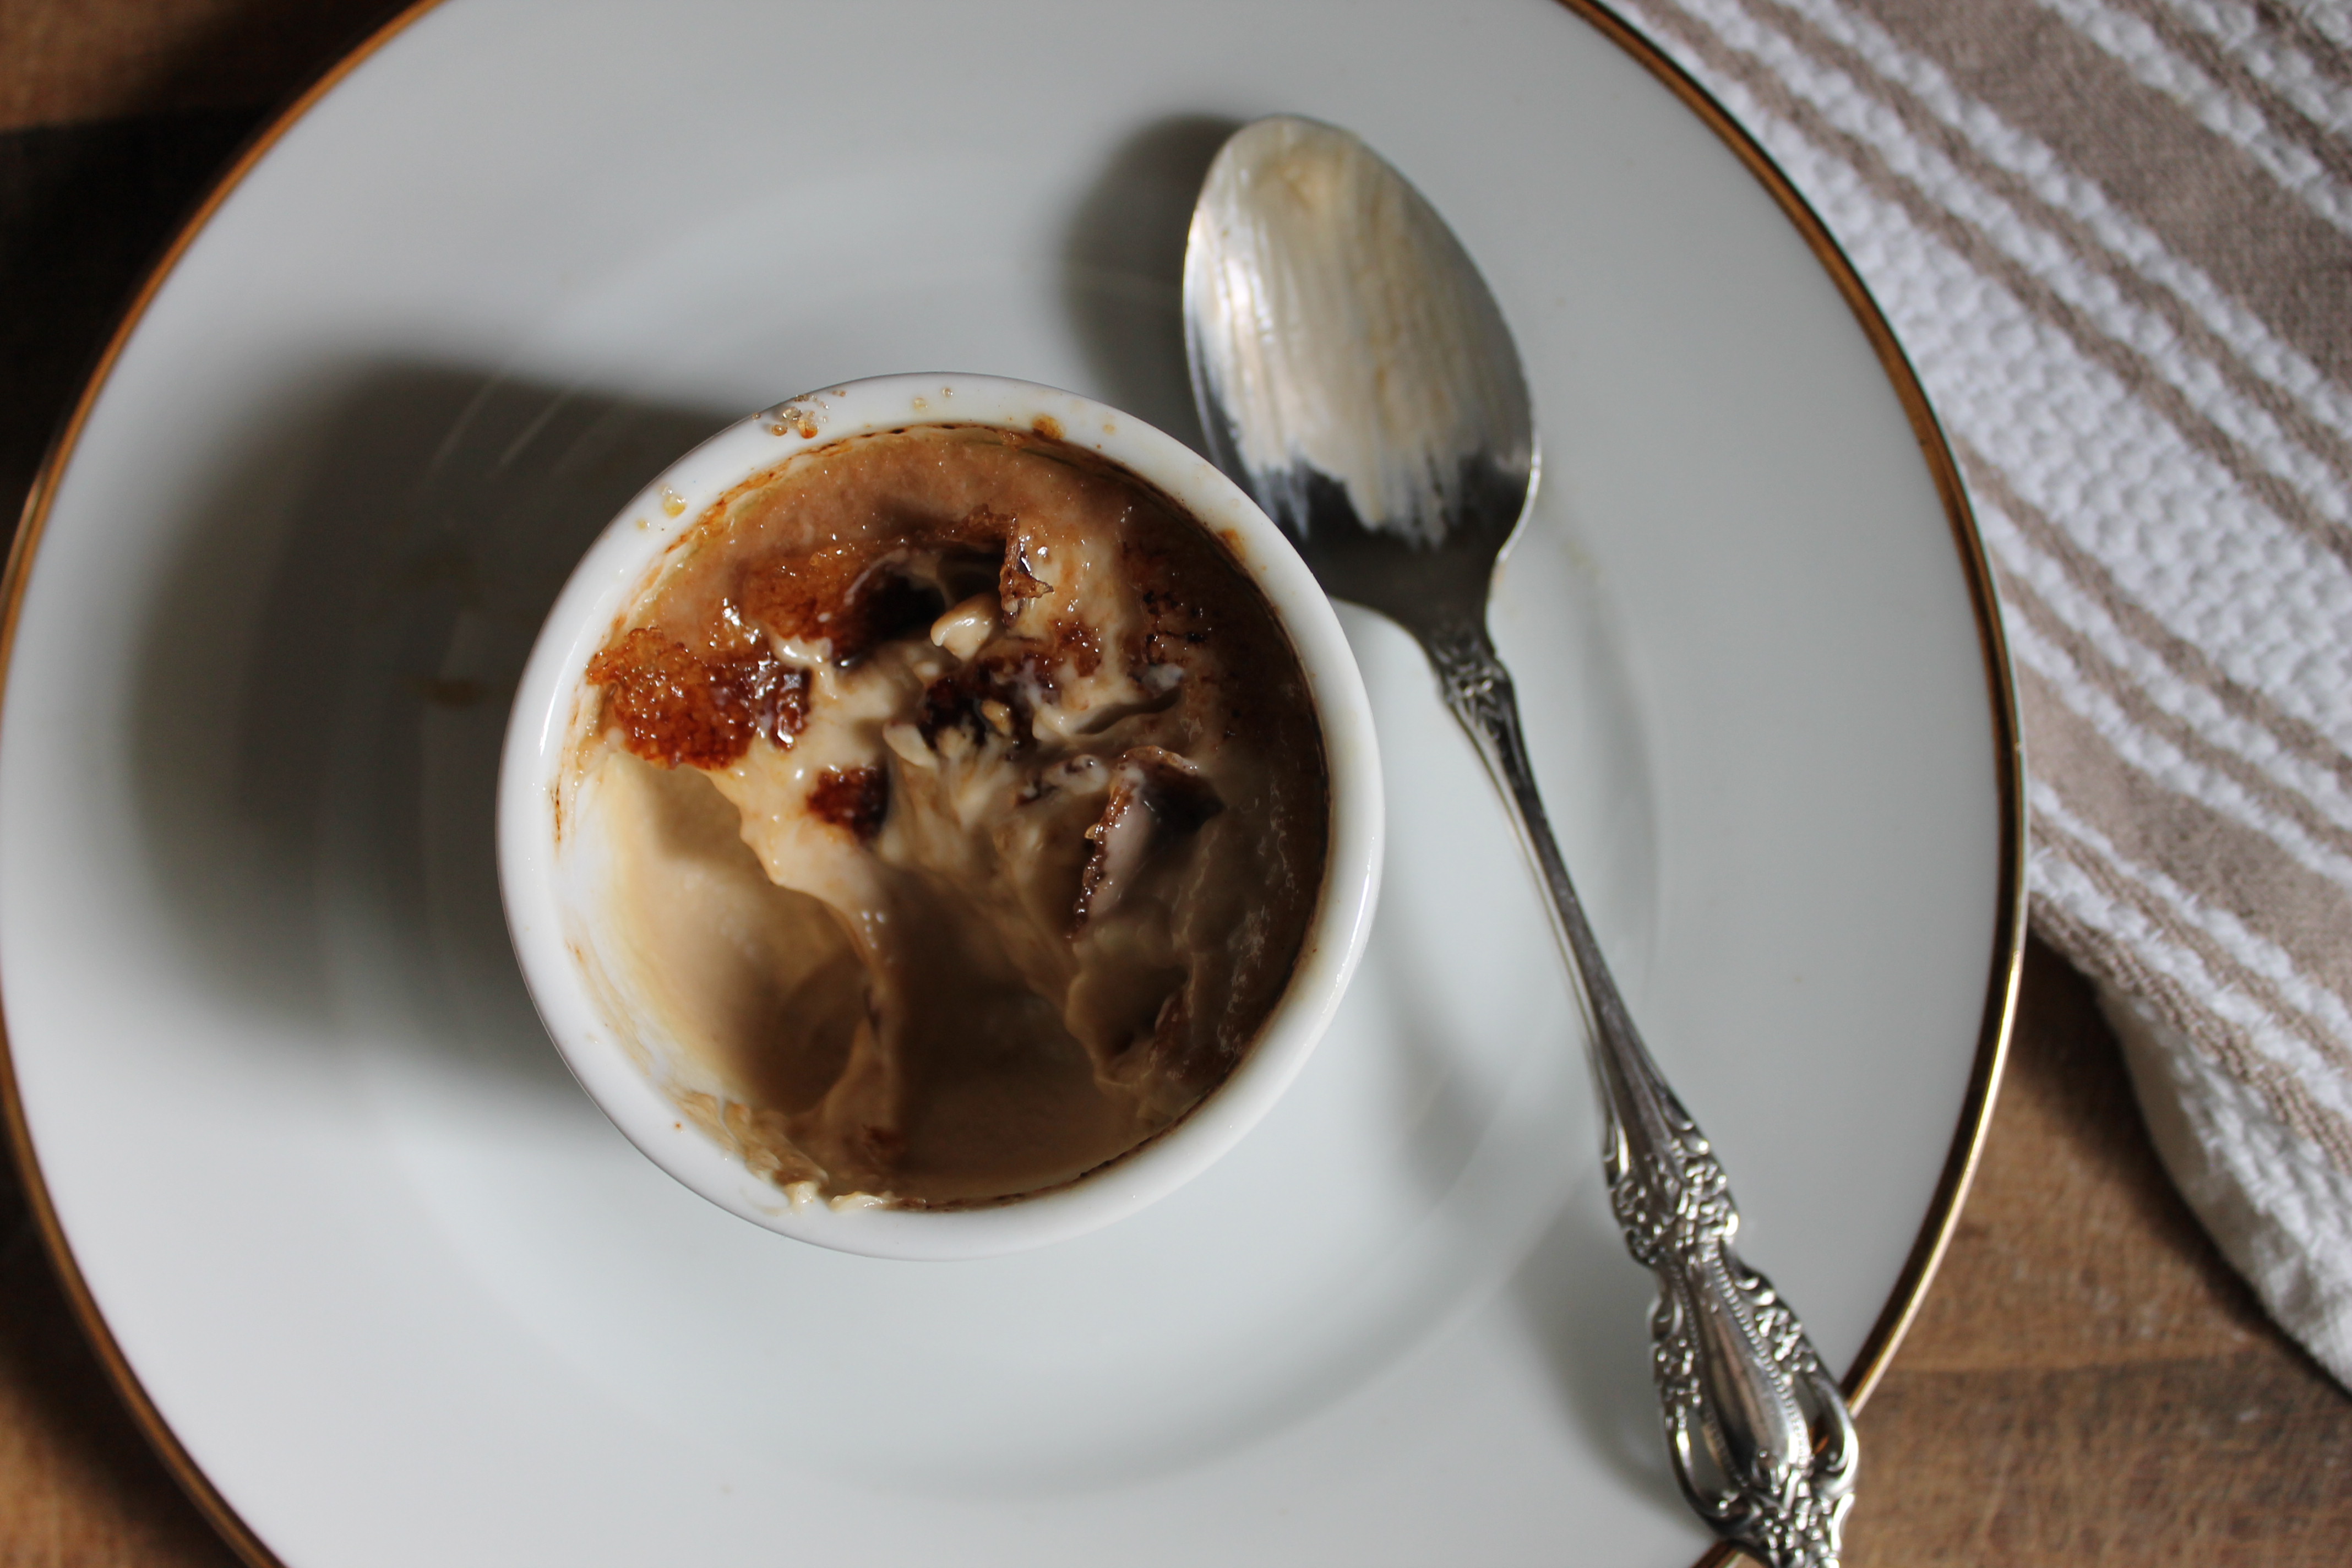
 For the broiler version, one adjustment you will need to make is to refrigerate the custards for a longer period, preferably overnight. The oven technique heats the ramekins from all sides, so there’s a risk that the custard will become soupy if it isn’t thoroughly chilled. We don’t need to tell you what a tragedy that would be, so better safe than sorry. Still on the fence about that kitchen torch? Make the leap, then make this recipe. Grab a spoon and get cracking! Repeat as often as possible. We guess the only thing left for us to say is, umm…Aloha?
Adapted from The Cook’s Illustrated Cookbook.
- 12 large egg yolks
- 1 cup sugar
- pinch salt
- 1 13-ounce jar cookie butter or Biscoff cookie spread (about 1 to 1 ½ cups)
- 1 tablespoon vanilla extract
- 4 cups cream or half and half
- 3 to 4 ounces turbinado sugar (granulated sugar will work too)
- Preheat oven to 300 degrees F.
- In a large bowl, whisk egg yolks, sugar and salt until smooth and thick.
- Whisk in the cookie butter and vanilla extract. Whisk in the cream, about a cup at a time, until mixture is smooth and fully incorporated.
- Place a kitchen towel in bottom of large baking dish or roasting pan; set twelve 4 to 5 ounce ramekins on towel. Divide creme brulee mixture evenly among ramekins.Bring a kettle of water to boil.
- Set baking dish on oven rack, then pour hot water from kettle (carefully, so as not to splash water into the ramekins) into the dish to a level slightly more than halfway up the outsides of the ramekins. Bake until centers of custards are just set, 35 to 40 minutes (25 to 30 minutes for shallower ramekins).
- Transfer ramekins to wire rack and let cool to room temperature, about 2 hours. Set ramekins on baking sheet, cover tightly with plastic wrap, and refrigerate until cold, at least 4 hours.
- Uncover ramekins. If condensation has collected on custards, blot moisture with paper towel. Sprinkle each with about 1 teaspoon turbinado sugar; tilt and tap each ramekin to distribute sugar evenly, dumping out excess sugar. Ignite torch and caramelize sugar. Enjoy immediately.


Leave a Reply