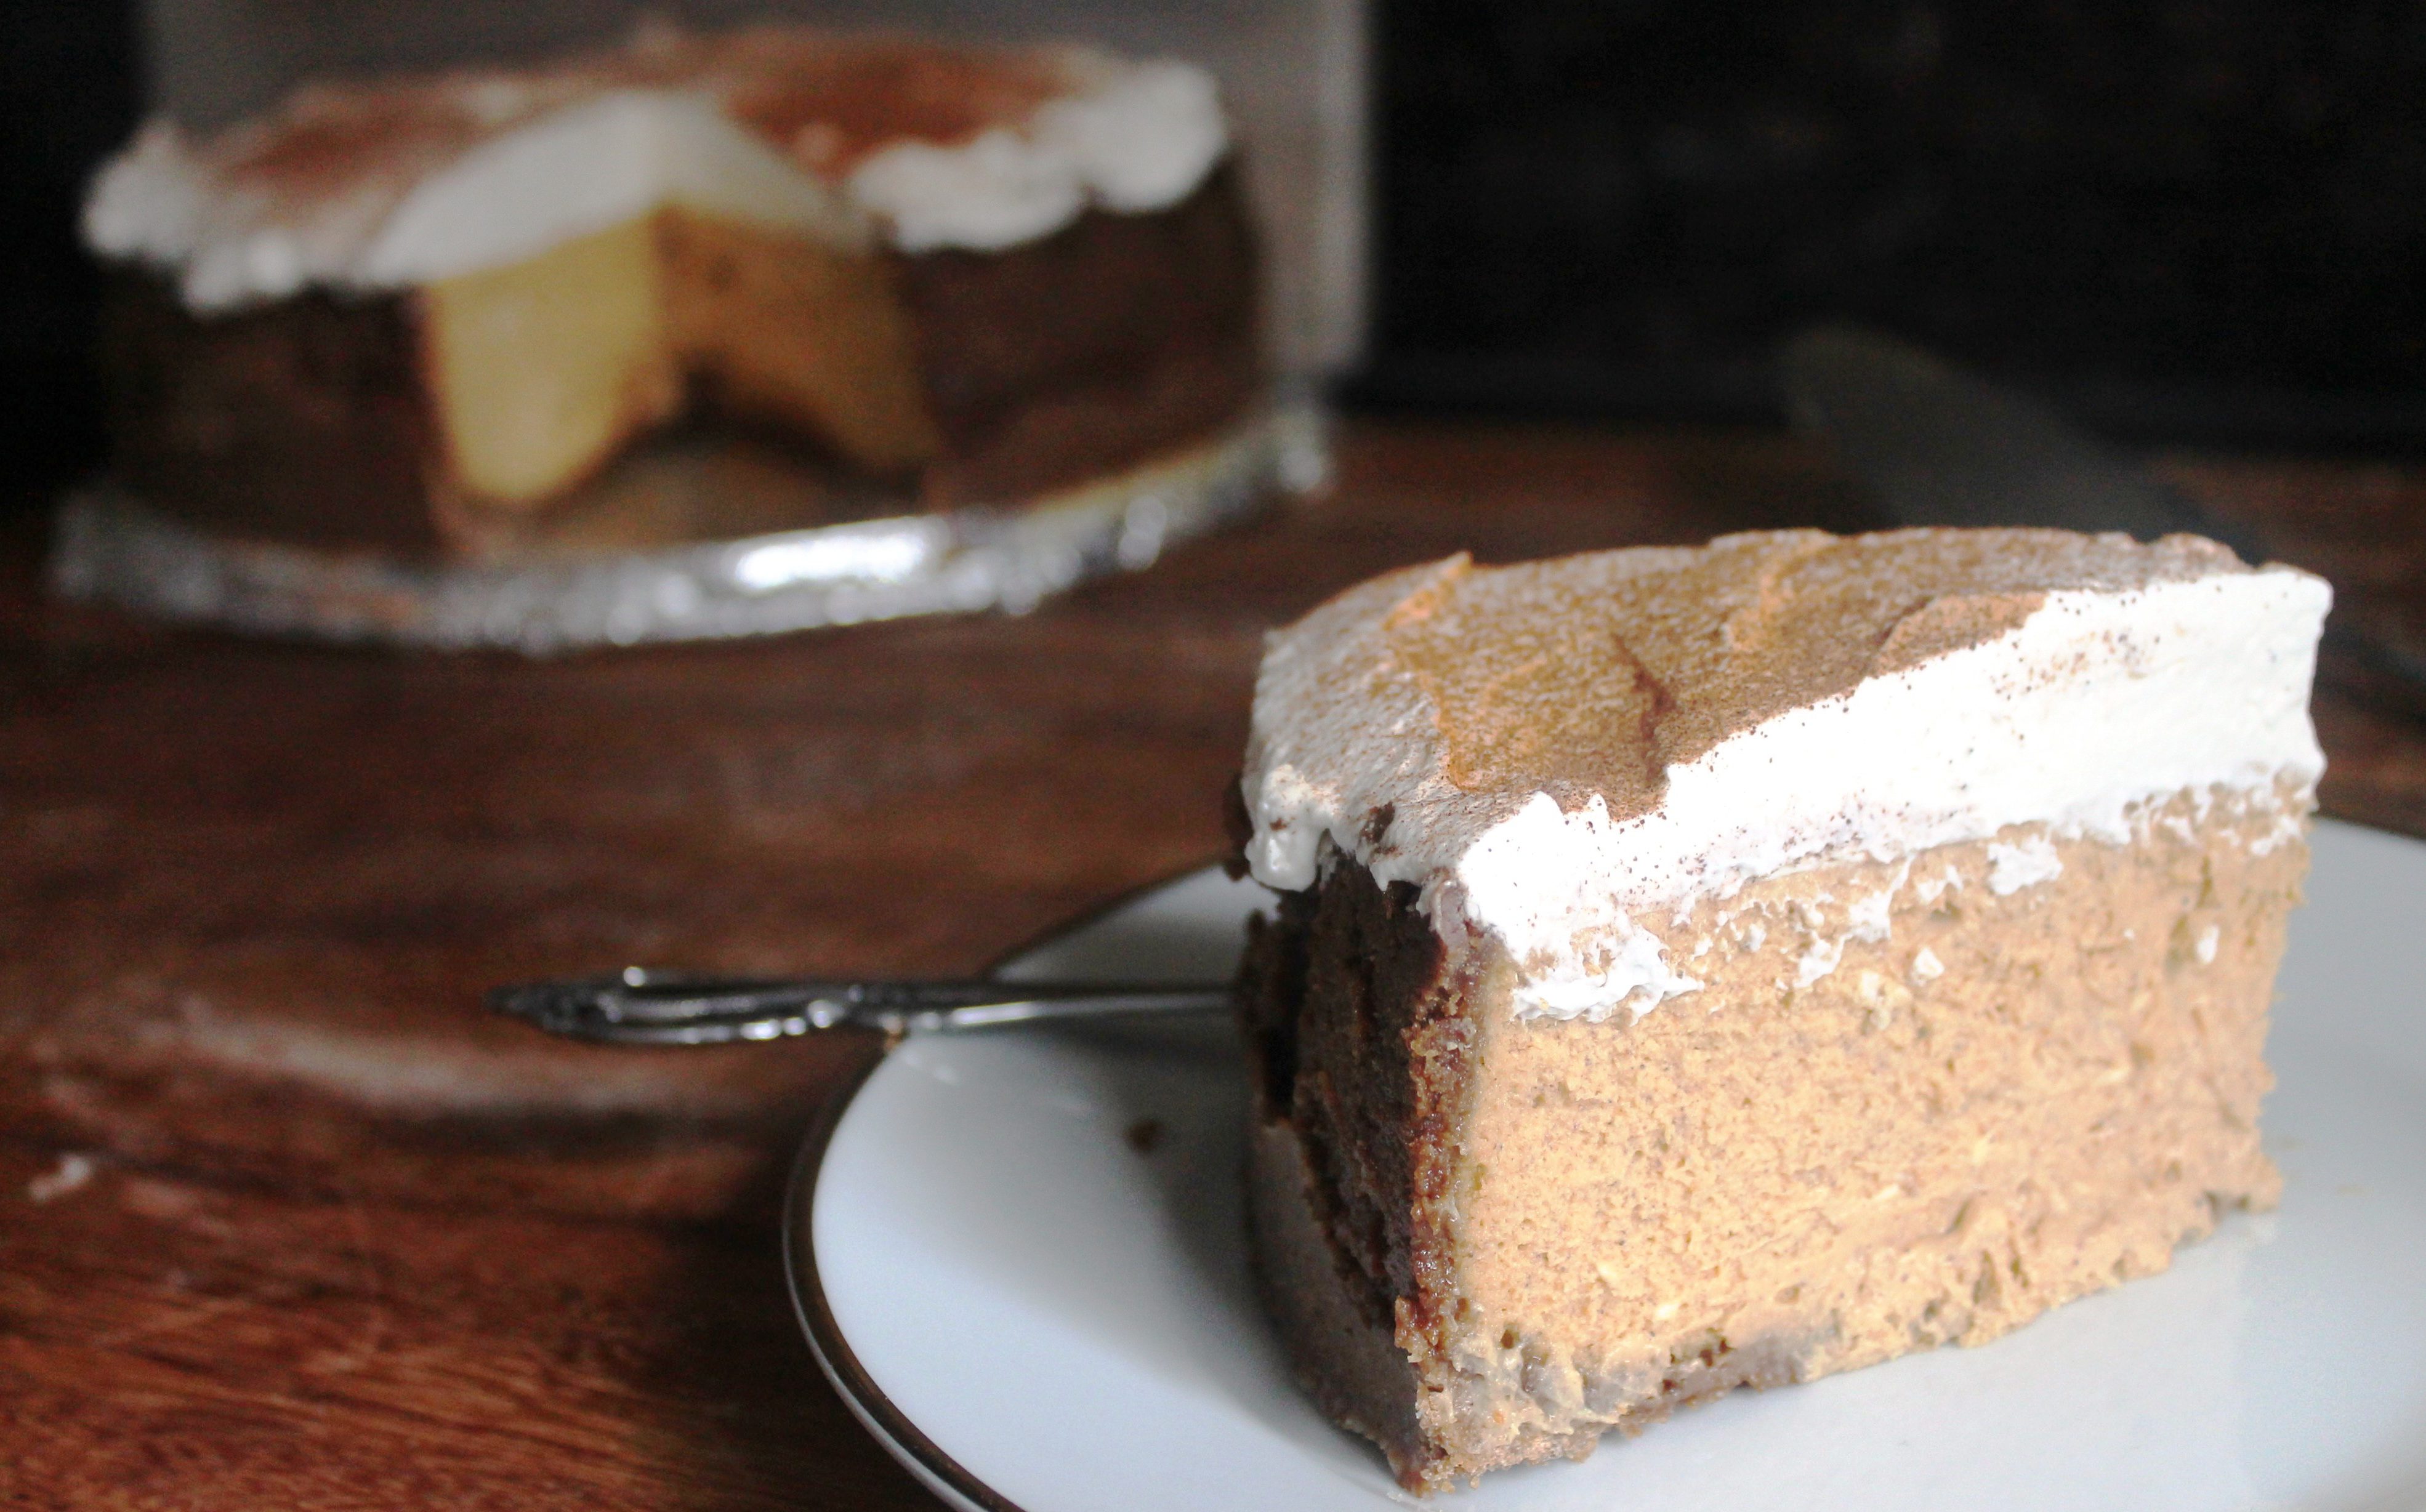
 As mentioned in a recent post, we noticed that we have yet to feature a single cheesecake recipe here on the blog. We actually had to check that twice, because it seemed like a ridiculous omission. Much to our chagrin, it was embarrassingly true. As you can see with today’s post, we’ve set about remedying that. Besides, with Thanksgiving being only a couple of weeks away, it provided us with yet another opportunity to feature pumpkin. (Yaaaaay!) Some of our eagle-eyed readers will note that this recipe isn’t specifically gluten free. This dessert was made for a crowd and occasion that didn’t warrant it, and rather than taking on the time and expense of doing a separate version, we just went with it. Honoring our gluten free readers and roots, the recipe does include simple instructions for adapting it, so fret not. We do realize, of course, that cheesecake falls into that category of “complicated” desserts that strike fear and anxiety into the hearts of most home cooks. Between the burnt crusts, overcooked and grainy custards, undercooked and soupy custards, and the dreaded crack down the middle that is the bane of every bakers existence, we understand the urge to abandon the whole thing and make a beeline to the nearest Cheesecake Factory. The good news is that with a few simple tips and techniques, this broadly adaptable and perennially popular dessert can become a much-anticipated mainstay among your homemade holiday dessert offerings.
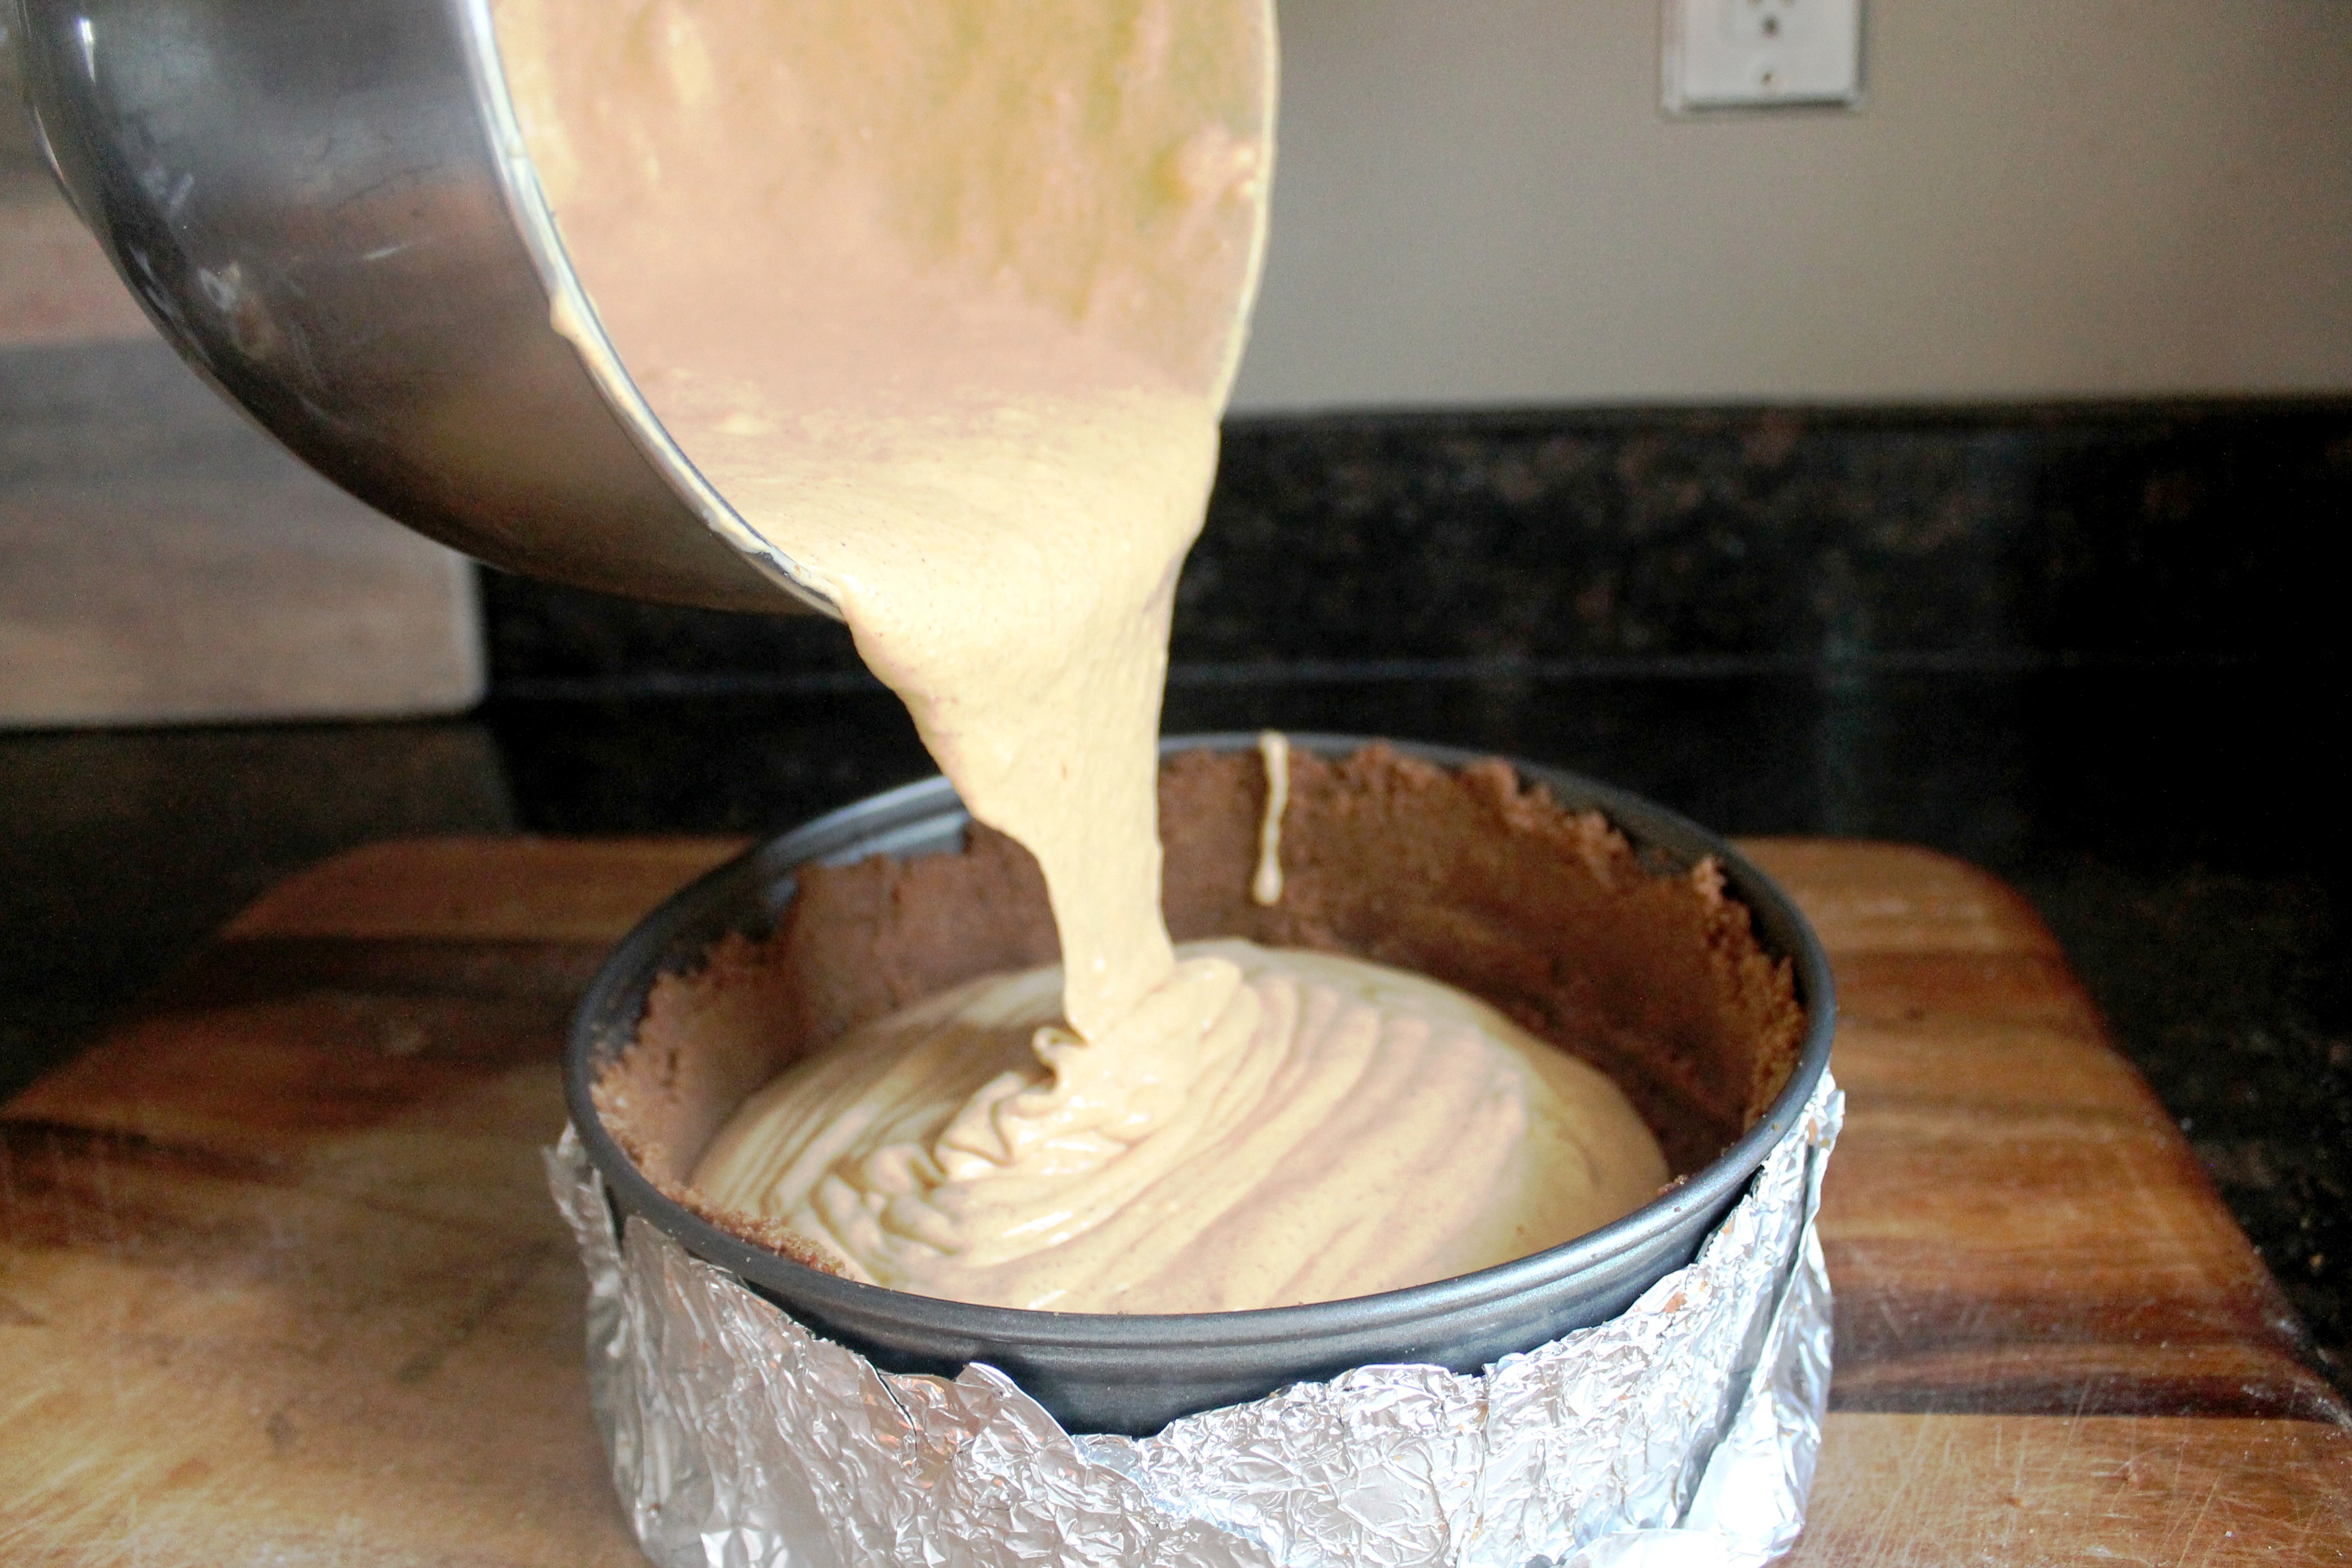
 The first technique with which you’ll need to familiarize yourself is the bain marie. This water bath is essential to a properly cooked, crack-free cheesecake. It’s only fussy in terms of its necessity. Its execution couldn’t be simpler. You’re basically placing the fully assembled cheesecake—in a springform pan wrapped in tin foil to assure a waterproof seal—inside a roasting pan, surrounding it in about an inch of hot water, and placing the whole lot in the oven.
 As the cake bakes, the hot water creates a steamy, almost spa-like environment inside the oven, tempering the heat around the springform and allowing the proteins in the eggs and cream cheese to cook gently and coagulate into a rich, creamy texture, giving you the best possible chance of avoiding that crack. It’s not foolproof, but it’s as close as you can get. In the end there’s always whipped cream, or as we like to refer to it in this instance “baker’s spackle.”
 The second “trick” in the process is to lower the oven temperature from the suggested 350º to 300º. This takes the “low and slow” method used for roasting into the baking realm, and it’s hard to argue with the results. Another step that most home cooks will skip—if they’re even familiar with it at all—is to leave the cheesecake in the oven for about an hour after the suggested baking time, allowing it to cool along with the oven. It’s yet another safeguard against improper baking and setting of the custard, and will also help to avoid the crack from making an appearance during cooling, which can be even more frustrating because you think that you’re well out of the woods at that point.
 If all of this seems excessive and overly cautious, you’ve probably never made cheesecake at home and suffered the frustration of these pitfalls. We’re trying to spare you that frustration and share with you the joy and sense of accomplishment you can get from a beautifully made dessert. Trust us, once you’ve mastered these simple techniques, you’ll be able to whip up such a wide variety of these flawless desserts that that national chain restaurant will be shaking in its boots.
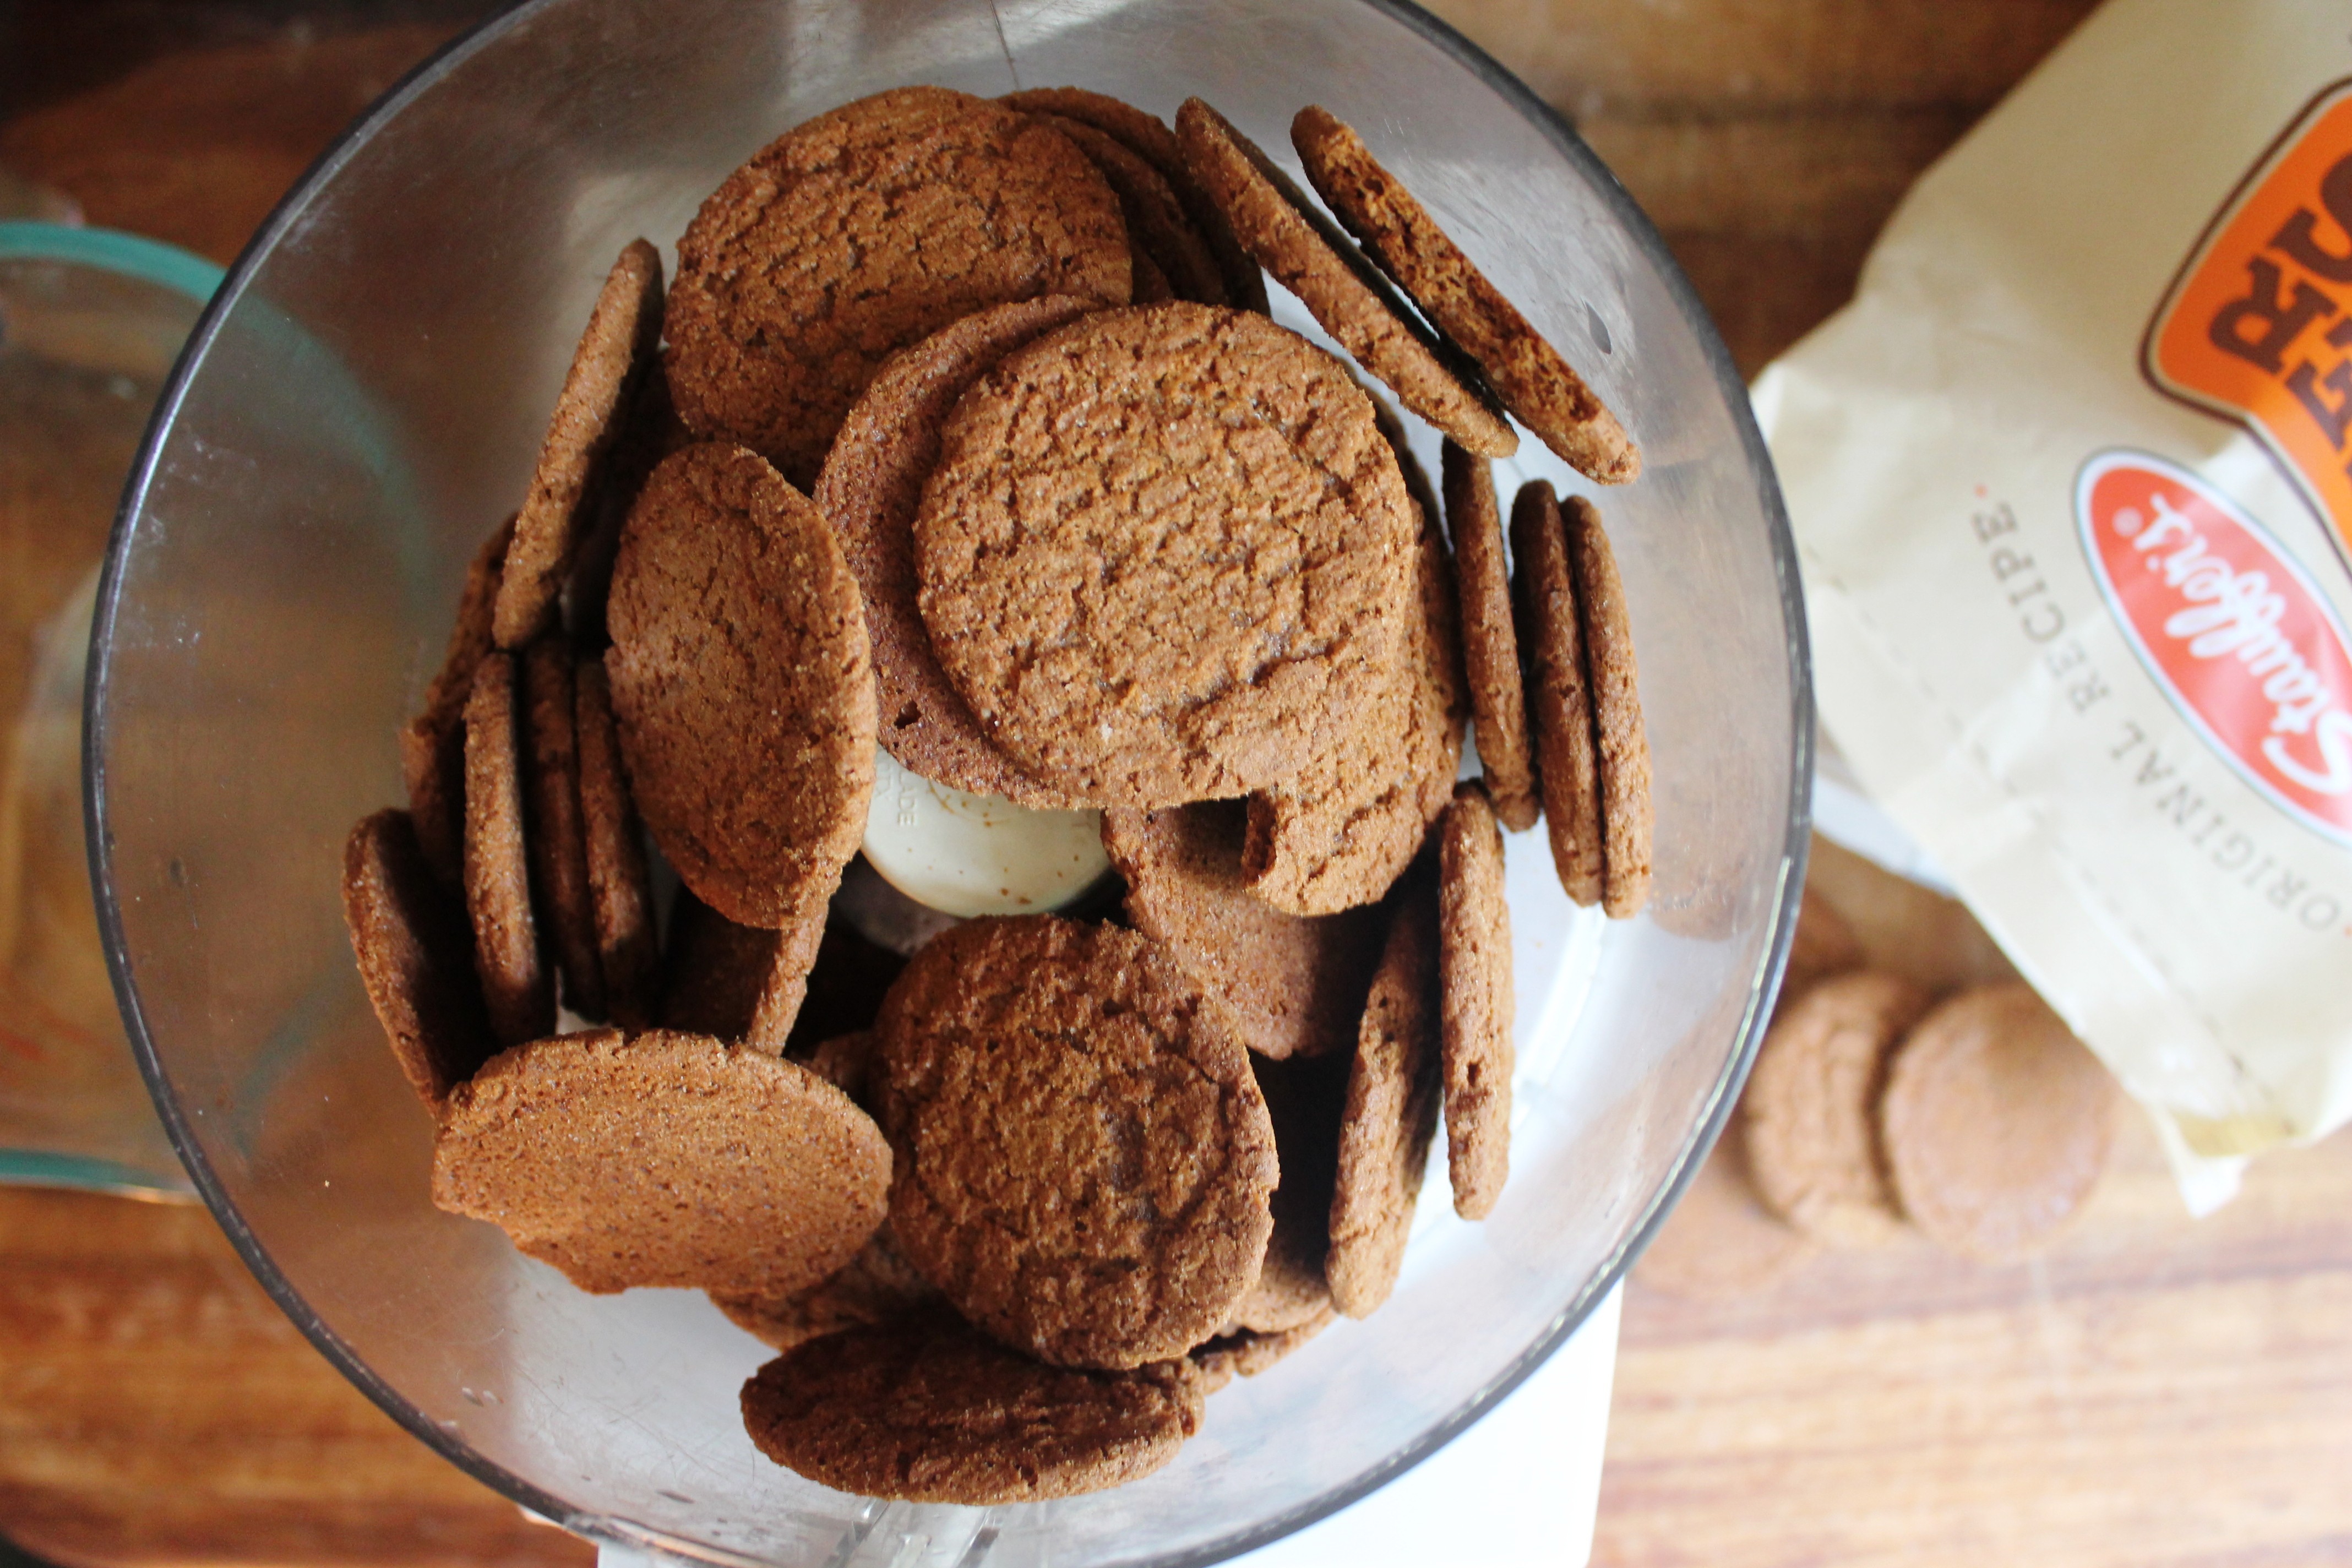
 The crust here is an adaptation of a cookie crust recipe originally featured as part of a Cappuccino Cheesecake Recipe featured in Bon Appetit magazine. That recipe called for a chocolate cookie crust, but wanting a flavor profile more complementary to the pumpkin cheesecake, Kyle opted for ginger snaps, with the cocoa buttery sweetness of white chocolate chips taking the place of the semi-sweet chips. For the gluten free version, you can use some of Speculoos cookies featured here on the blog (a perfectly spiced option, btw), or go with store bought gluten free graham crackers, since grinding them down in the food processor will remedy any of the textural issue you might have with them.
 This basic crust recipe is as adaptable as the fillings you might choose, and a wonderful opportunity to play “Pin the Crust on the Cheesecake” with whatever cookie/chip combo you think would best showcase the flavors of your cheesecake. In true spirit of planning ahead for the holidays, this lovely creation can be made up to three days in advance, covered in plastic wrap (still in the springform) and stored in the refrigerator. We advise making it a day ahead at the least, so that it’ll have overnight to chill completely. That’ll make both removing it from the pan and cutting it fairly easy.
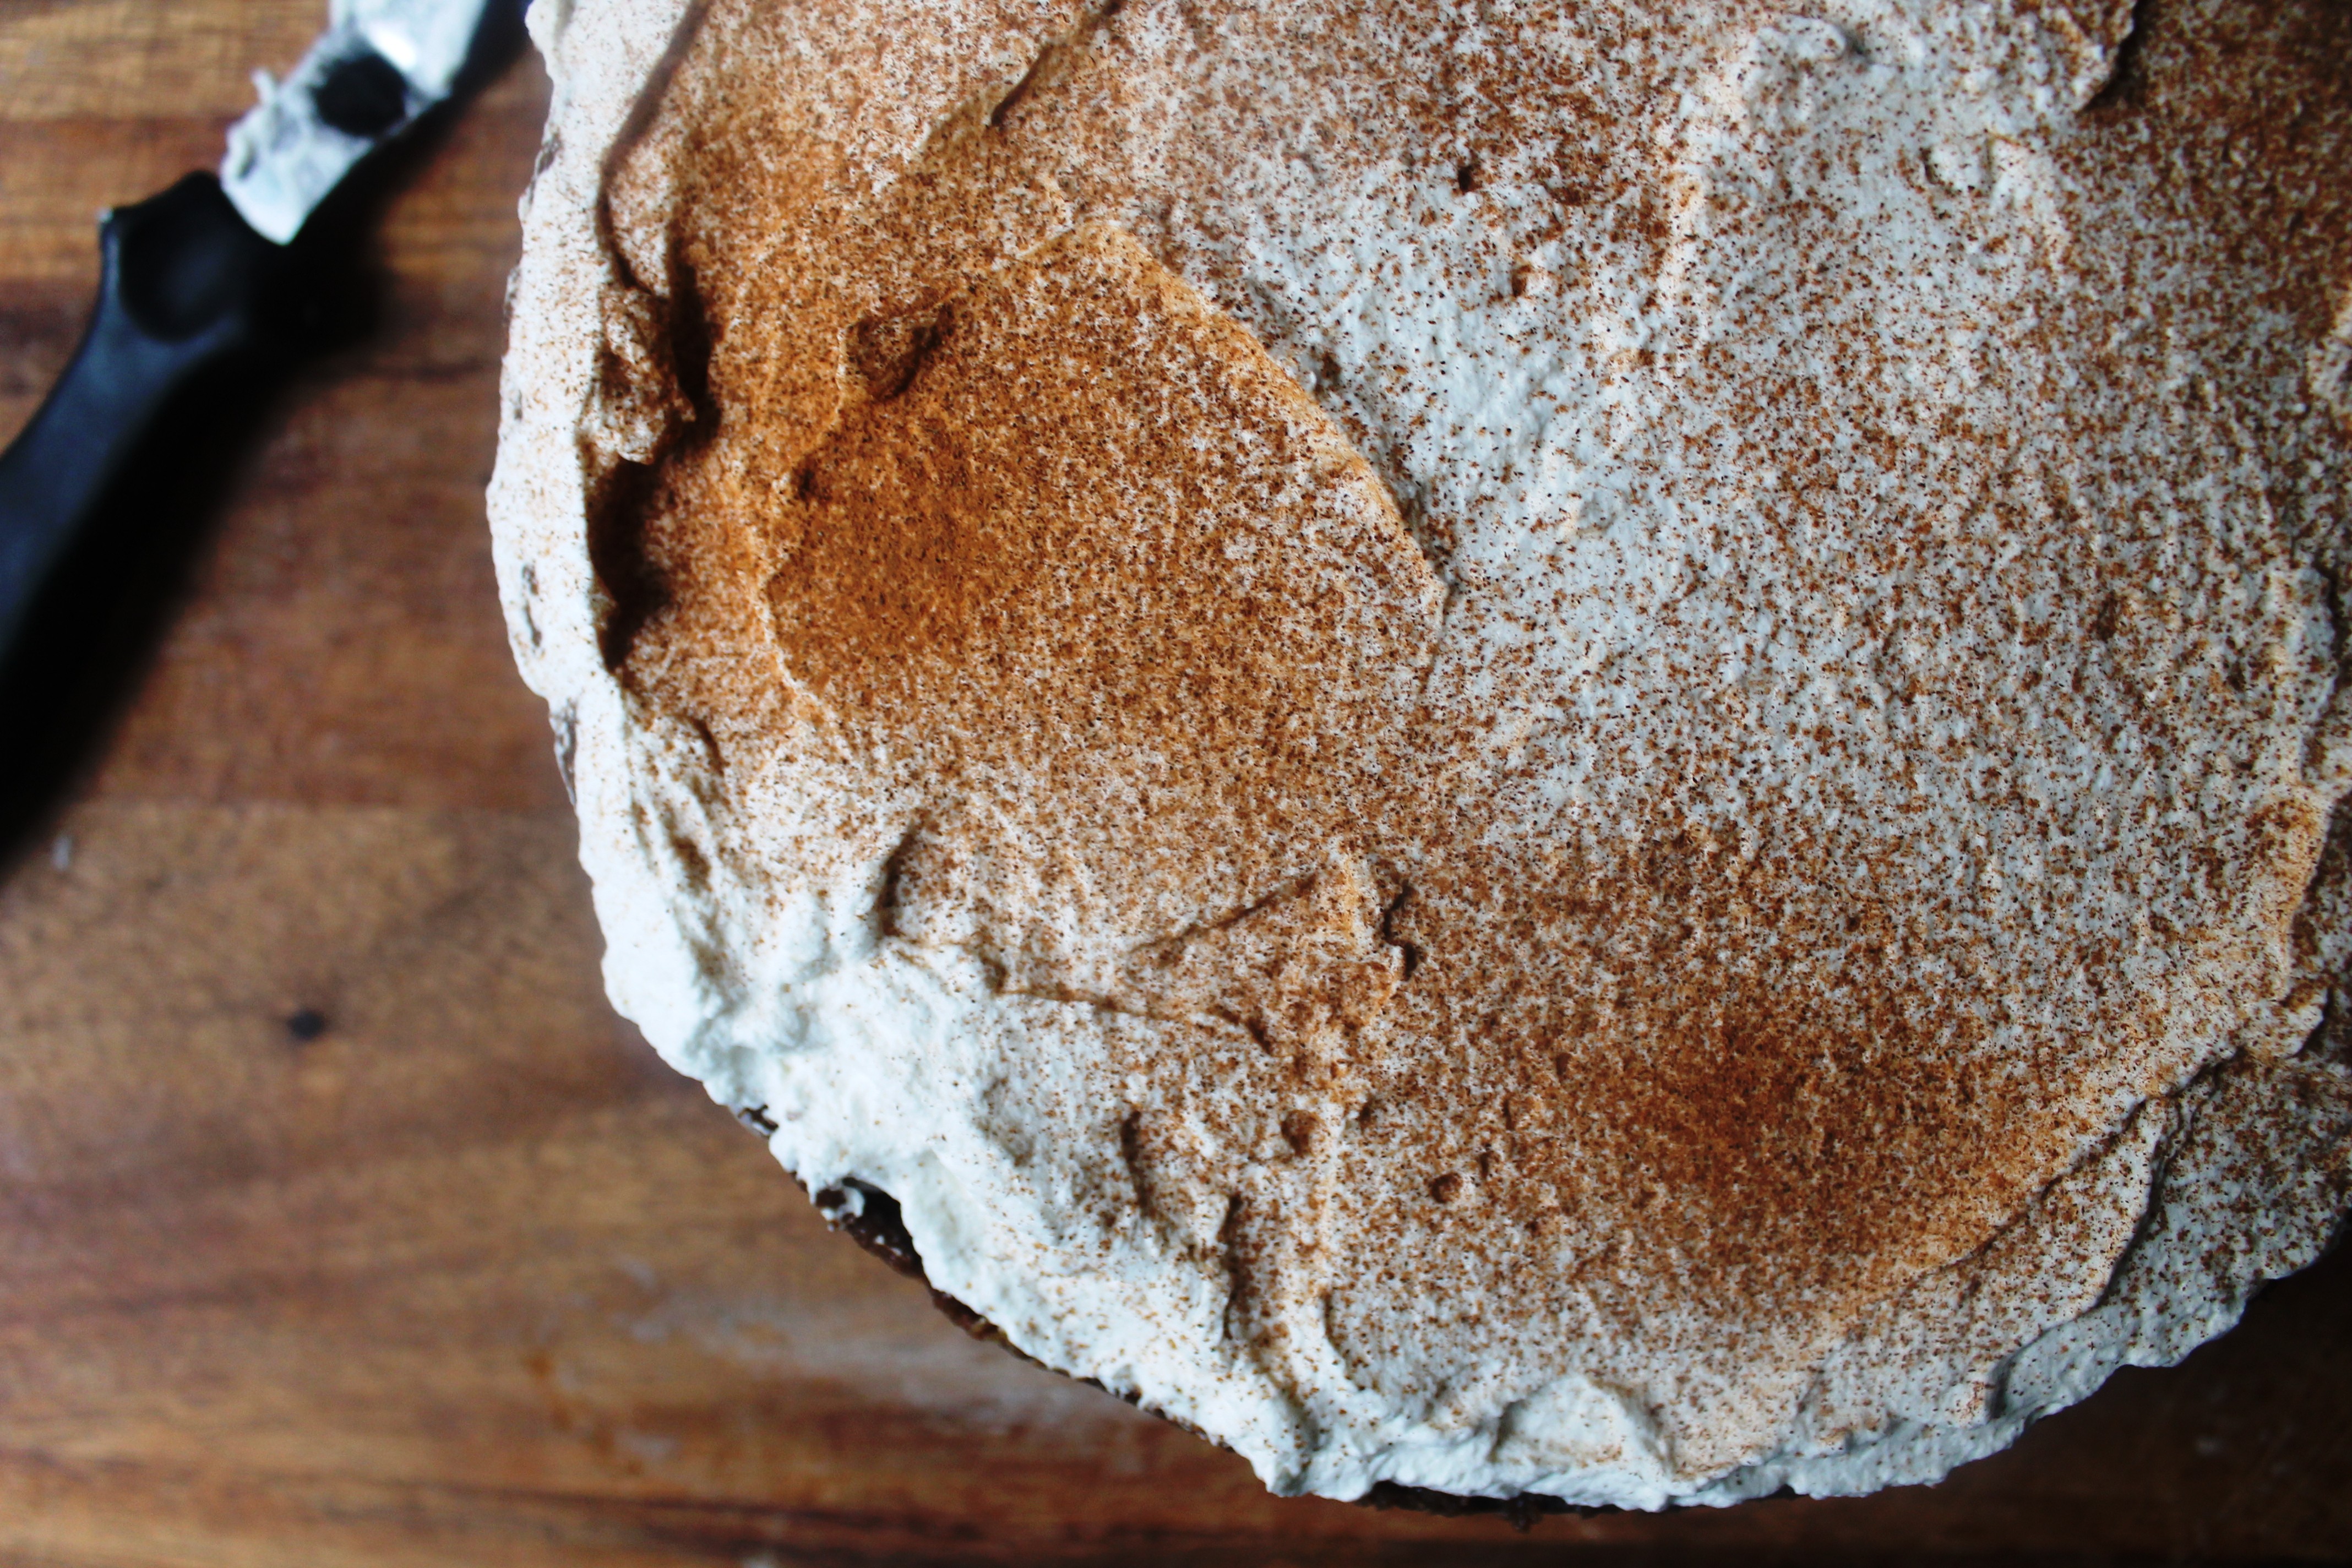
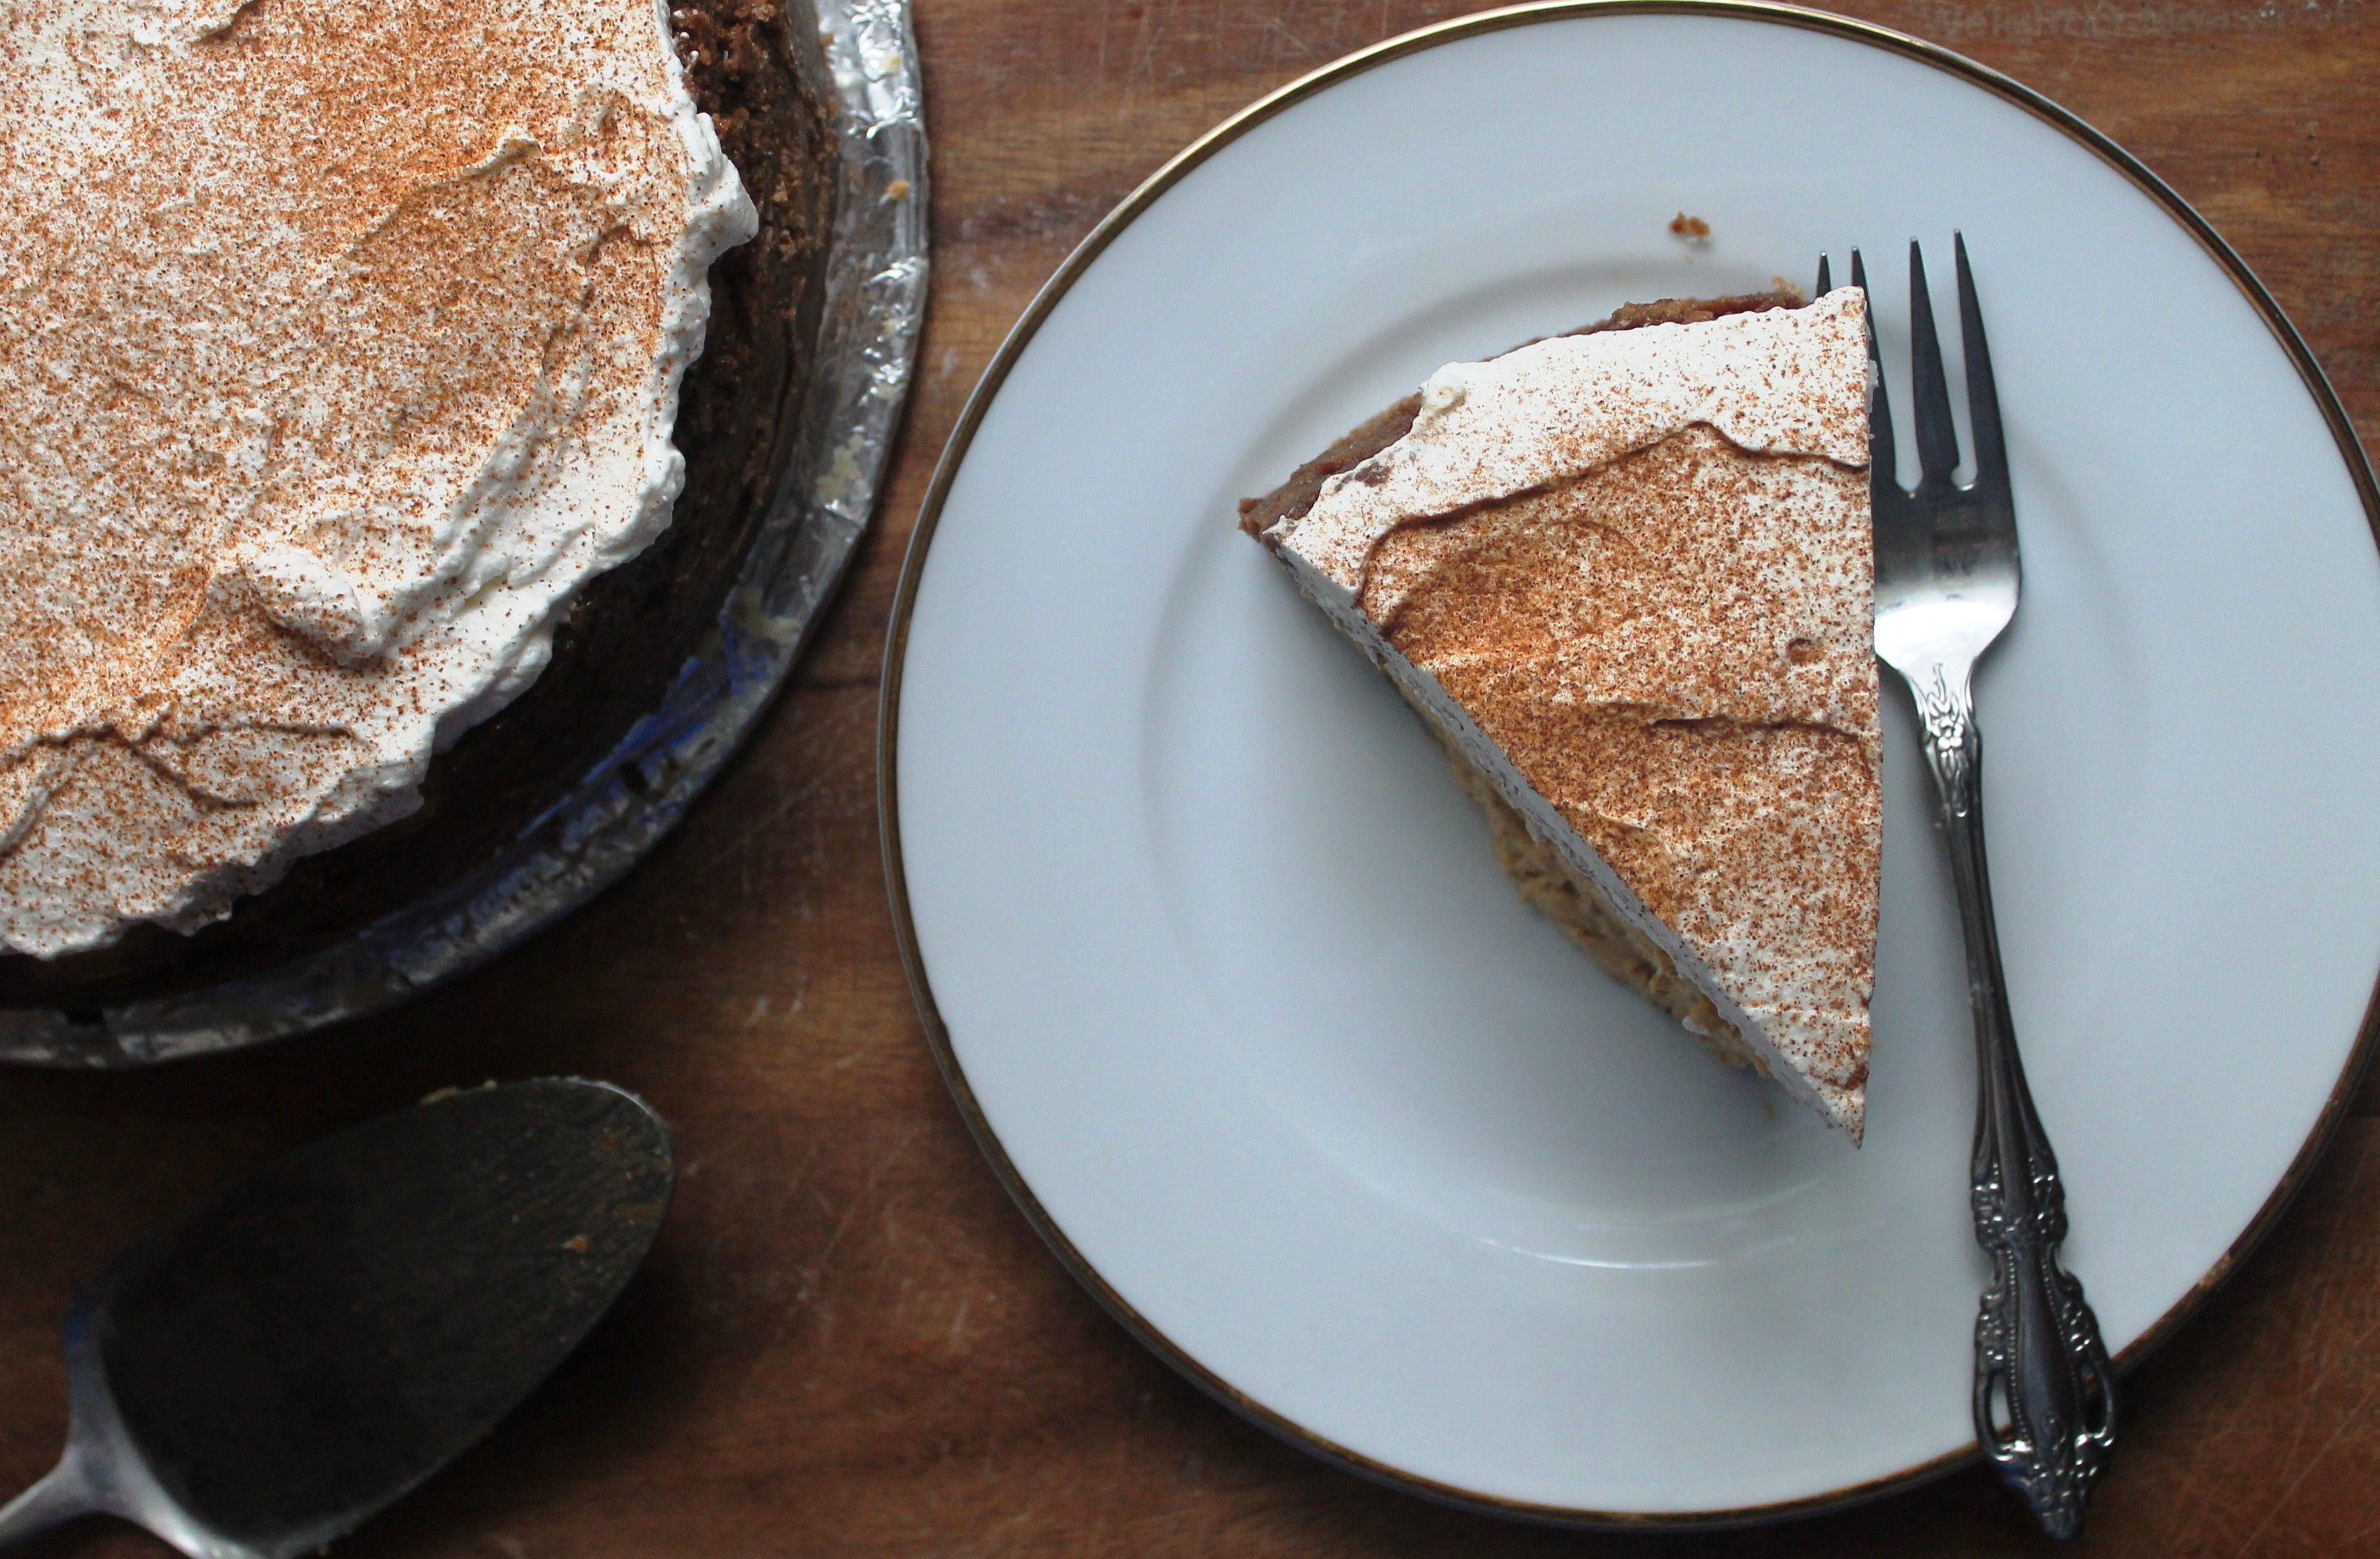
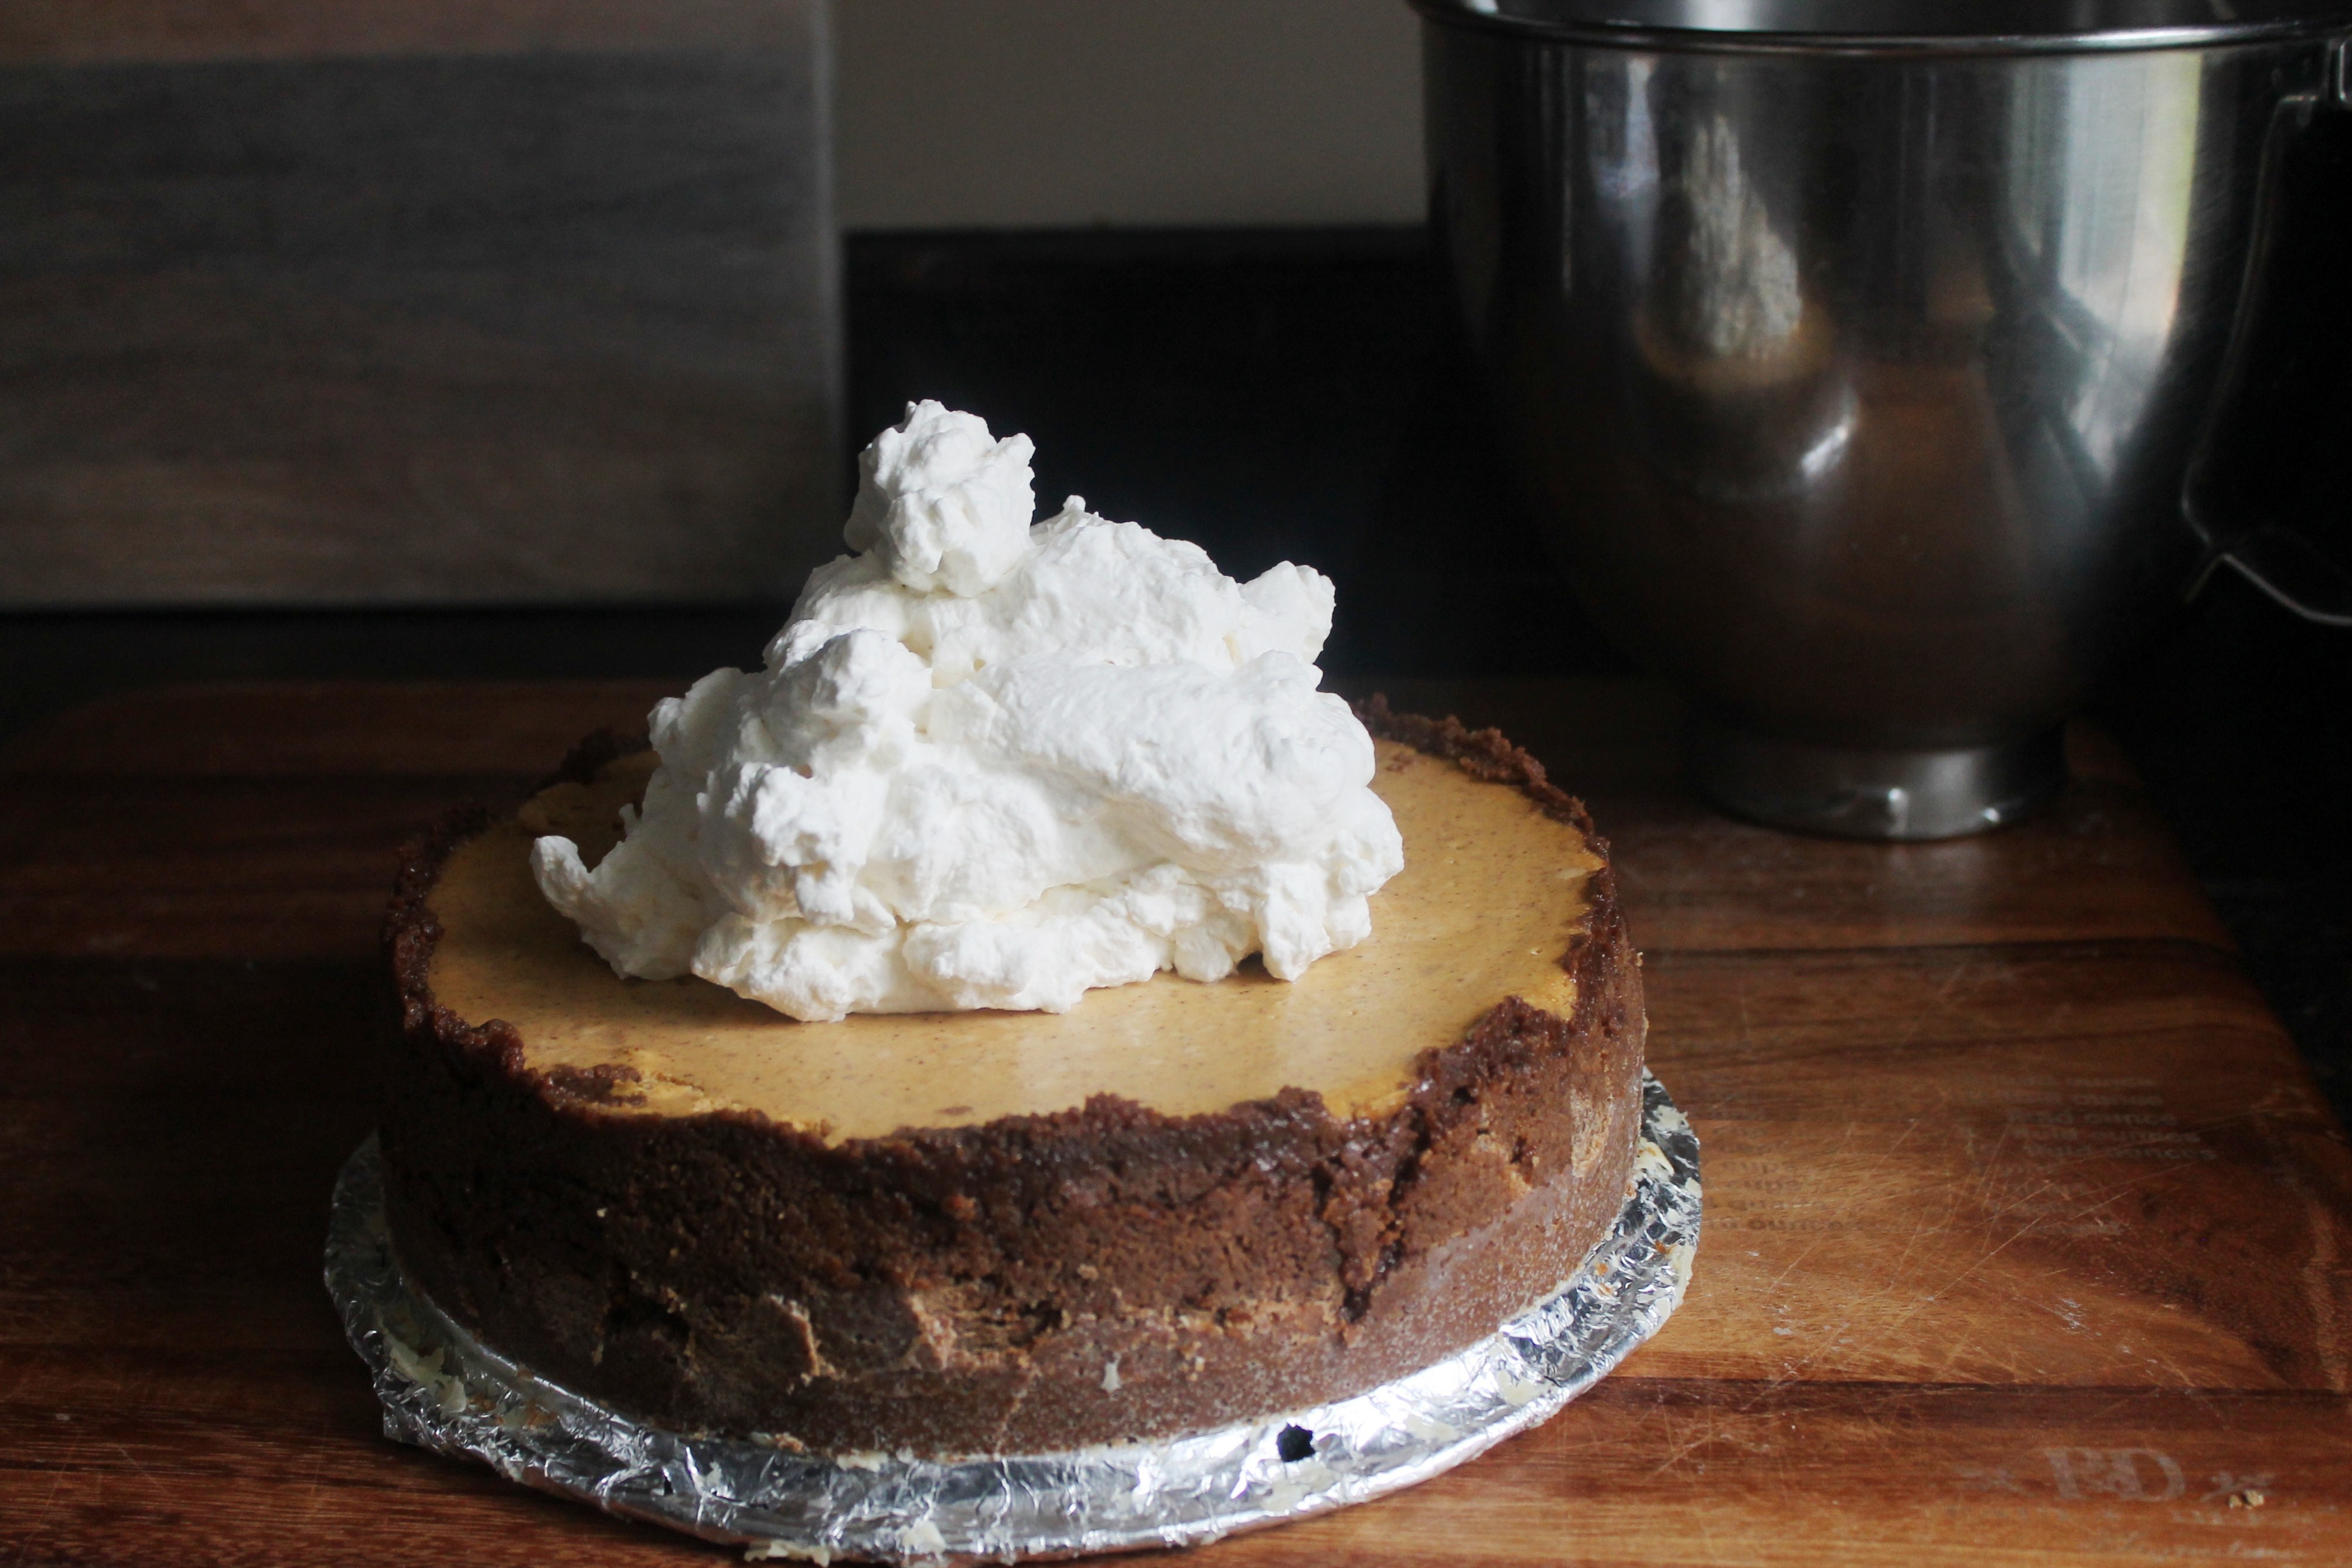 The finishing touch here is a layer of homemade, lightly sweetened whipped cream and a dusting of ground cinnamon (or pumpkin pie spice). So, there you have it. Everything we can tell you for the successful preparation of a beautiful, professional-looking dessert that will make your guests raise their Pumpkin Spiced Latte Martinis in a toast to your genius. Enjoy!
 Crust inspired by Bon Appetit.
- Crust:
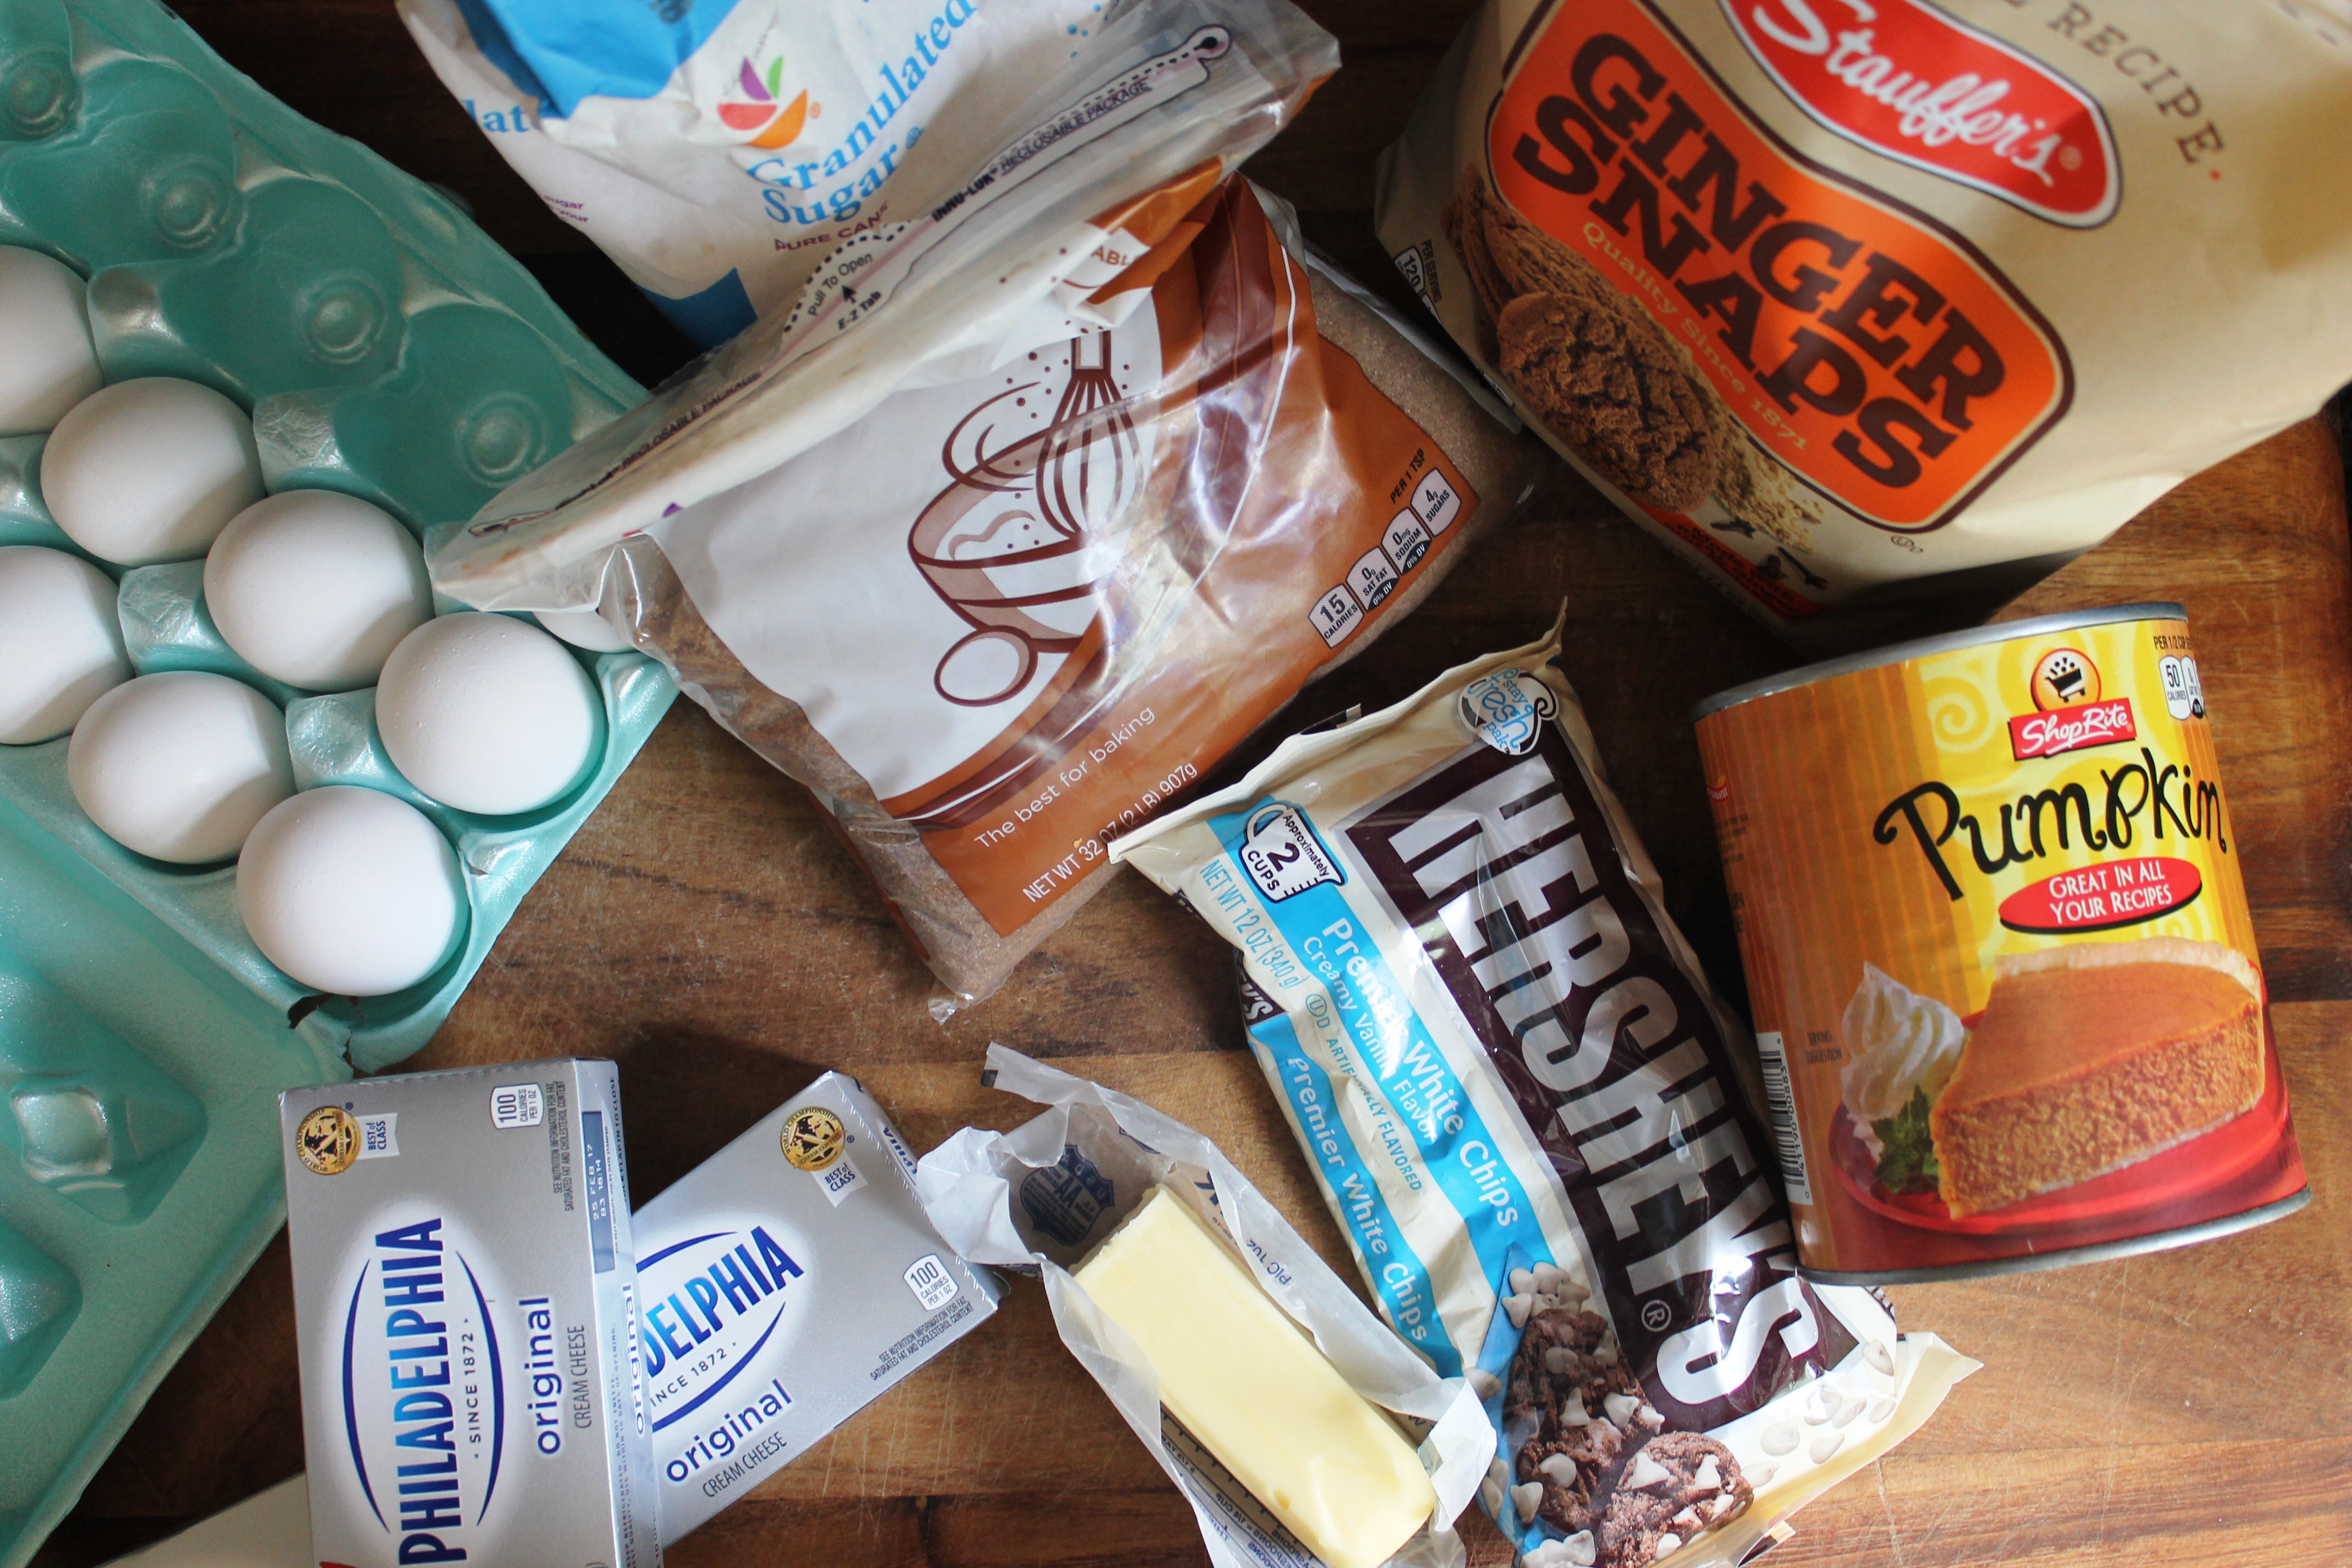
- 9 ounces gingersnap cookies, gluten free Speculoos (link above) or gluten free graham crackers. (about 4 cups, yielding about 1 ½ cups crumbs)
- 4.5 ounces (¾ cup) white chocolate chips
- 3.5 ounces (1/2 cup) packed dark brown sugar
- 7 tablespoons unsalted butter, melted and still hot
- Filling:
- 3 8-ounce packages cream cheese, room temperature
- 8 ounces ( 1 cup plus 2 tablespoons) white sugar
- 1 15-ounce can pumpkin puree
- 2 teaspoons vanilla extract
- 2 teaspoons cinnamon
- ¼ teaspoon allspice
- ¼ teaspoon grated nutmeg
- pinch of salt
- 4 eggs
- Whipped Cream Topping:
- 1 cup heavy cream
- 1 teaspoon vanilla extract
- 2 tablespoons white sugar
- A couple pinches of cinnamon, for dusting
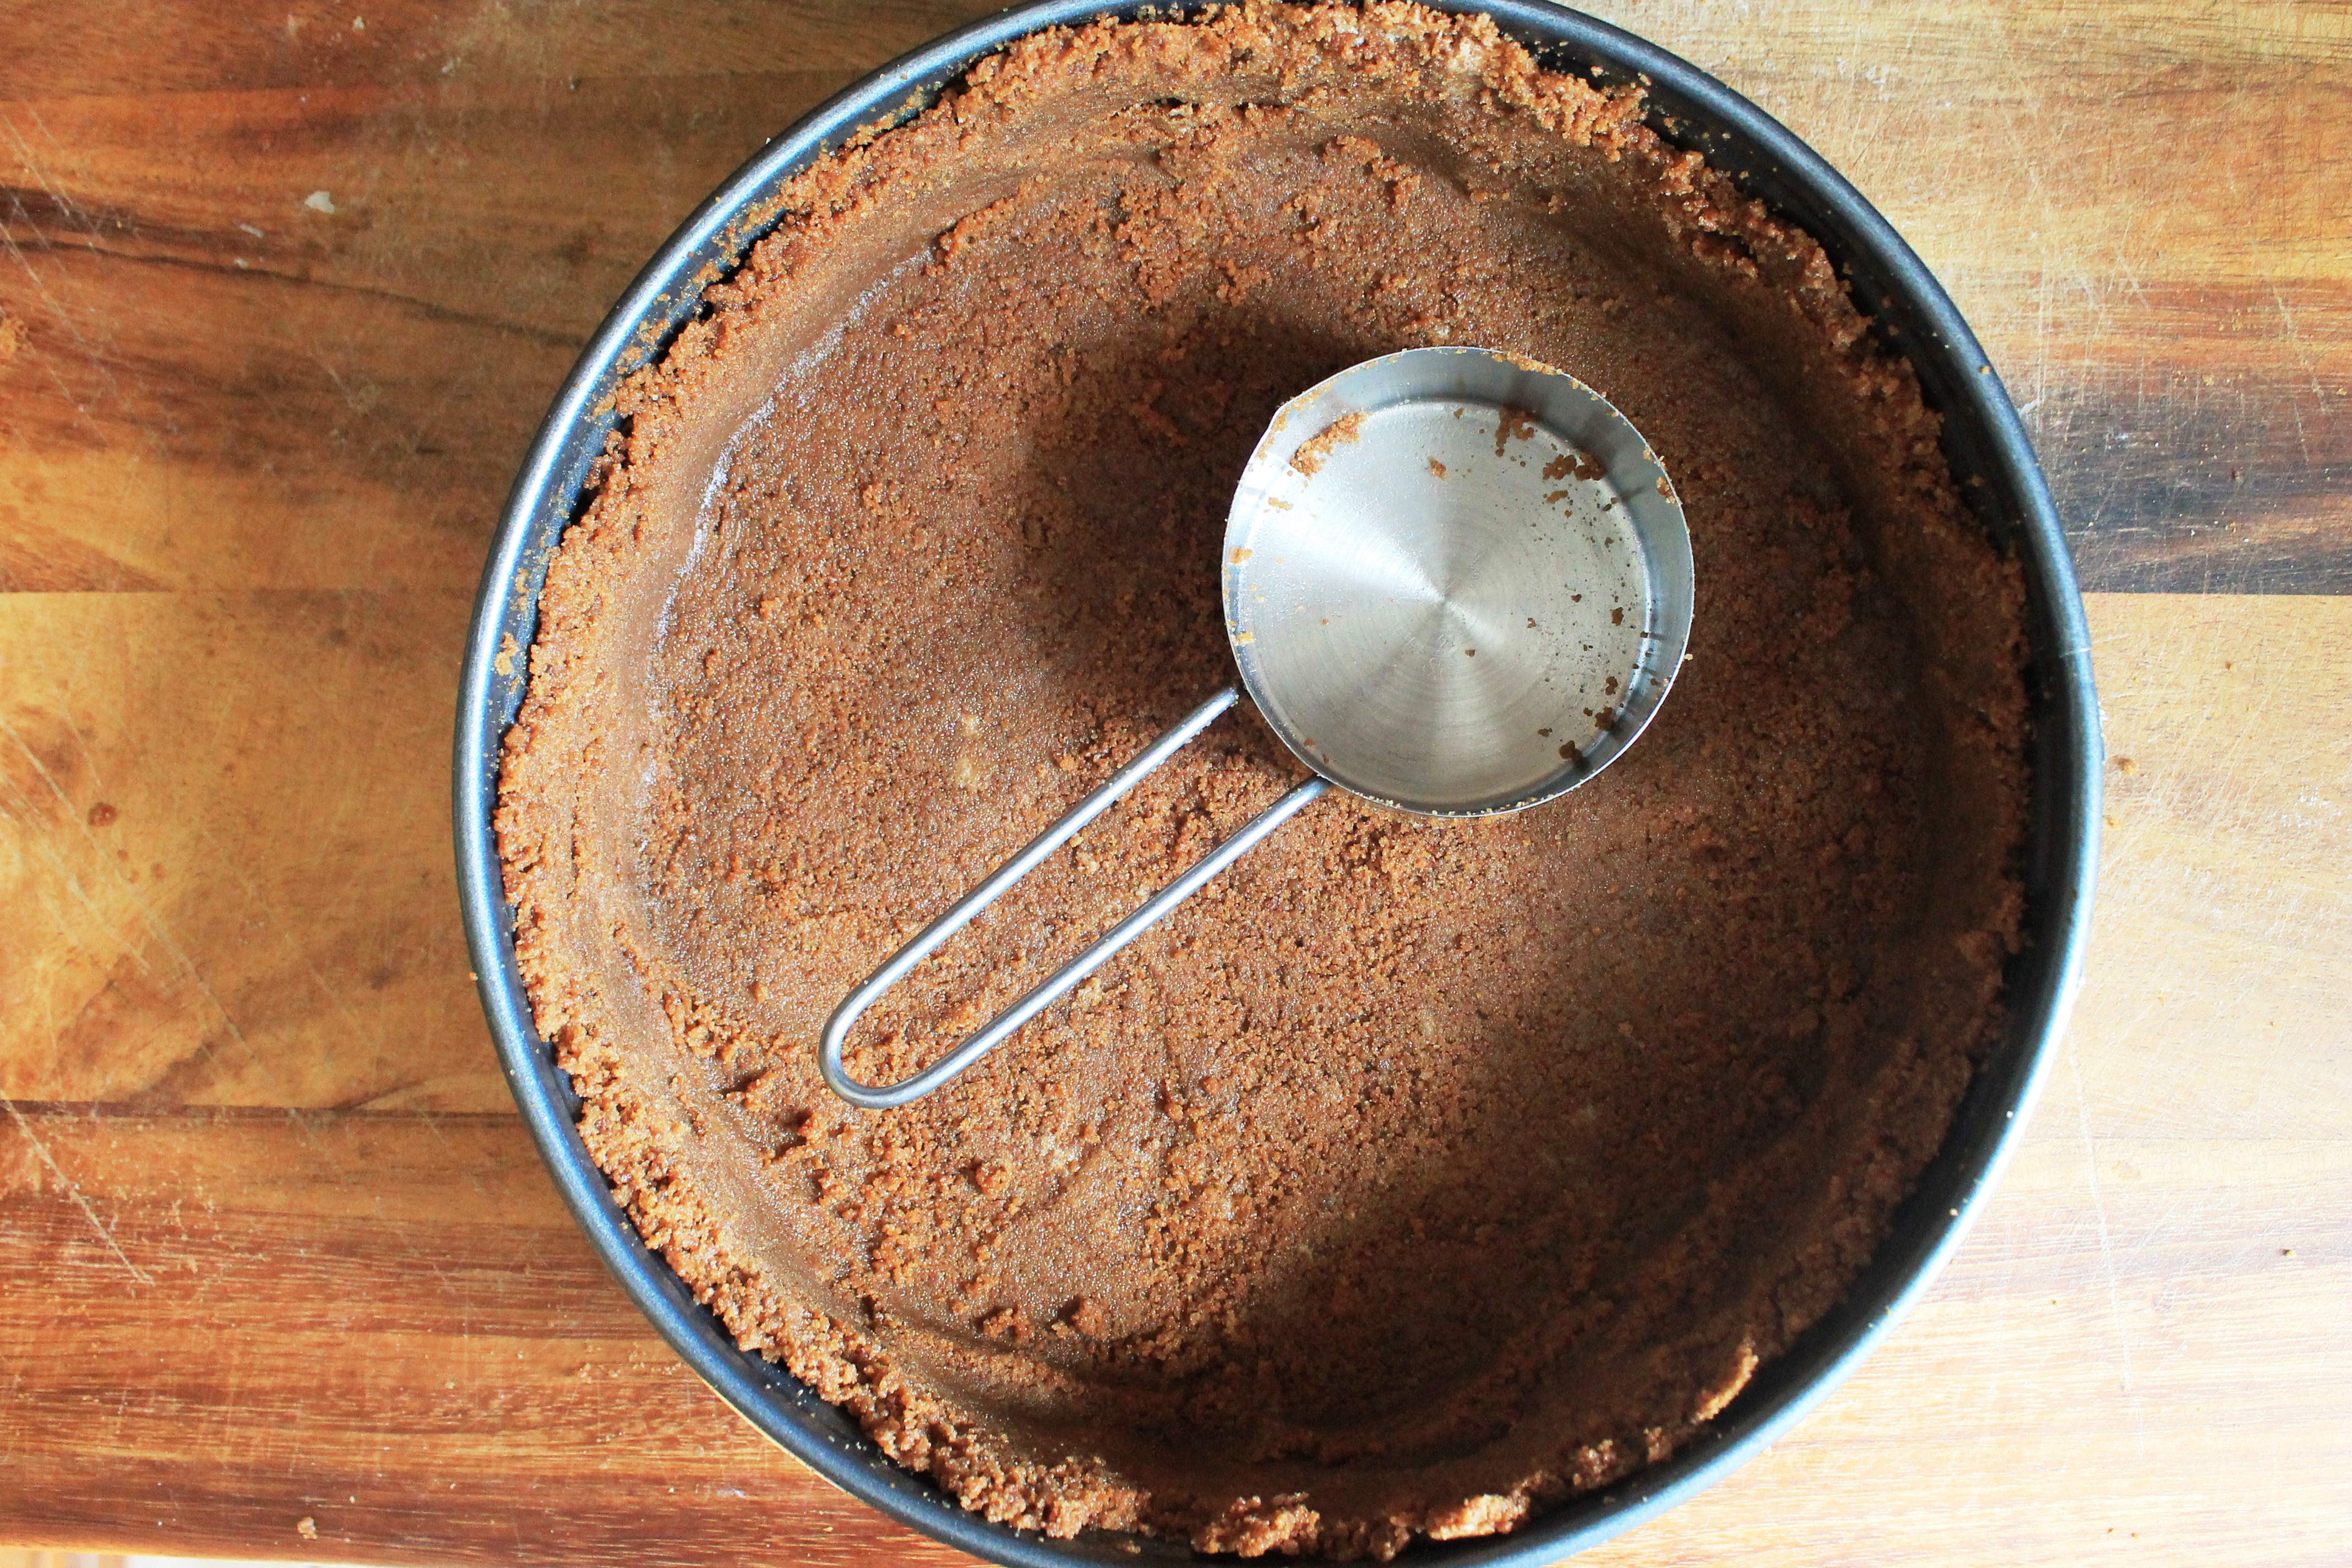
- For the crust, finely grind cookies, white chocolate chips, and brown sugar in food processor. Add butter and process until crumbs begin to stick together, scraping down bowl occasionally, about 1 minute. Wrap the outside of a 10-inch-diameter springform pan with 3-inch-high sides with a double layer of aluminum foil. Transfer crumbs to prepared pan. Wrap plastic wrap around fingers and press crumb mixture firmly up sides to within ½ inch of top edge, then over bottom of pan. Alternatively, use a measuring cup to evenly spread the crumbs throughout the bottom and sides of the pan. Store crust in refrigerator until ready to use.
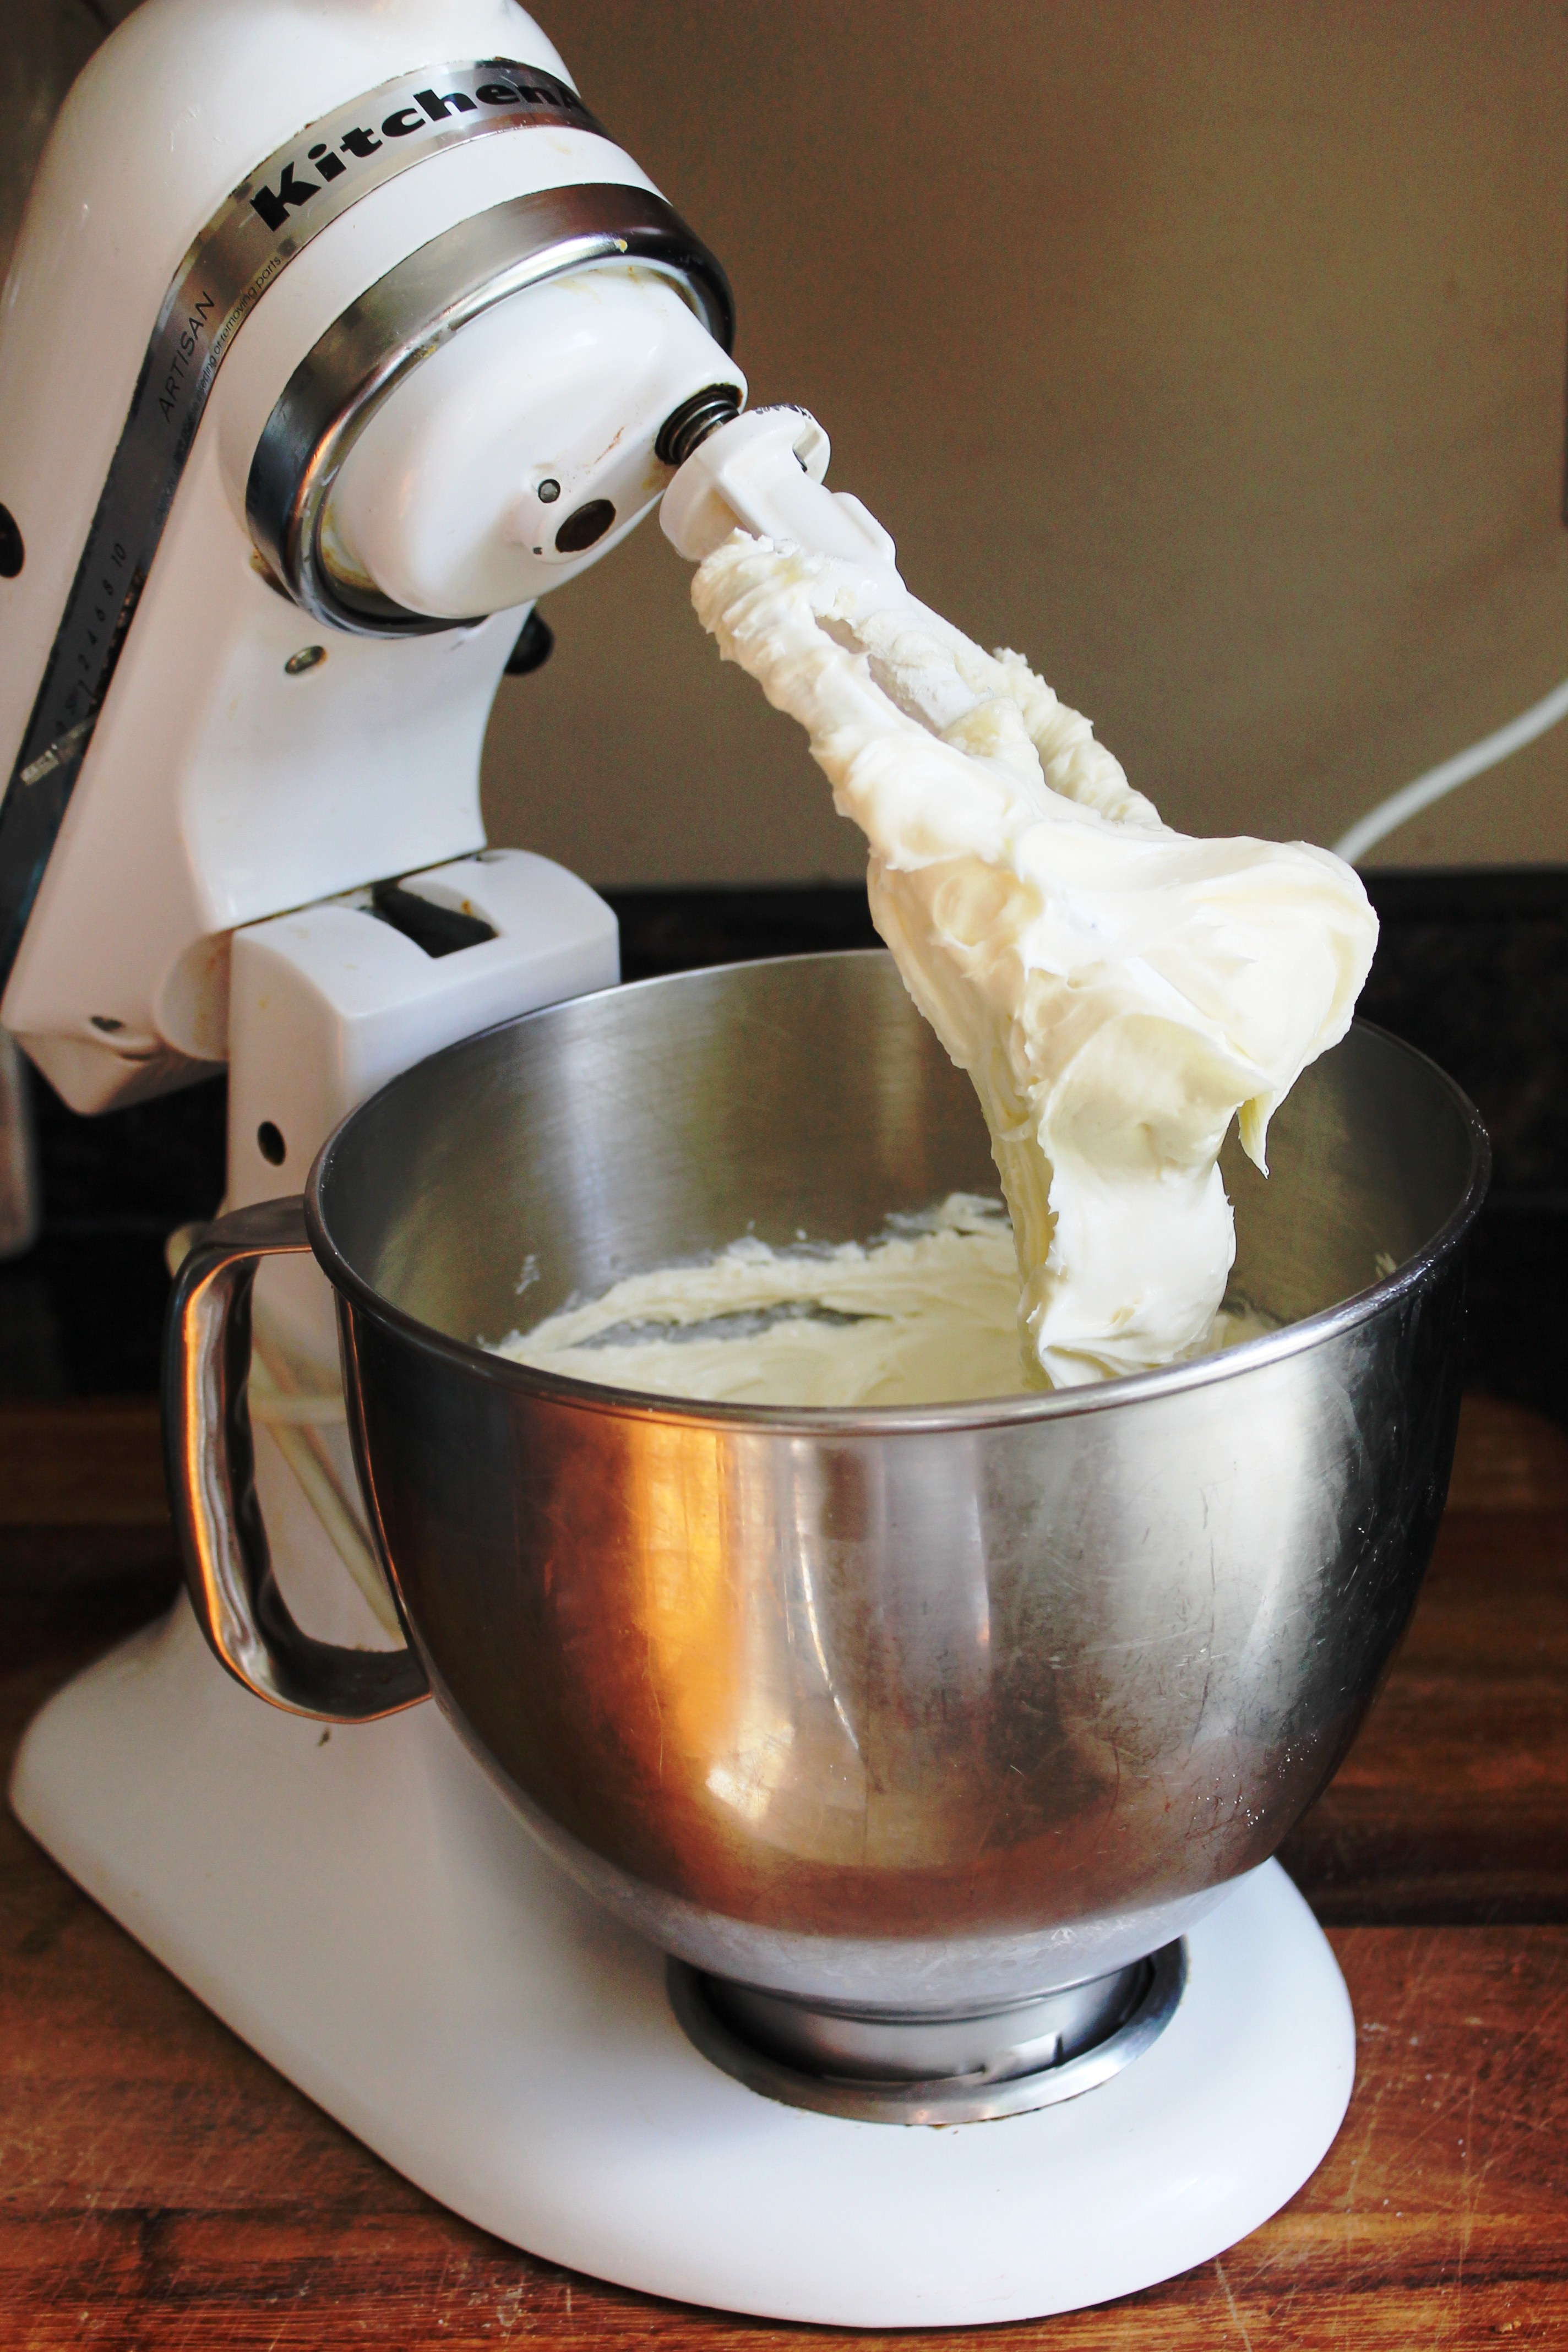
- For the cheesecake filling, preheat the oven to 300 degrees F. Using electric mixer, beat cream cheese and sugar in large bowl until blended. Add pumpkin, vanilla, cinnamon, allspice, nutmeg and salt, and beat until blended, scraping down the sides of the bowl. Beat in eggs 1 at a time, occasionally scraping down sides of bowl.
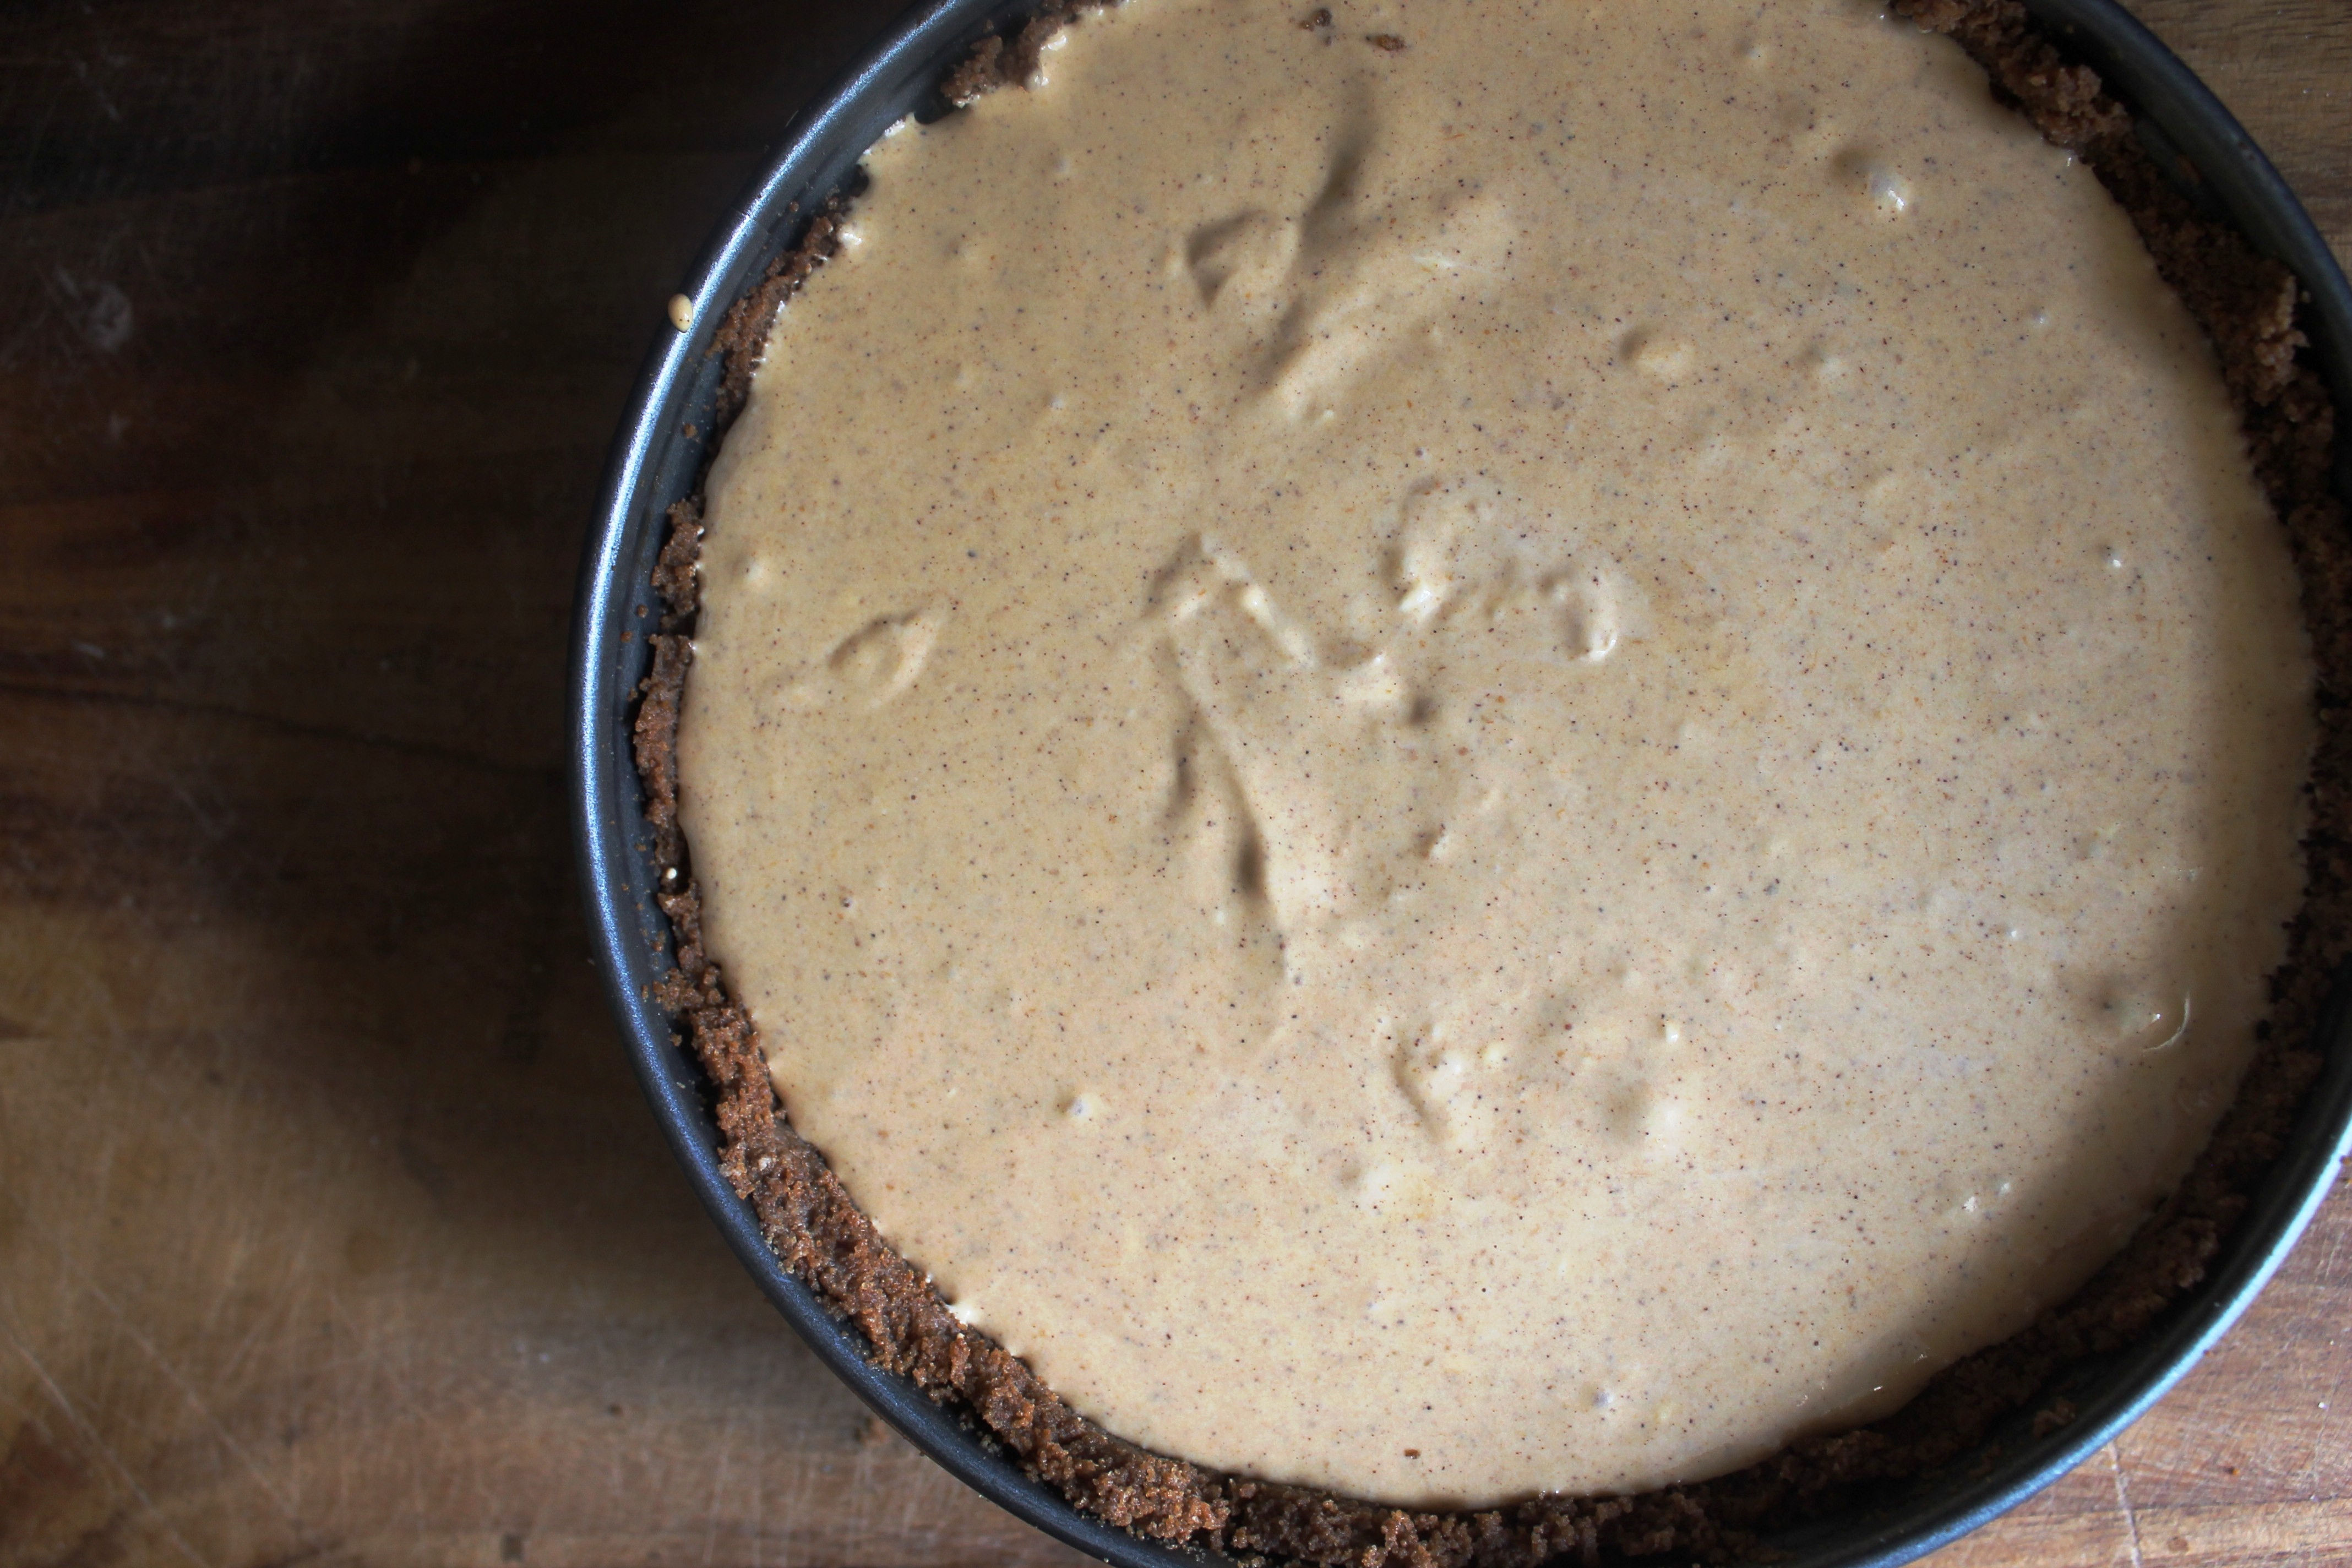
- Pour the cheesecake batter into prepared crust and transfer pan to a large roasting pan. Fill pan with one inch of hot water and transfer to the oven. Bake for 1 hour 15 minutes, then turn oven off. Leave cheesecake in the hot oven for another hour.
- Remove from the oven, then transfer springform pan to a wire rack. Cool to room temperature, then transfer to refrigerator until well chilled, at least 4 hours and preferably overnight.
- To make whipped cream topping, beat heavy cream, vanilla extract and sugar in a stand mixer fitted with a whisk attachment on medium-high speed until stiff peaks form, about 3 minutes.
- Run a sharp knife between the crust of the cheesecake and the sides of the pan. Release pan sides and transfer cheesecake to serving platter. Spoon whipped cream on top of cheesecake and sprinkle with a dusting of cinnamon. Refrigerate until ready to serve.
Katie says
Just said to my husband that I would make pumpkin cheese cake for dessert and you had a great recipe with great instructions! Can’t wait to make it!
Kyle & Grace says
Aww, thanks! So glad to be of service. If you already made it, we hope you (and your husband) enjoyed it. ? Sorry for the delayed response. It’s been a little loopy around here with the holiday. We hope you and your family had a lovely Thanksgiving. XO
PS – Thanks for the support. I love your site and I’m really looking forward to the book.