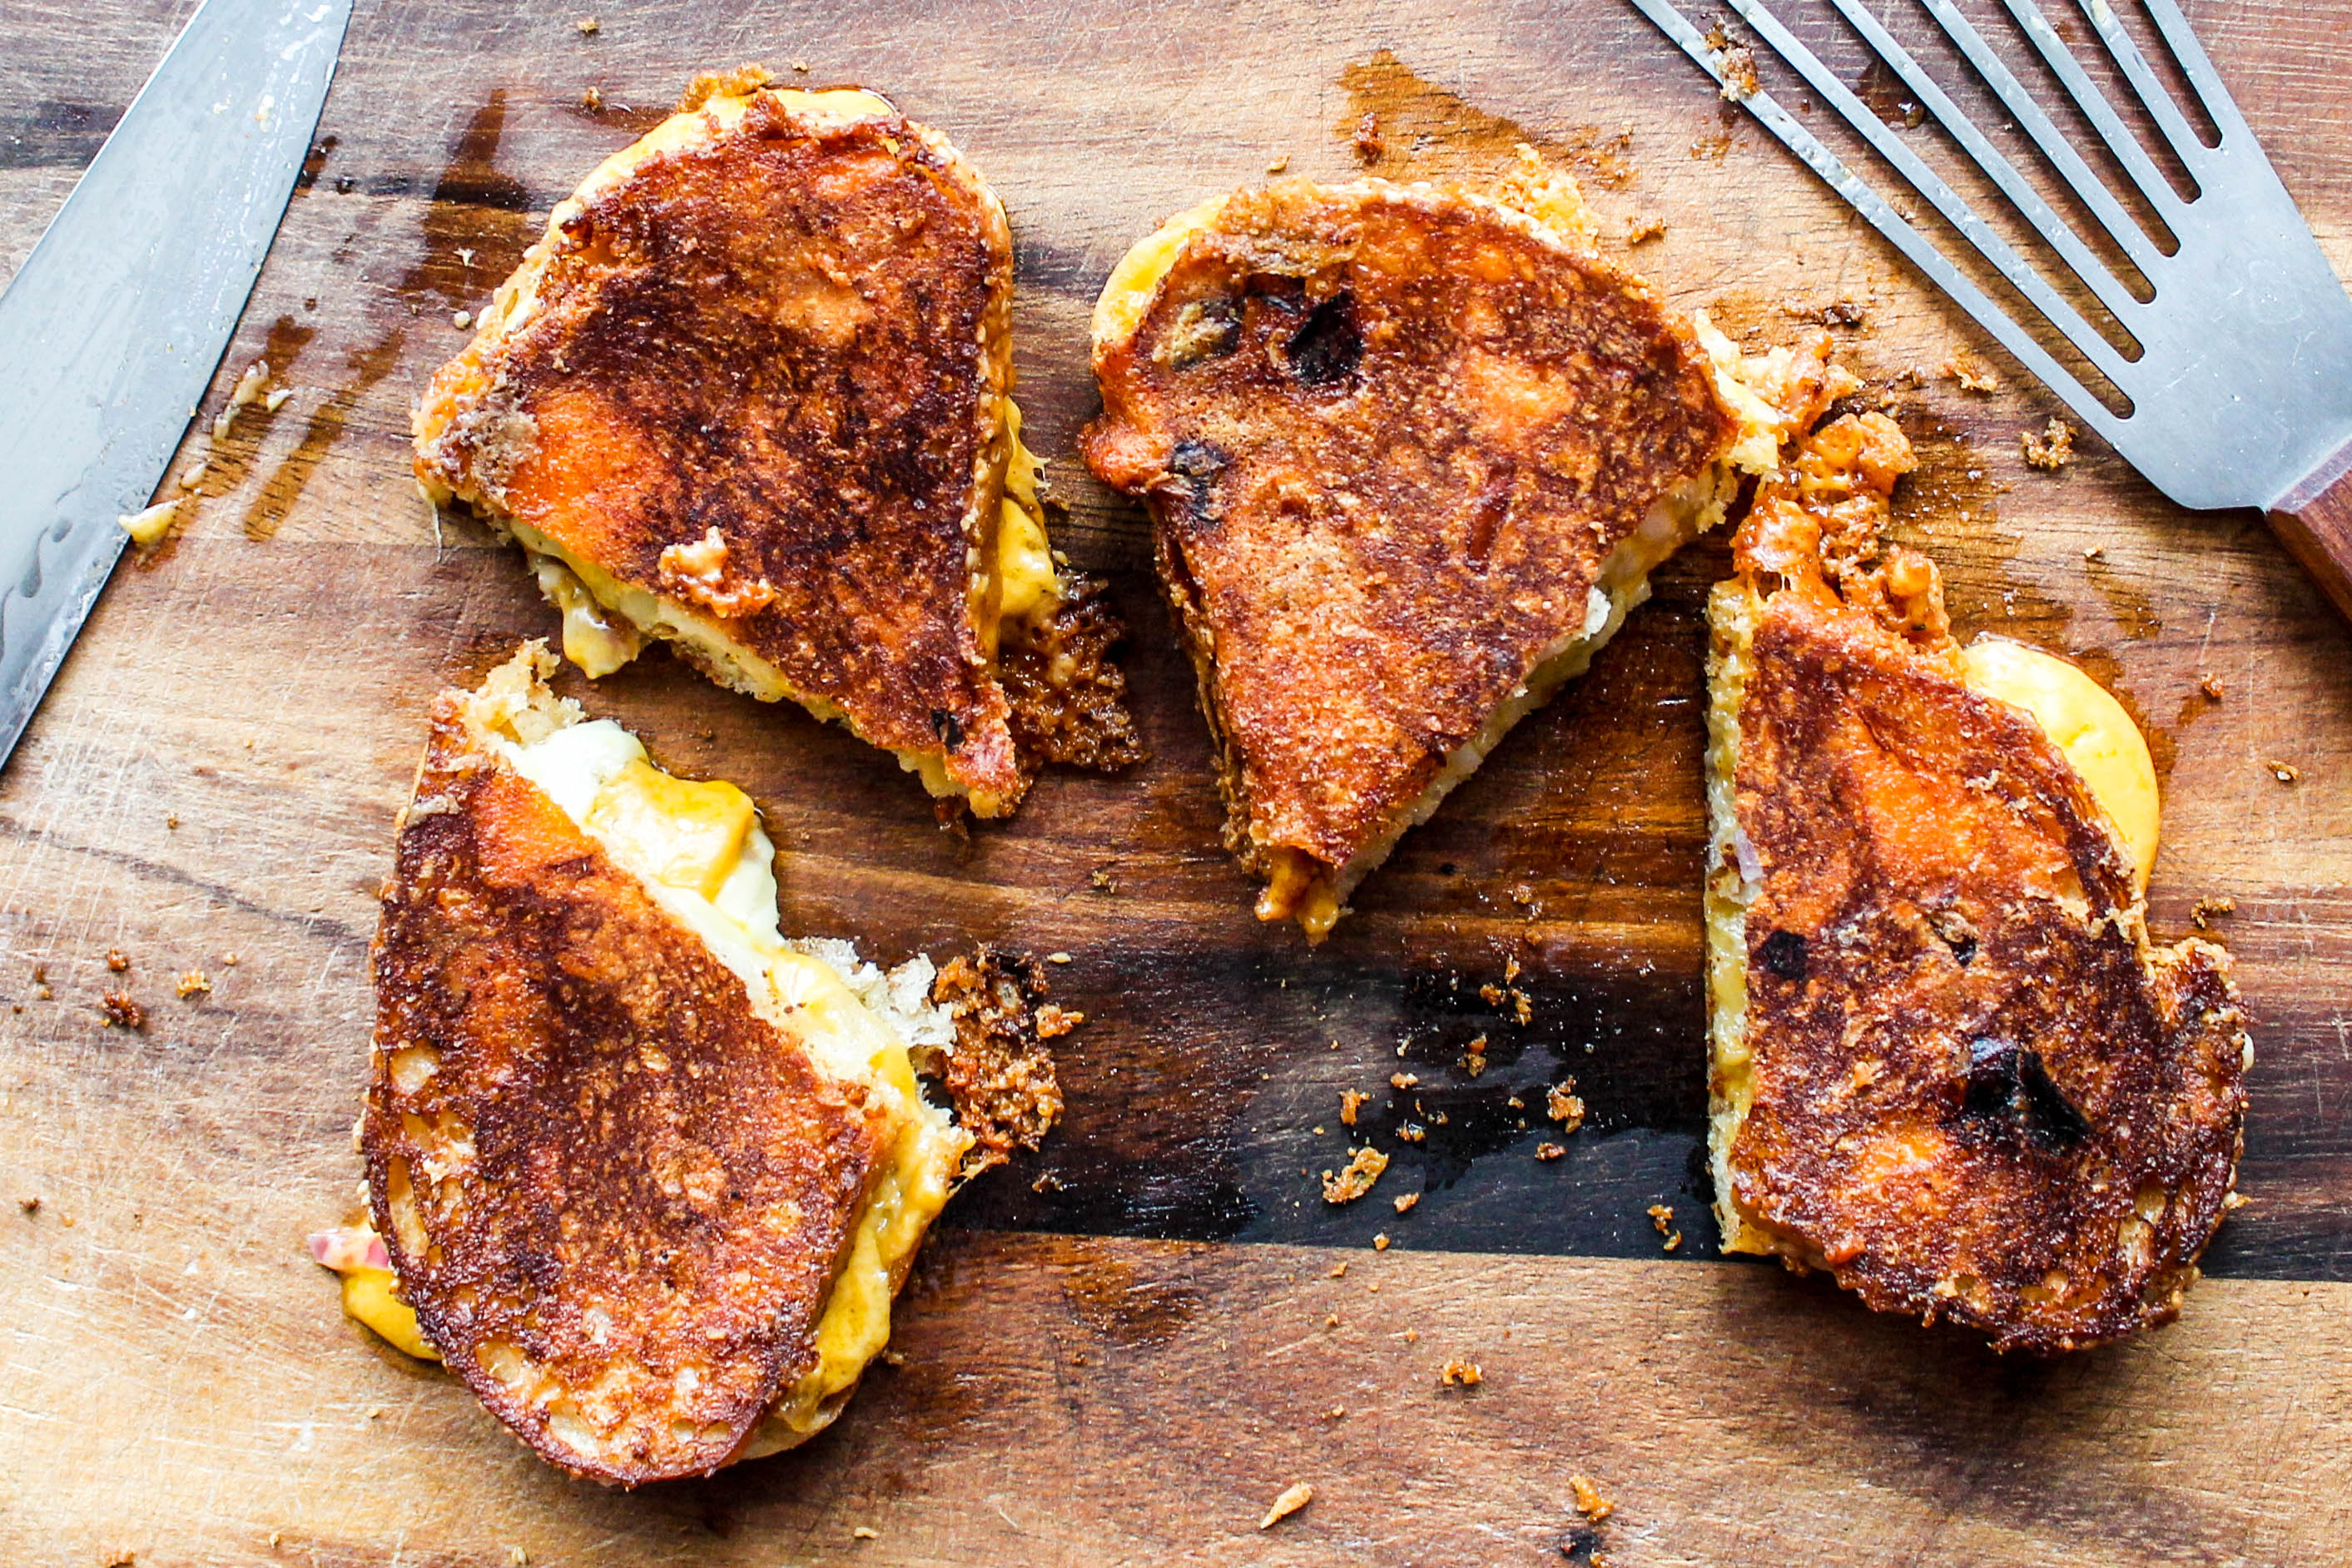
 Oh, the allure of the grilled cheese sandwich! Who doesn’t love the toasted, buttered and gooey cheese delight – one of the most popular items in a long list of comfort foods. Our recipe for the Borough Market Grilled Cheese is based on one of the best food experiences Kyle and our friends had on their recent European trip. Their Euro-grilled cheese, also known as the “cheese toastie”, was from a cheese stand in London’s Borough Market called the Kappacasein.
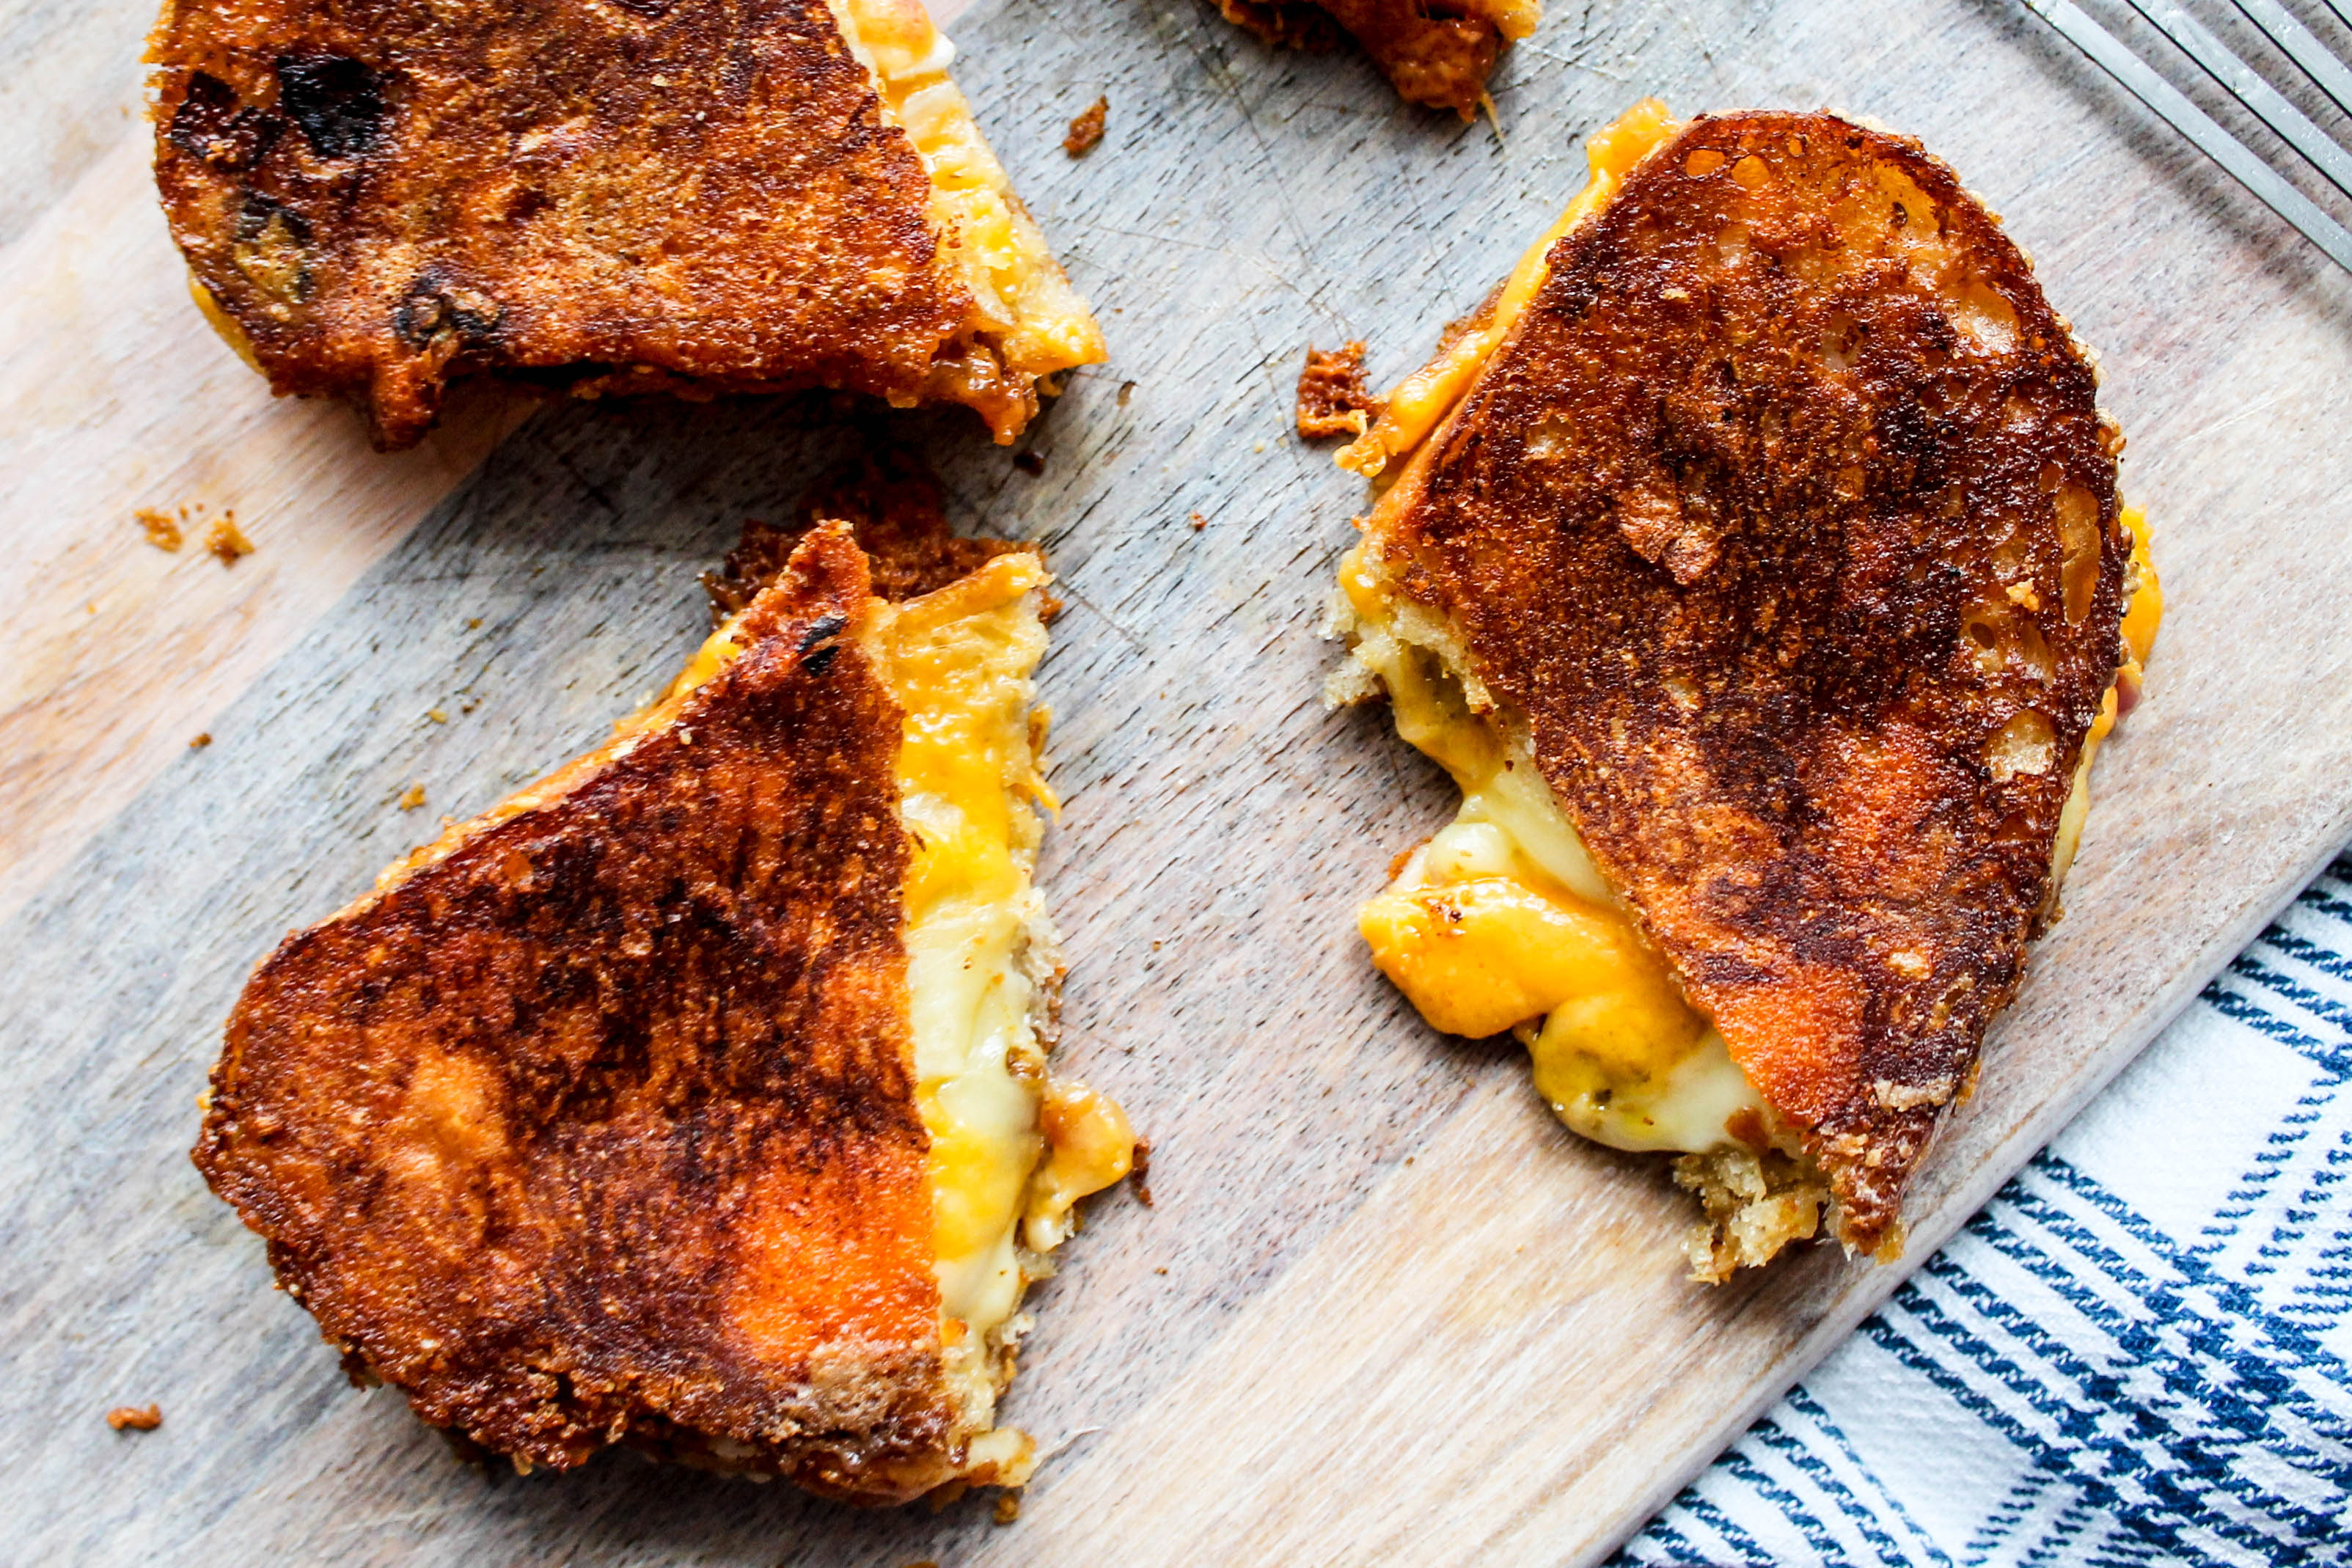
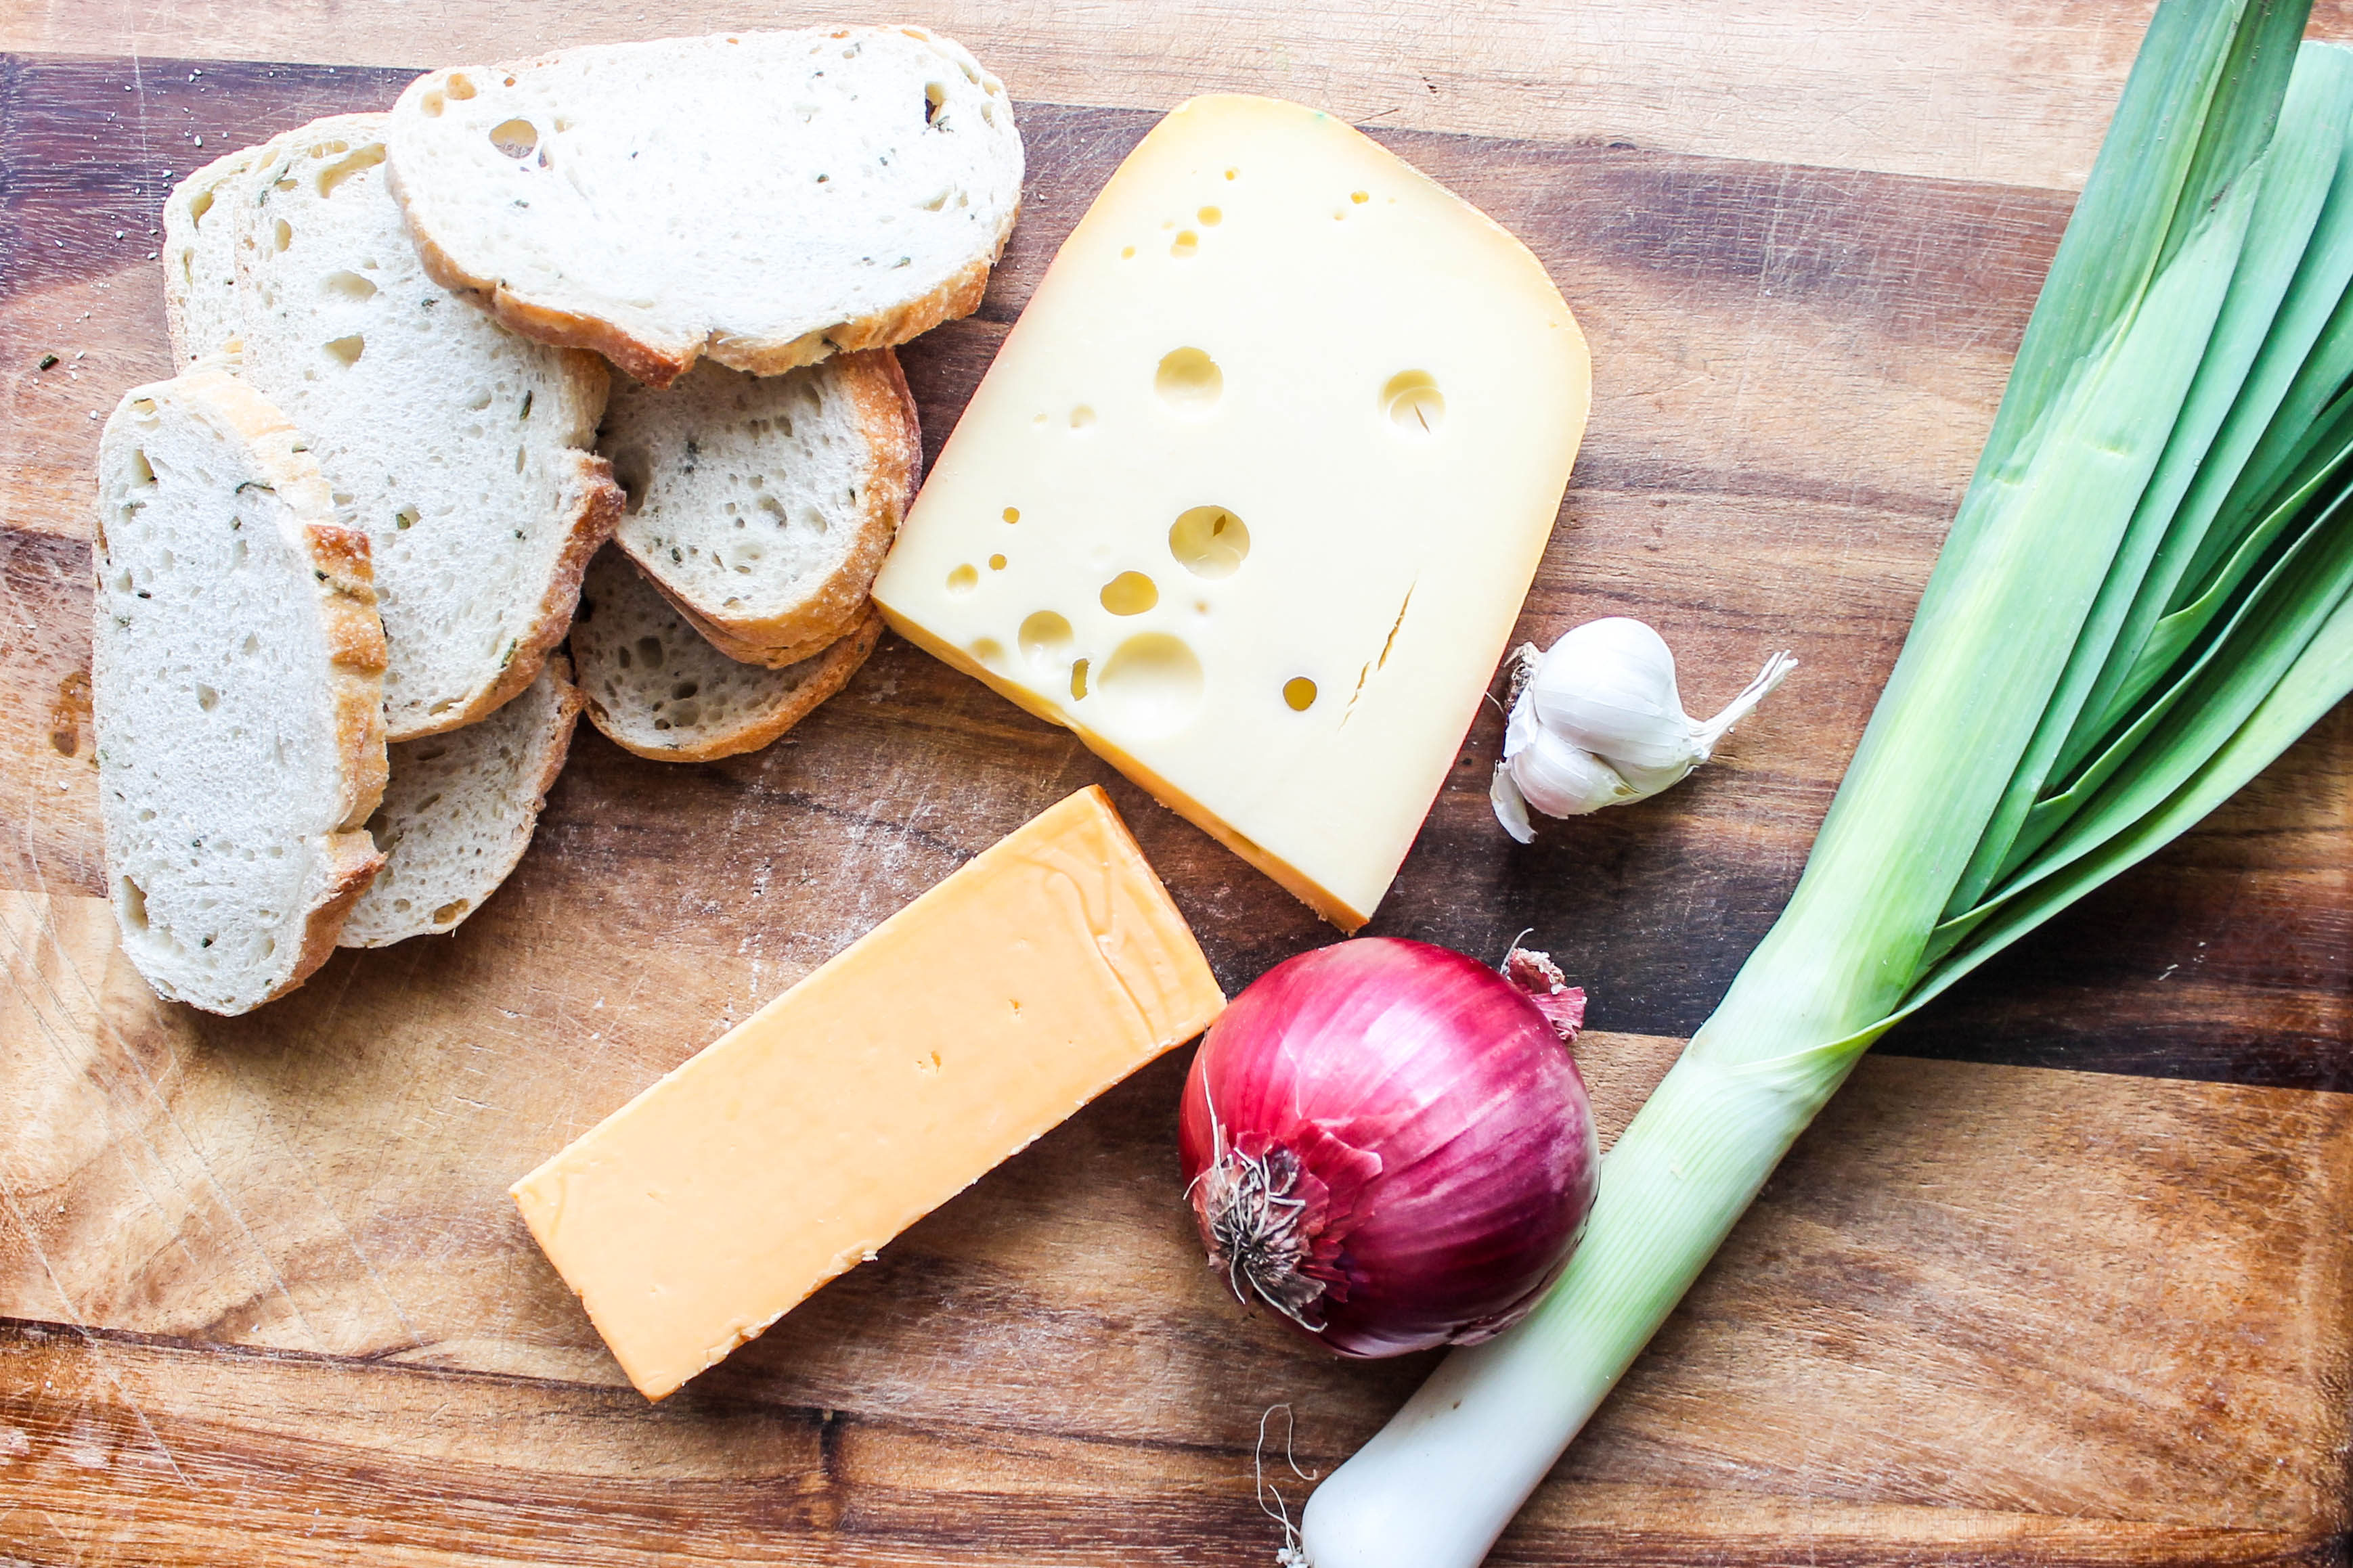 The Kappacasein grilled cheese is touted by some as “The Best Grilled Cheese in the World.” To our cheese loving friends, this was some pretty big hype to ive up to – game on! The cheese toastie features three different types of cheese, finely diced leeks, red onions and garlic all sandwiched between some sourdough bread. In addition to the gooey cheese filling, the sandwich is further elevated to new grilled-cheese-heights through the bits of cheese that melt and crisp (AKA “frico”) along edges of the sandwich, providing a great crunch and textural contrast.
 As they were preparing for their trip, they became aware of the infamous cheese toastie in London. They came upon several mouth-watering videos on YouTube featuring this grilled cheese. Of course, it quickly soared to the top of their Must Eat List for their European adventure. In fact, the sandwich was so embedded in their minds that even after a long overnight flight to London, they found themselves making the Borough Market their very first stop after checking in to the hotel. Luckily for them, Kappacasein – which apparently can attract quite the crowd – only had a few people waiting in front of it when they arrived. Jet-lagged, sleep-deprived, and HUNGRY, they stared longingly at the raclette grill that was broiling and melting an enormous slab of cheese and the panini press that was lovingly toating the cheese-dreamy sandwiches. As soon as they bit into the toastie – they knew. They knew that they had achieved Grilled Cheese Nirvana. Our friends created a united front and immediately demanded that Kyle MUST recreate this sandwich as soon as they got home.
 Flash-forward two weeks – Kyle was readily in the kitchen researching the best methods to make phenomenal grilled cheese sandwiches. He began with the cheese, of course. Montgomery cheddar was not available. He also did not have access to a fancy raclette contraption (Sidenote: . The next issue was also the delicious cheese made by the Kappacasein owners – not available here in the U.S. If anyone out there does have access to these cheeses, please let us know. We will be eternally grateful for the information. Kyle would also be happy to be adopted by your cheese-wise family. So, if you can use these types of cheeses, by all means do so, you will soon be enjoying the best cheese toastie ever. If you’re like us (the 99% cheese-ers), you can use a block of extra sharp cheddar, and that will certainly do in a pinch. Comte was the second cheese listed on the sign at the Borough Market, which Kyle could not obtain at the local market (blerg!). In the end he settled for some Jarlsburg, which, like any Swiss-style mild cheese, would really work perfectly in this sandwich to balance out the sharpness of the cheddar.
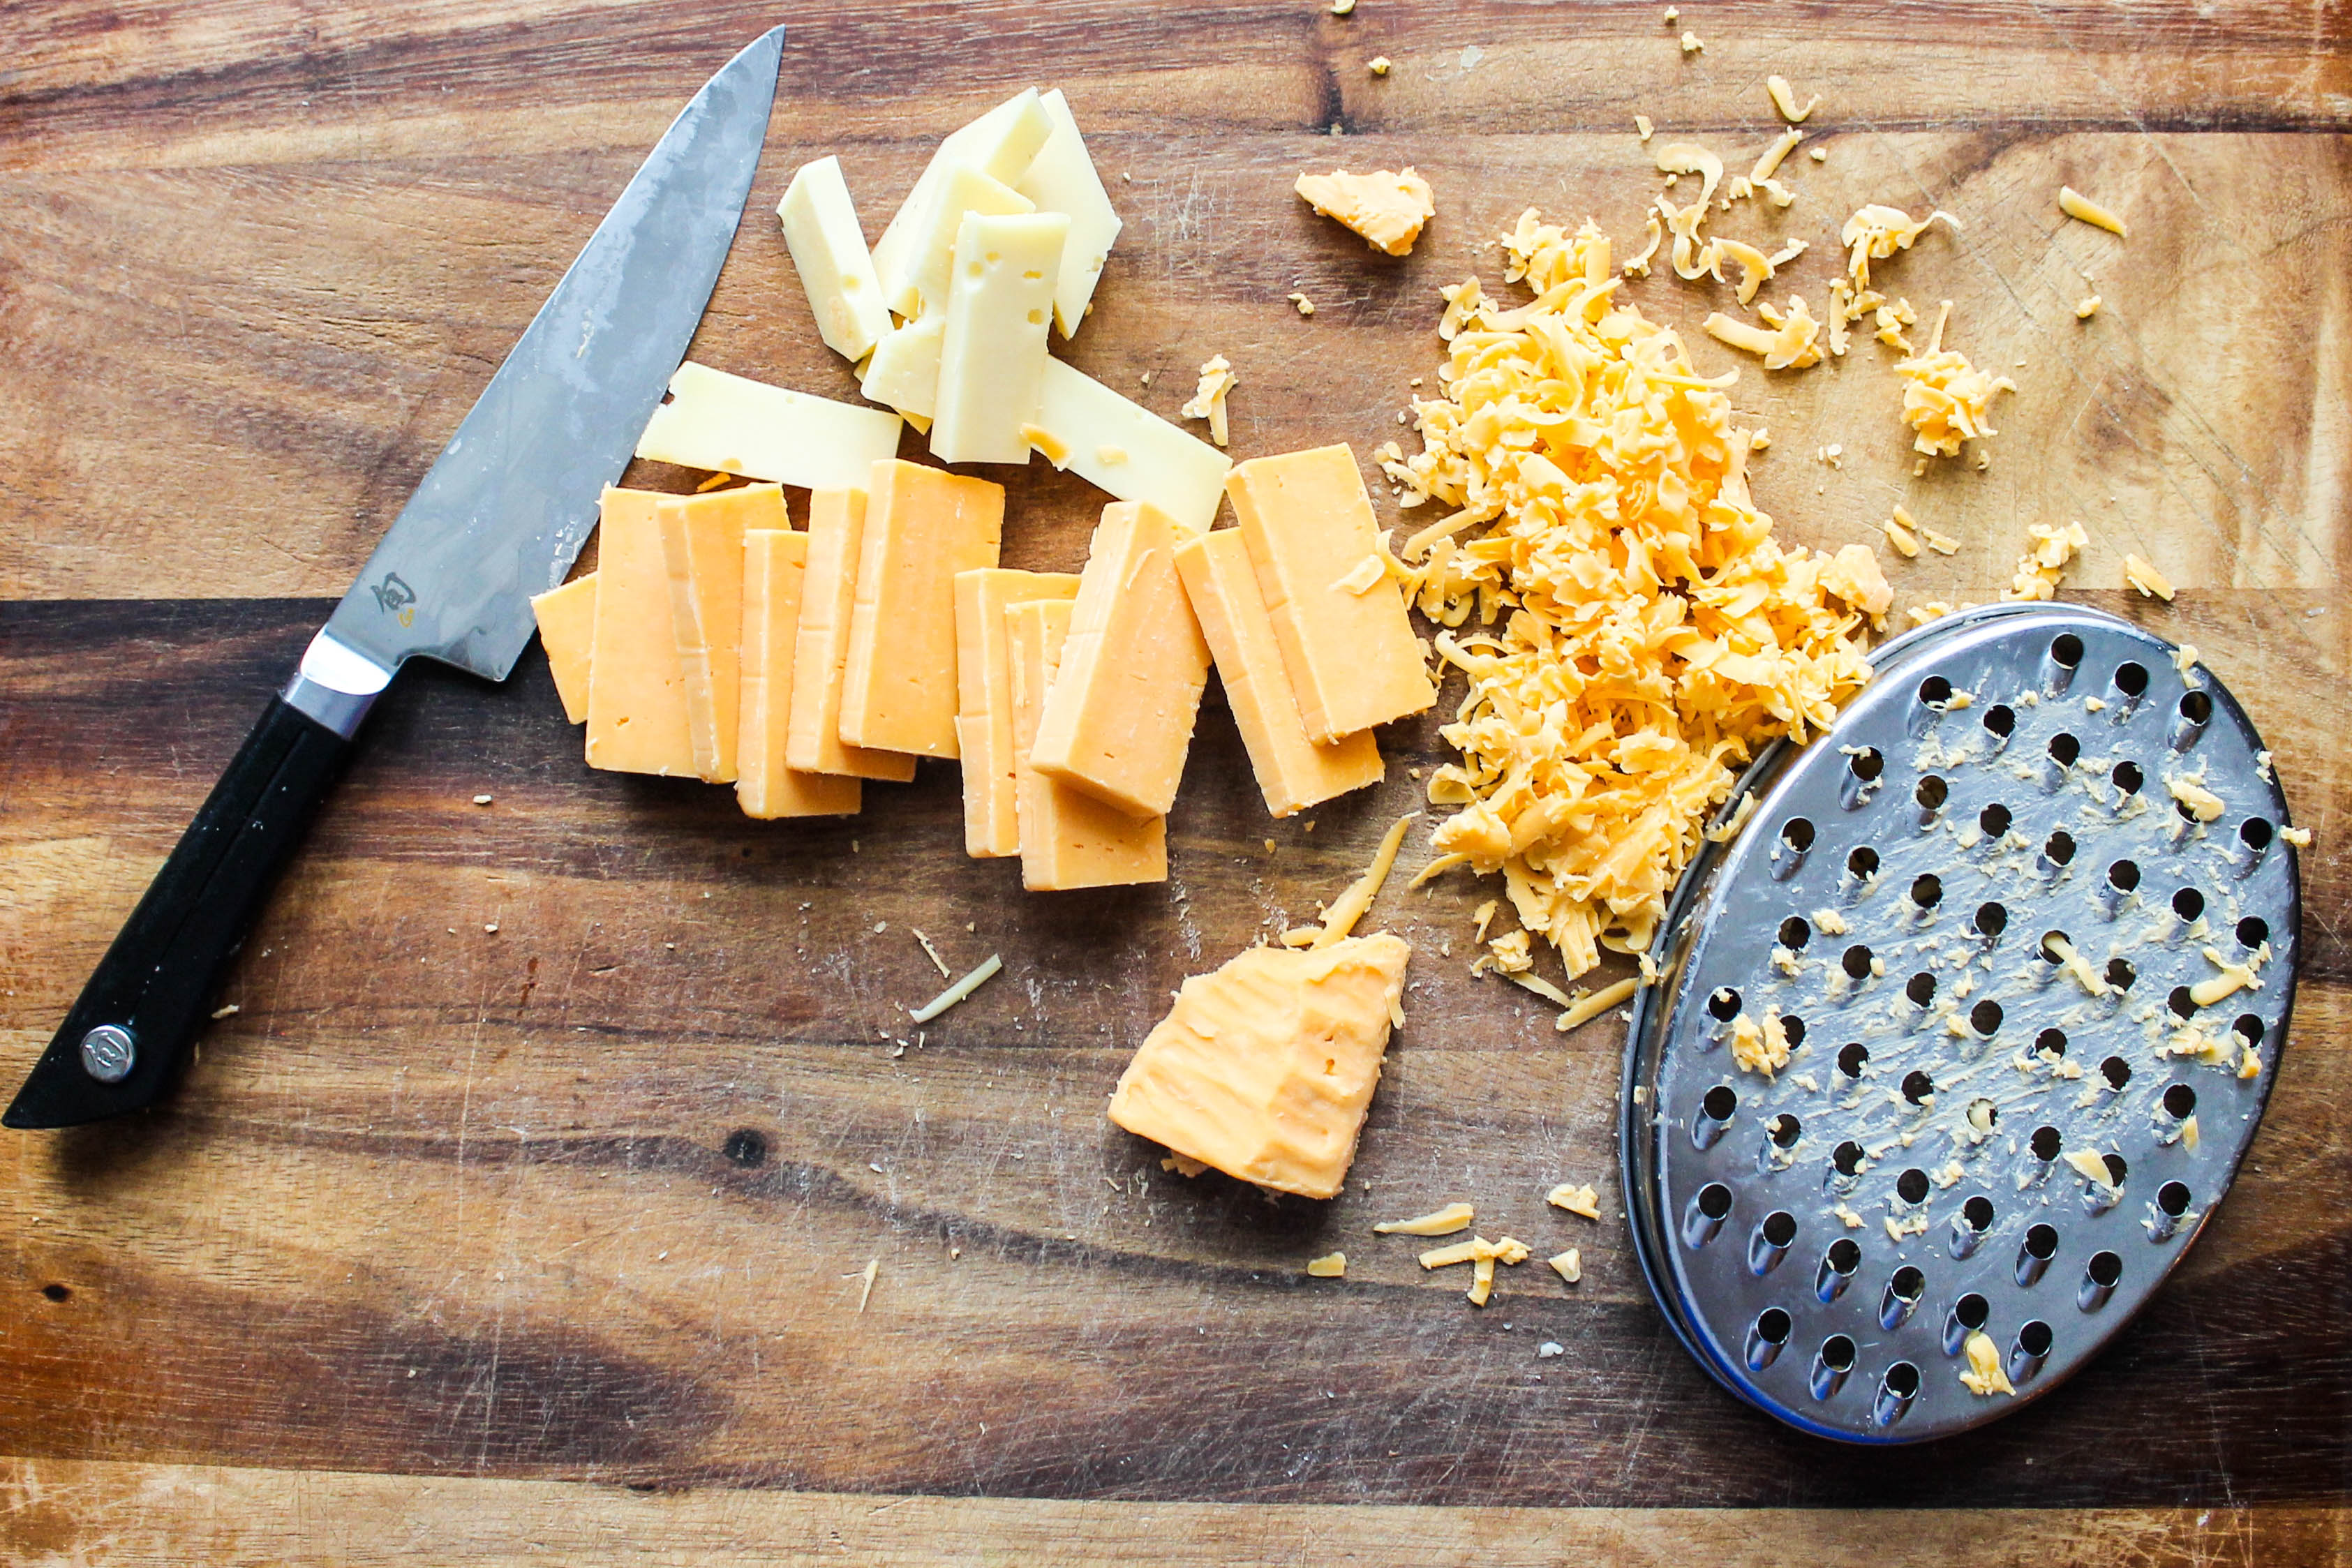
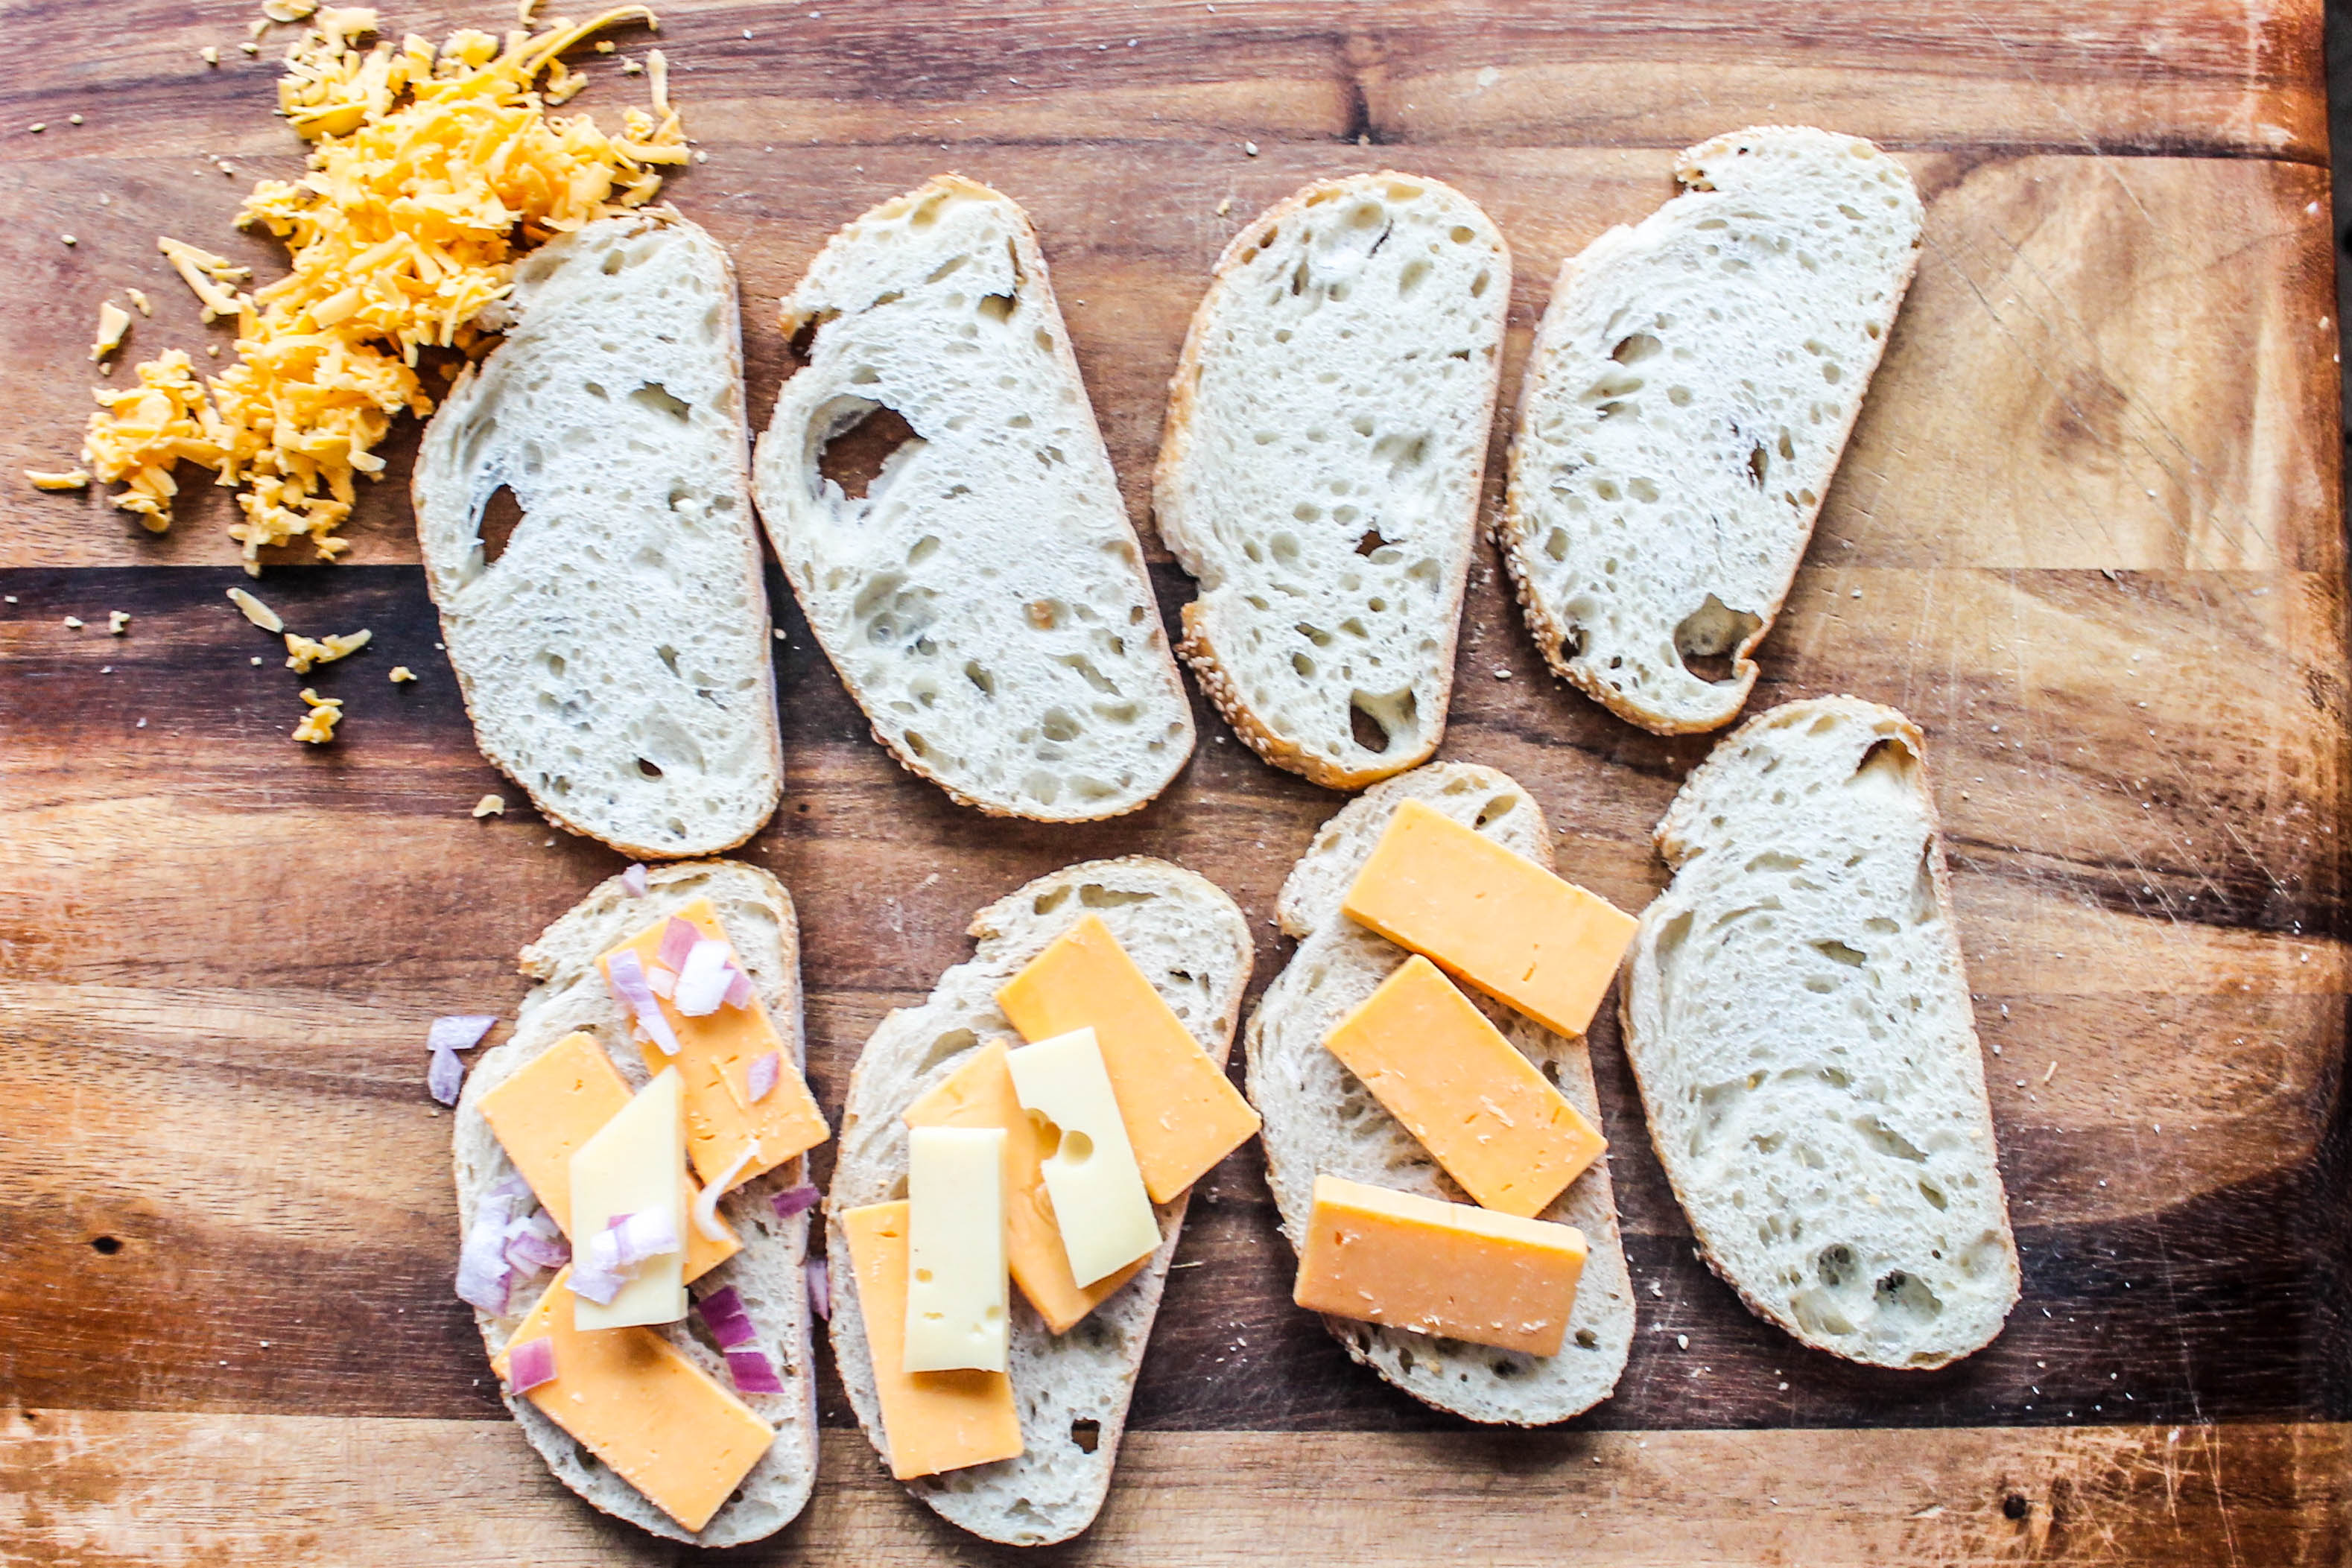 Kyle tried to recreate the cheesy wonder-wich using shredded cheese (which they used at Kappacasein) and a homemade grilled-cheesing contraption (to atone for his lack of panini press at home). Intriguing, eh? His rudimentary method involved cooking the sandwiches in a large skillet, then weighing them down with a smaller skillet filled with canned goods. Alas, most of the cheese smooshed out of the sandwiches and frico-ed in the pan. While the bread was deliciously crisp, it didn’t have enough gooey cheese inside to resemble the cheese toastie from the Borough Market. By slicing the cheese into 1/4-inch thick slices for the inside of the sandwiches and weighing down the toasties for only the first half of the cooking, Kyle was able to get the cheese to melt at a slower rate, finally achieving the desirable duo of cheesy, melty center AND the flattened, crispy exterior.
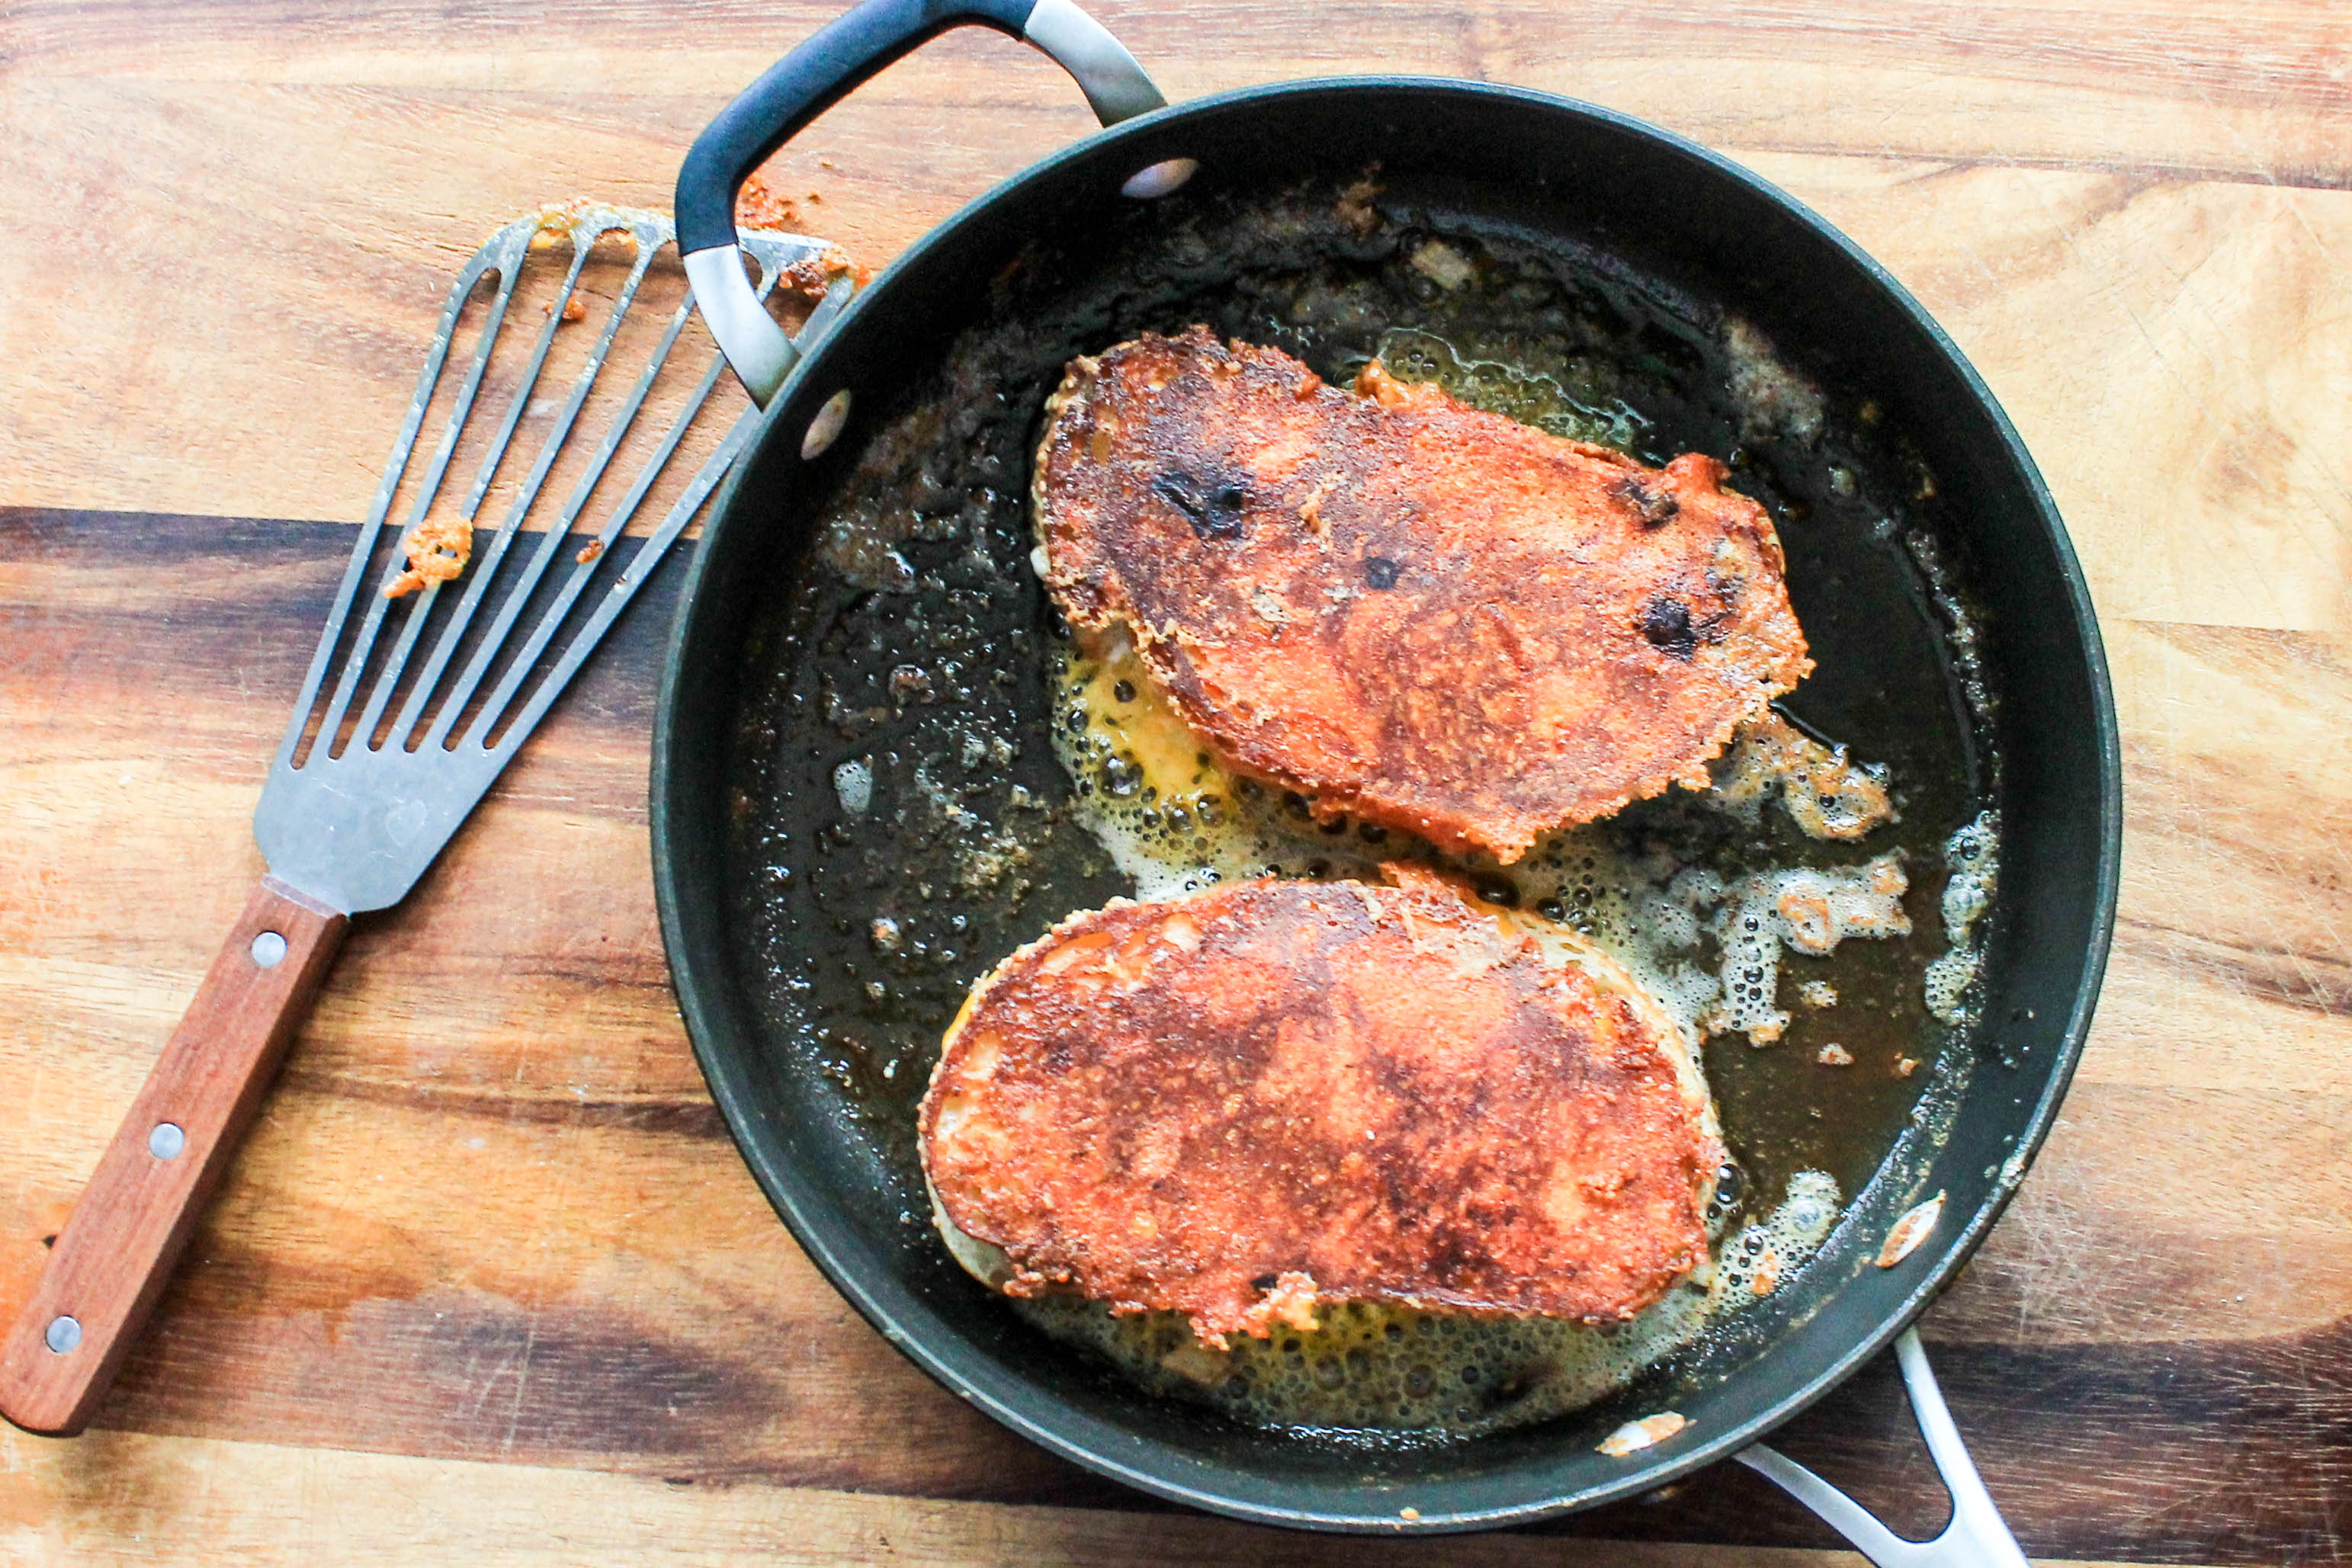 While researching the cooking method for this grilled cheese, many recipes online just put the cheese in the center of the sandwich with the hopes that some would ooze out the middle and frico along the sides, recreating the supreme crispness of the Kappacasein toastie. However, the employees at the Kappacasein stand aggressively frico-ed those sandwiches, mounding the cheese both inside AND outside of the bread to achieve maximum amounts of crispy cheese on the exterior of the toastie. Kyle emulated this technique by spreading a layer of grated cheddar in the skillet before laying the sandwiches on top of them. Then, when the sandwiches were ready to be flipped, he mounded more grated cheddar on top before flipping them over, maximizing the amount of frico on each side.
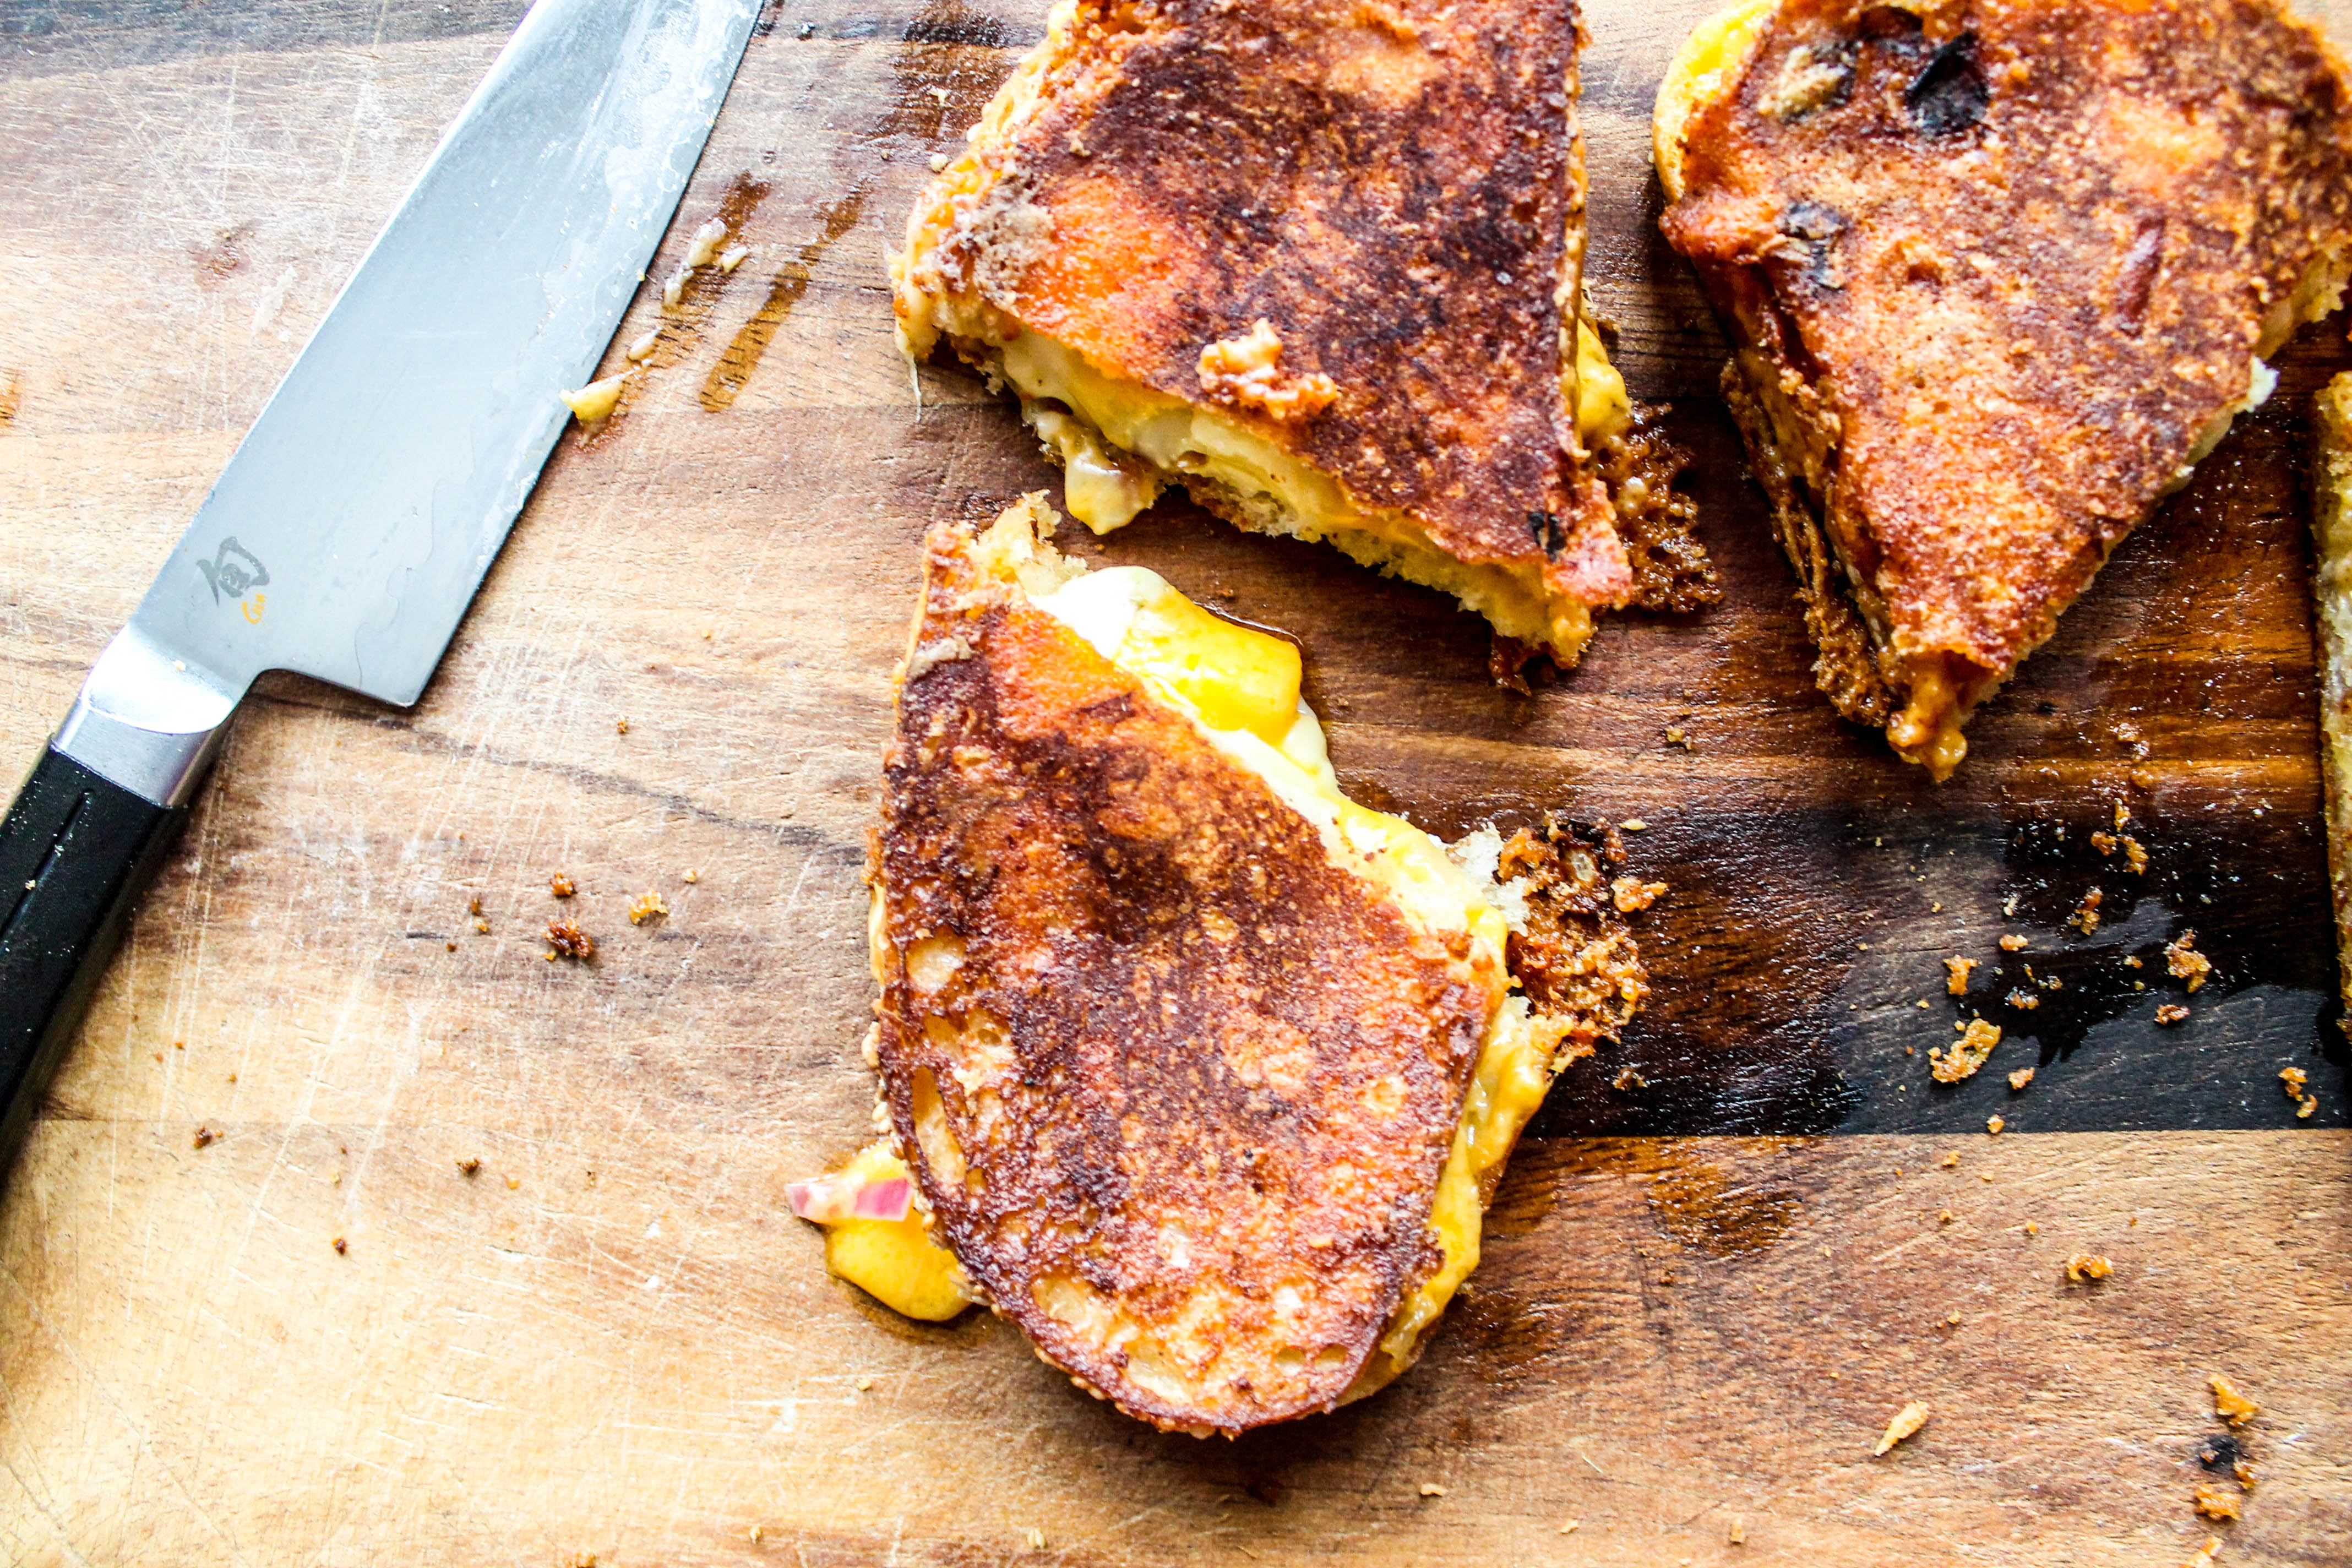 To really maximize the crispness of the sandwiches, Kyle spread the outside pieces of bread with mayonnaise instead of butter – a tip he picked up from Gabrielle Hamilton of Prune and Blood, Bones and Butter notoriety. Hamilton uses this trick to create the most sublimely crisp grilled cheese sandwiches to guests on Christmas Eve, which she then pairs with flutes of champagne. Grilled cheese and champage? Yup – this “A Toast and a Toastie” Party will definitely be happening soon, so stay tuned!
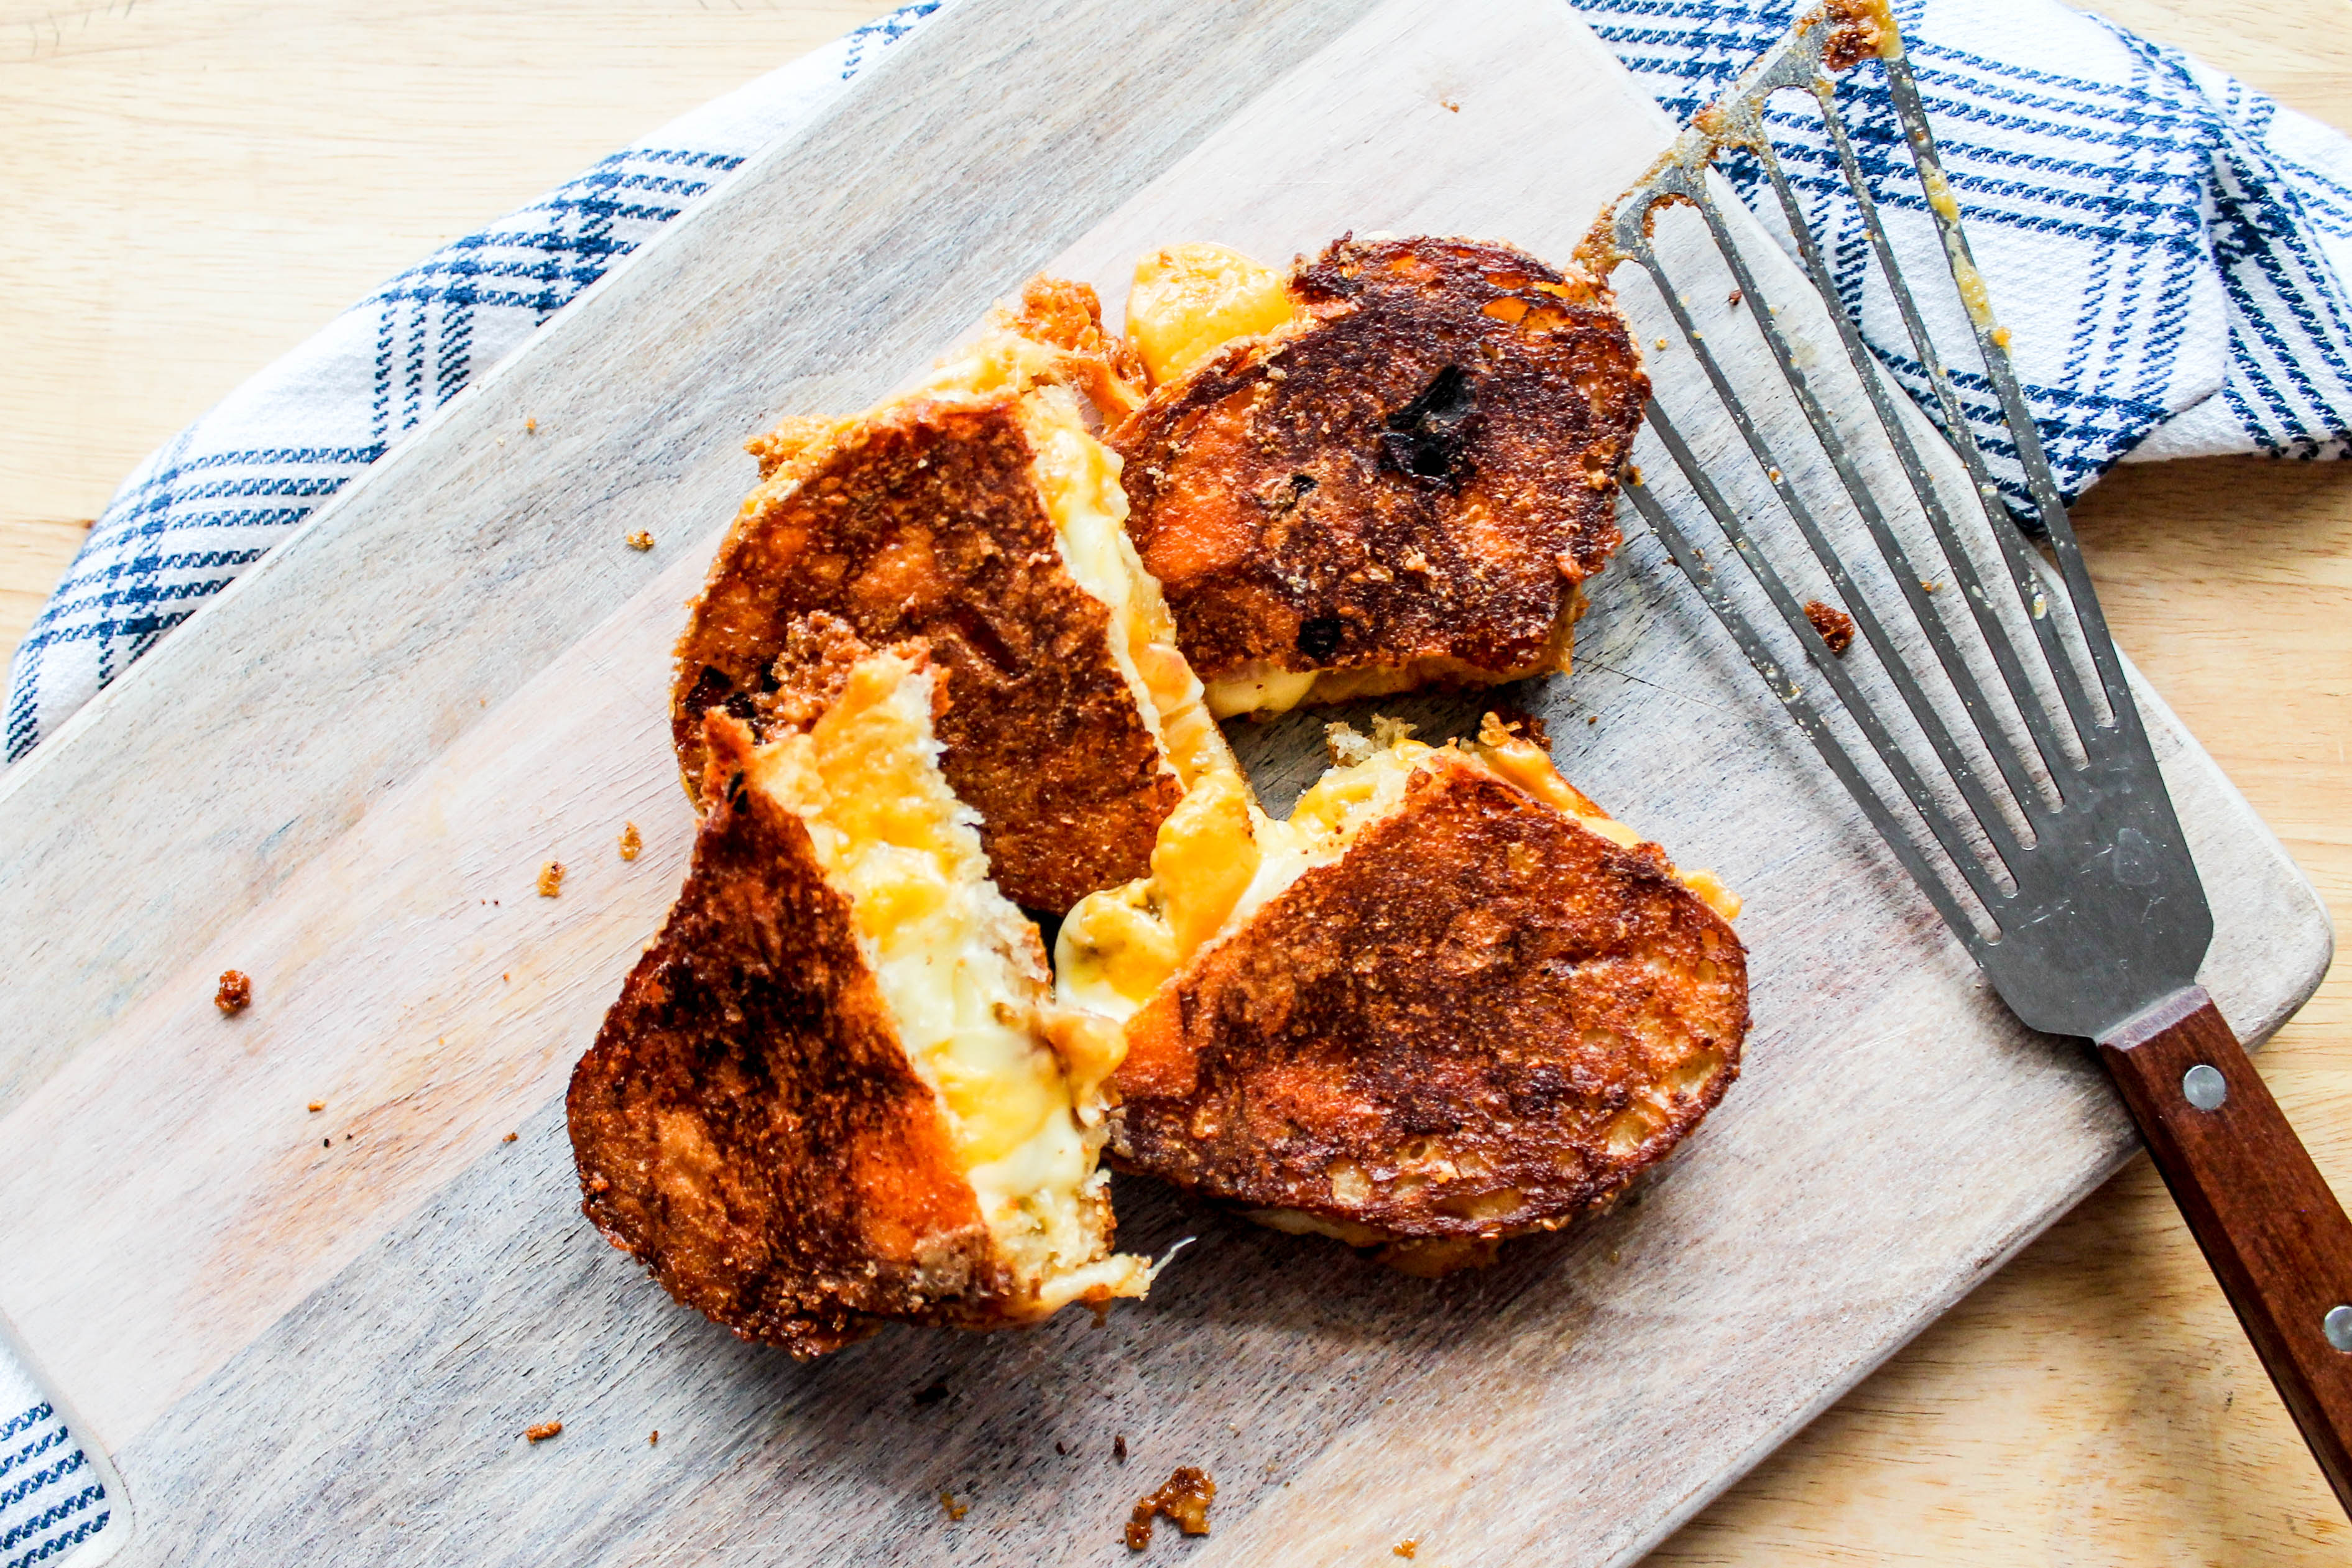 A gluten-free version of this sandwich can be created easily by swapping in your favorite loaf of GF sandwich bread. Now, only just a post ago, Kyle stuck his nose up at the use of GF bread in the Welsh Rarebit recipe for not being creative enough. However, in the case of creating the ultimate sandwich, sometimes the most straightforward approach is the best. Sometimes gluten-free sandwich bread is less than desirable in taste and texture, but I find that – even if the GF bread I currently have on hand is not one of my favorites – when I use it in a grilled cheese, it is suddenly not so bad. Of course, there is enough oozy cheese on the inside and frico-ed cheese on the outside to distract from the misgivings of GF bread. So, win-win!
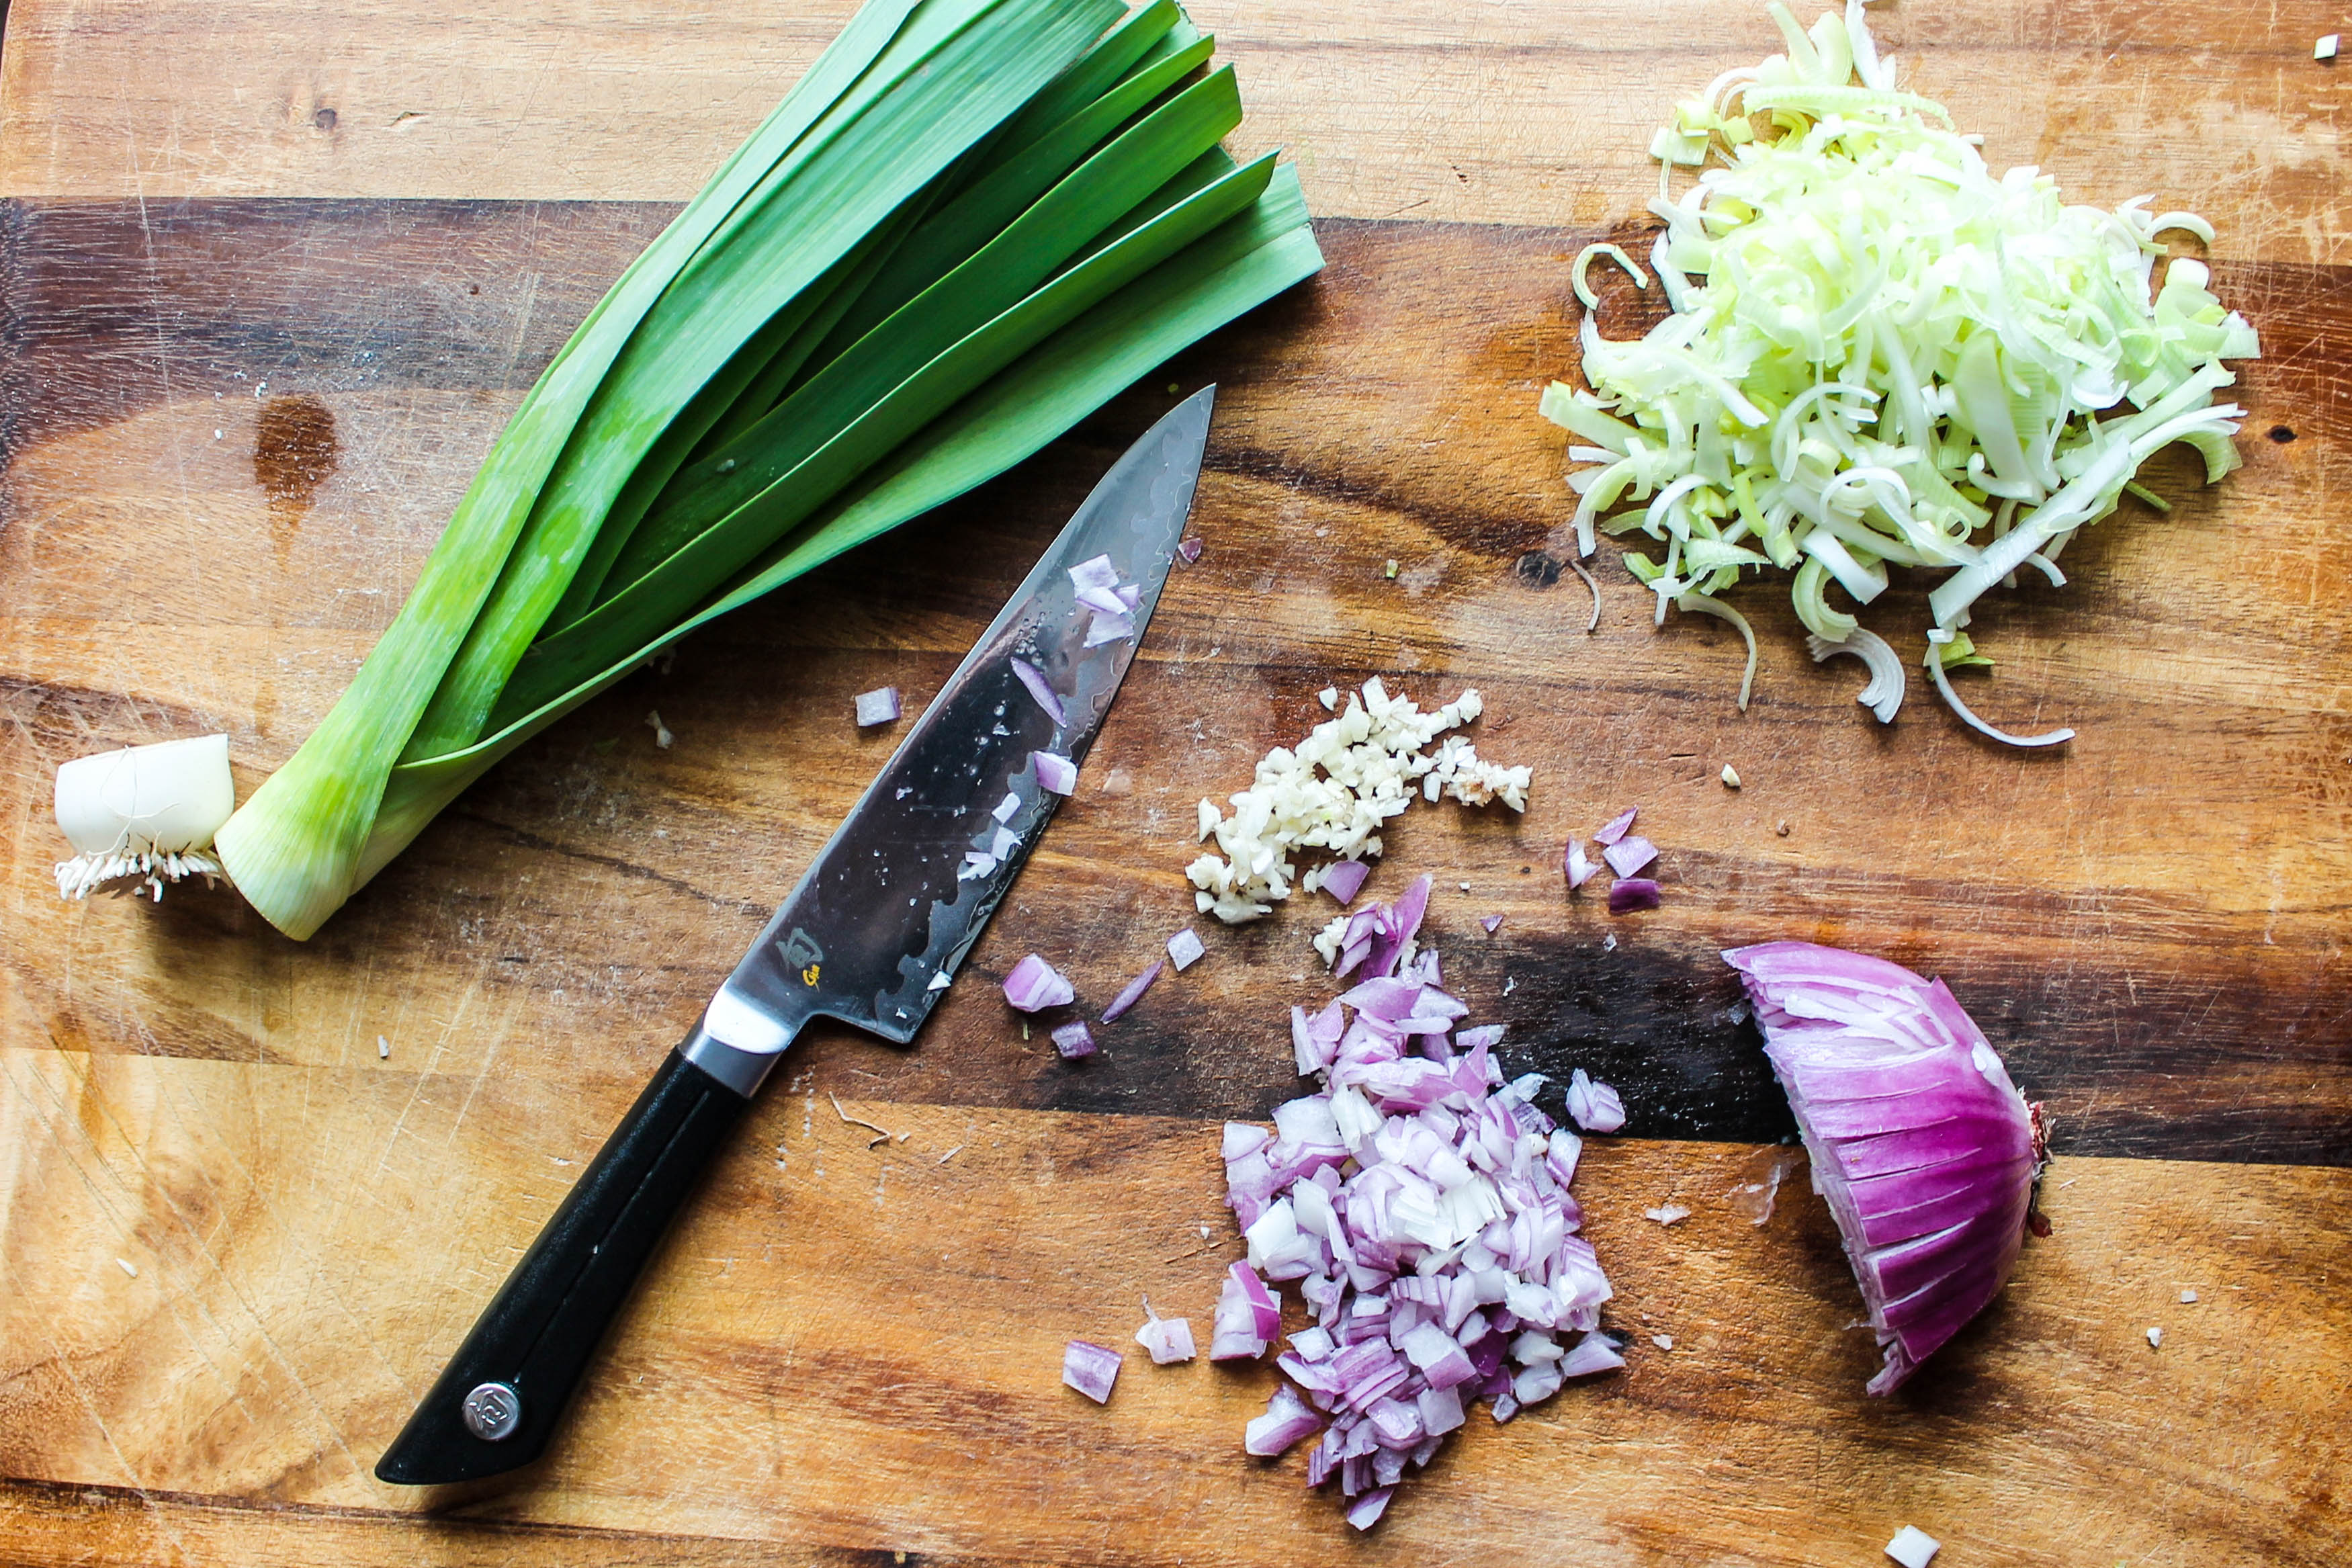
 The inside of the original toastie was laced with a finely minced combination of leeks, red onion, and garlic. Normally, Kyle is against raw onion in anything, however, they worked in this sandwich. They were so finely diced that the ambient heat of the melting cheese tempered their pungent taste. The combo of leeks, onion and garlic provided the perfect savory punch inside the sandwich to offset the richness of all the cheese. Yumminess! So, after four test batches, two pounds of cheese AND the combination of all the techniques and research in an attempt to emulate London’s Ultimate Grilled Cheese Sandwich, we feel we have had the taste of success! This was a lot of time and effort dedicated to a ubiquitous snack that most people make at home without a recipe, but sometimes you need to go the extra mile to achieve perfection.
Inspired by Kappacasein’s Cheese Toastie.
- 8 ounces extra sharp cheddar cheese
- 2 ounces Comte cheese (Gruyere, Jarlsburg or emmental would all make great substitutes)
- 1 leek, thinly sliced
- 2 tablespoons finely chopped red onion
- 1 garlic clove, finely minced
- 2 - 3 tablespoons mayonnaise
- 8 slices of day-old sourdough
- 2 tablespoons butter
- Heat a large, non-stick skillet over medium heat. Cover the bottom of a slightly smaller skillet with aluminum foil and coat with nonstick spray. Grab a heavy can or jar to weigh down the smaller skillet when it is time to cook the sandwiches. Or, if you have a panini press, just skip this step.
- Take about ¾ of the cheddar cheese and all the Comte cheese and slice into ¼-inch thick slices. Shred the remaining cheddar cheese and set aside.
- In a small mixing bowl, combine the leek, red onion and garlic.
- Spread 1 to 2 teaspoons of mayonnaise over each slice of the sourdough bread. Flip over 4 of the bread slices, and evenly distribute with the sliced cheddar and Comte cheese. Sprinkle the leek-onion-garlic mixture over the cheese and top each sandwich with the remaining 4 slices of bread.
- Melt the butter in the skillet. Sprinkle 2 handfuls of the grated cheddar cheese into 2 small heaps of into the skillet. Take 2 of your sandwiches, and rest each one atop of a cheese heap. Place the smaller skillet on top of the sandwiches and weigh down with a large jar or can. Cook for 3 to 4 minutes, until the grated cheddar cheese is melted and crisped and the underside of the sandwiches are well browned. Remove the weigh down skillet and, using a thin spatula (I’ve found my fish spatula works best here), lift the sandwiches out of the skillet. Sprinkle 2 more handfuls of cheese into the skillet, flip the sandwiches over onto the cheese heaps, and cook - without weighing down - for another 3 to 4 minutes- until outsides are brown and crisp and the cheese inside is gooey and melted. Set sandwiches aside and repeat this process with the other 2 sandwiches. Serve immediately.


Leave a Reply